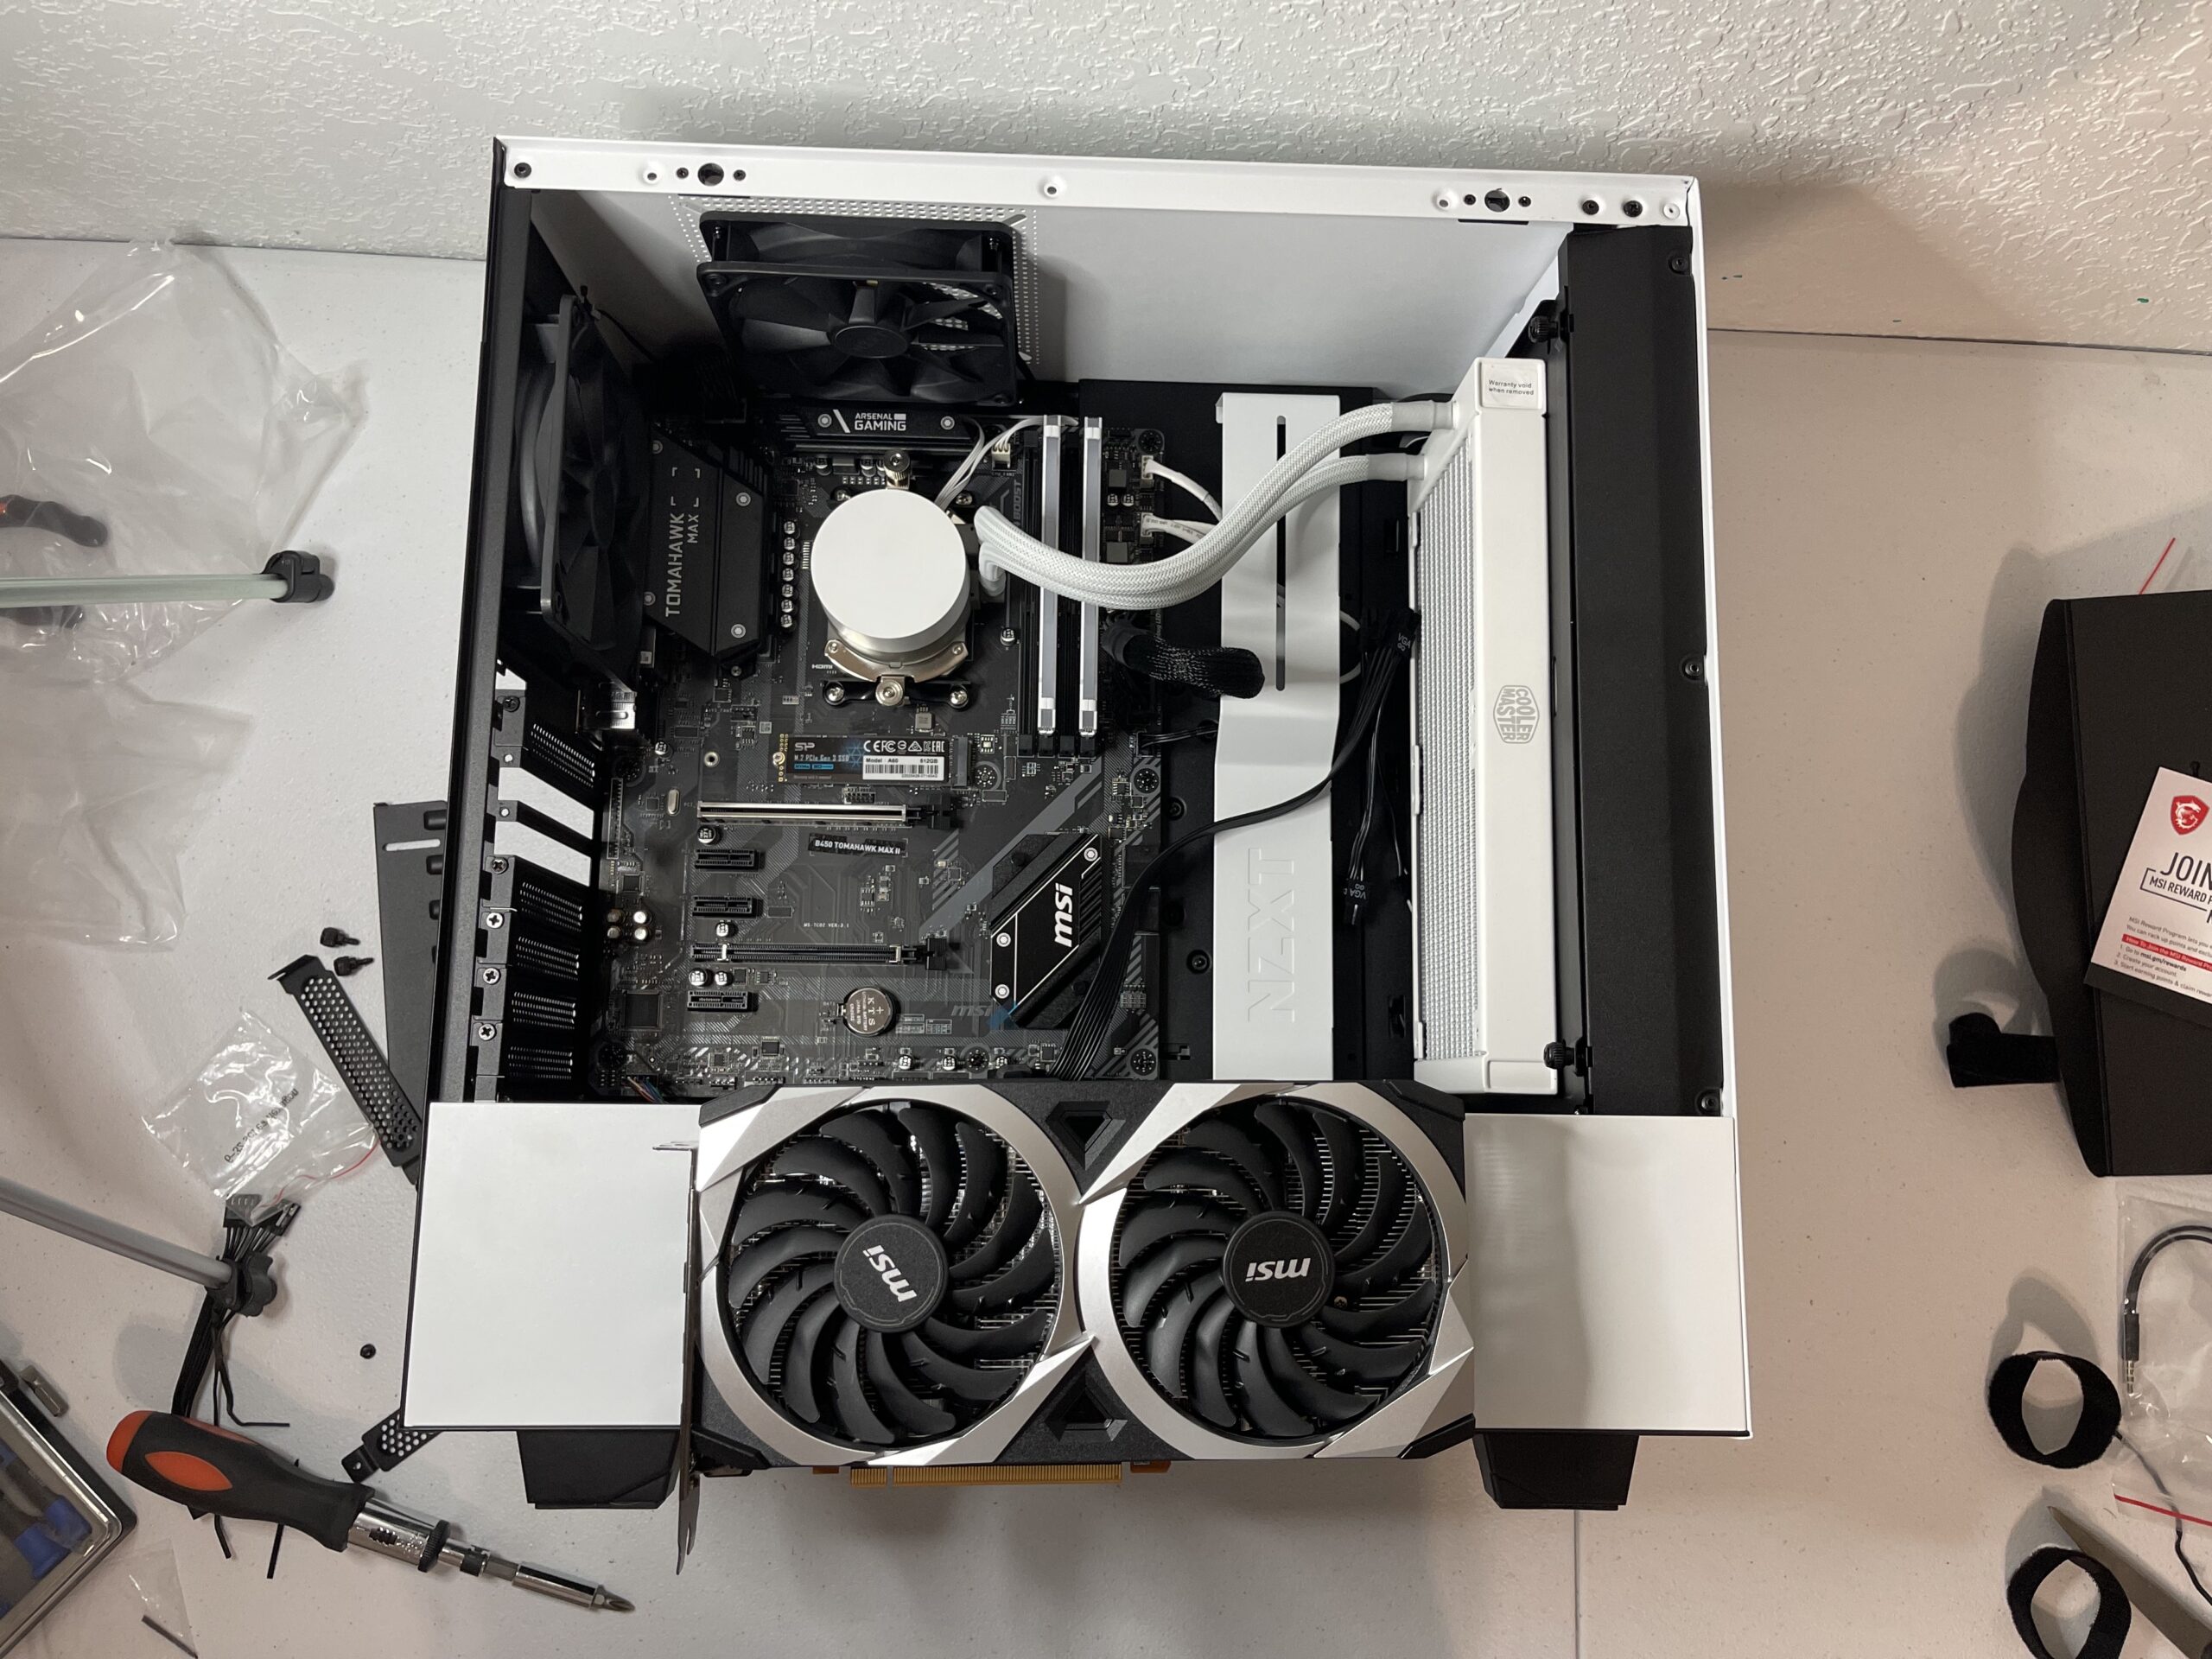
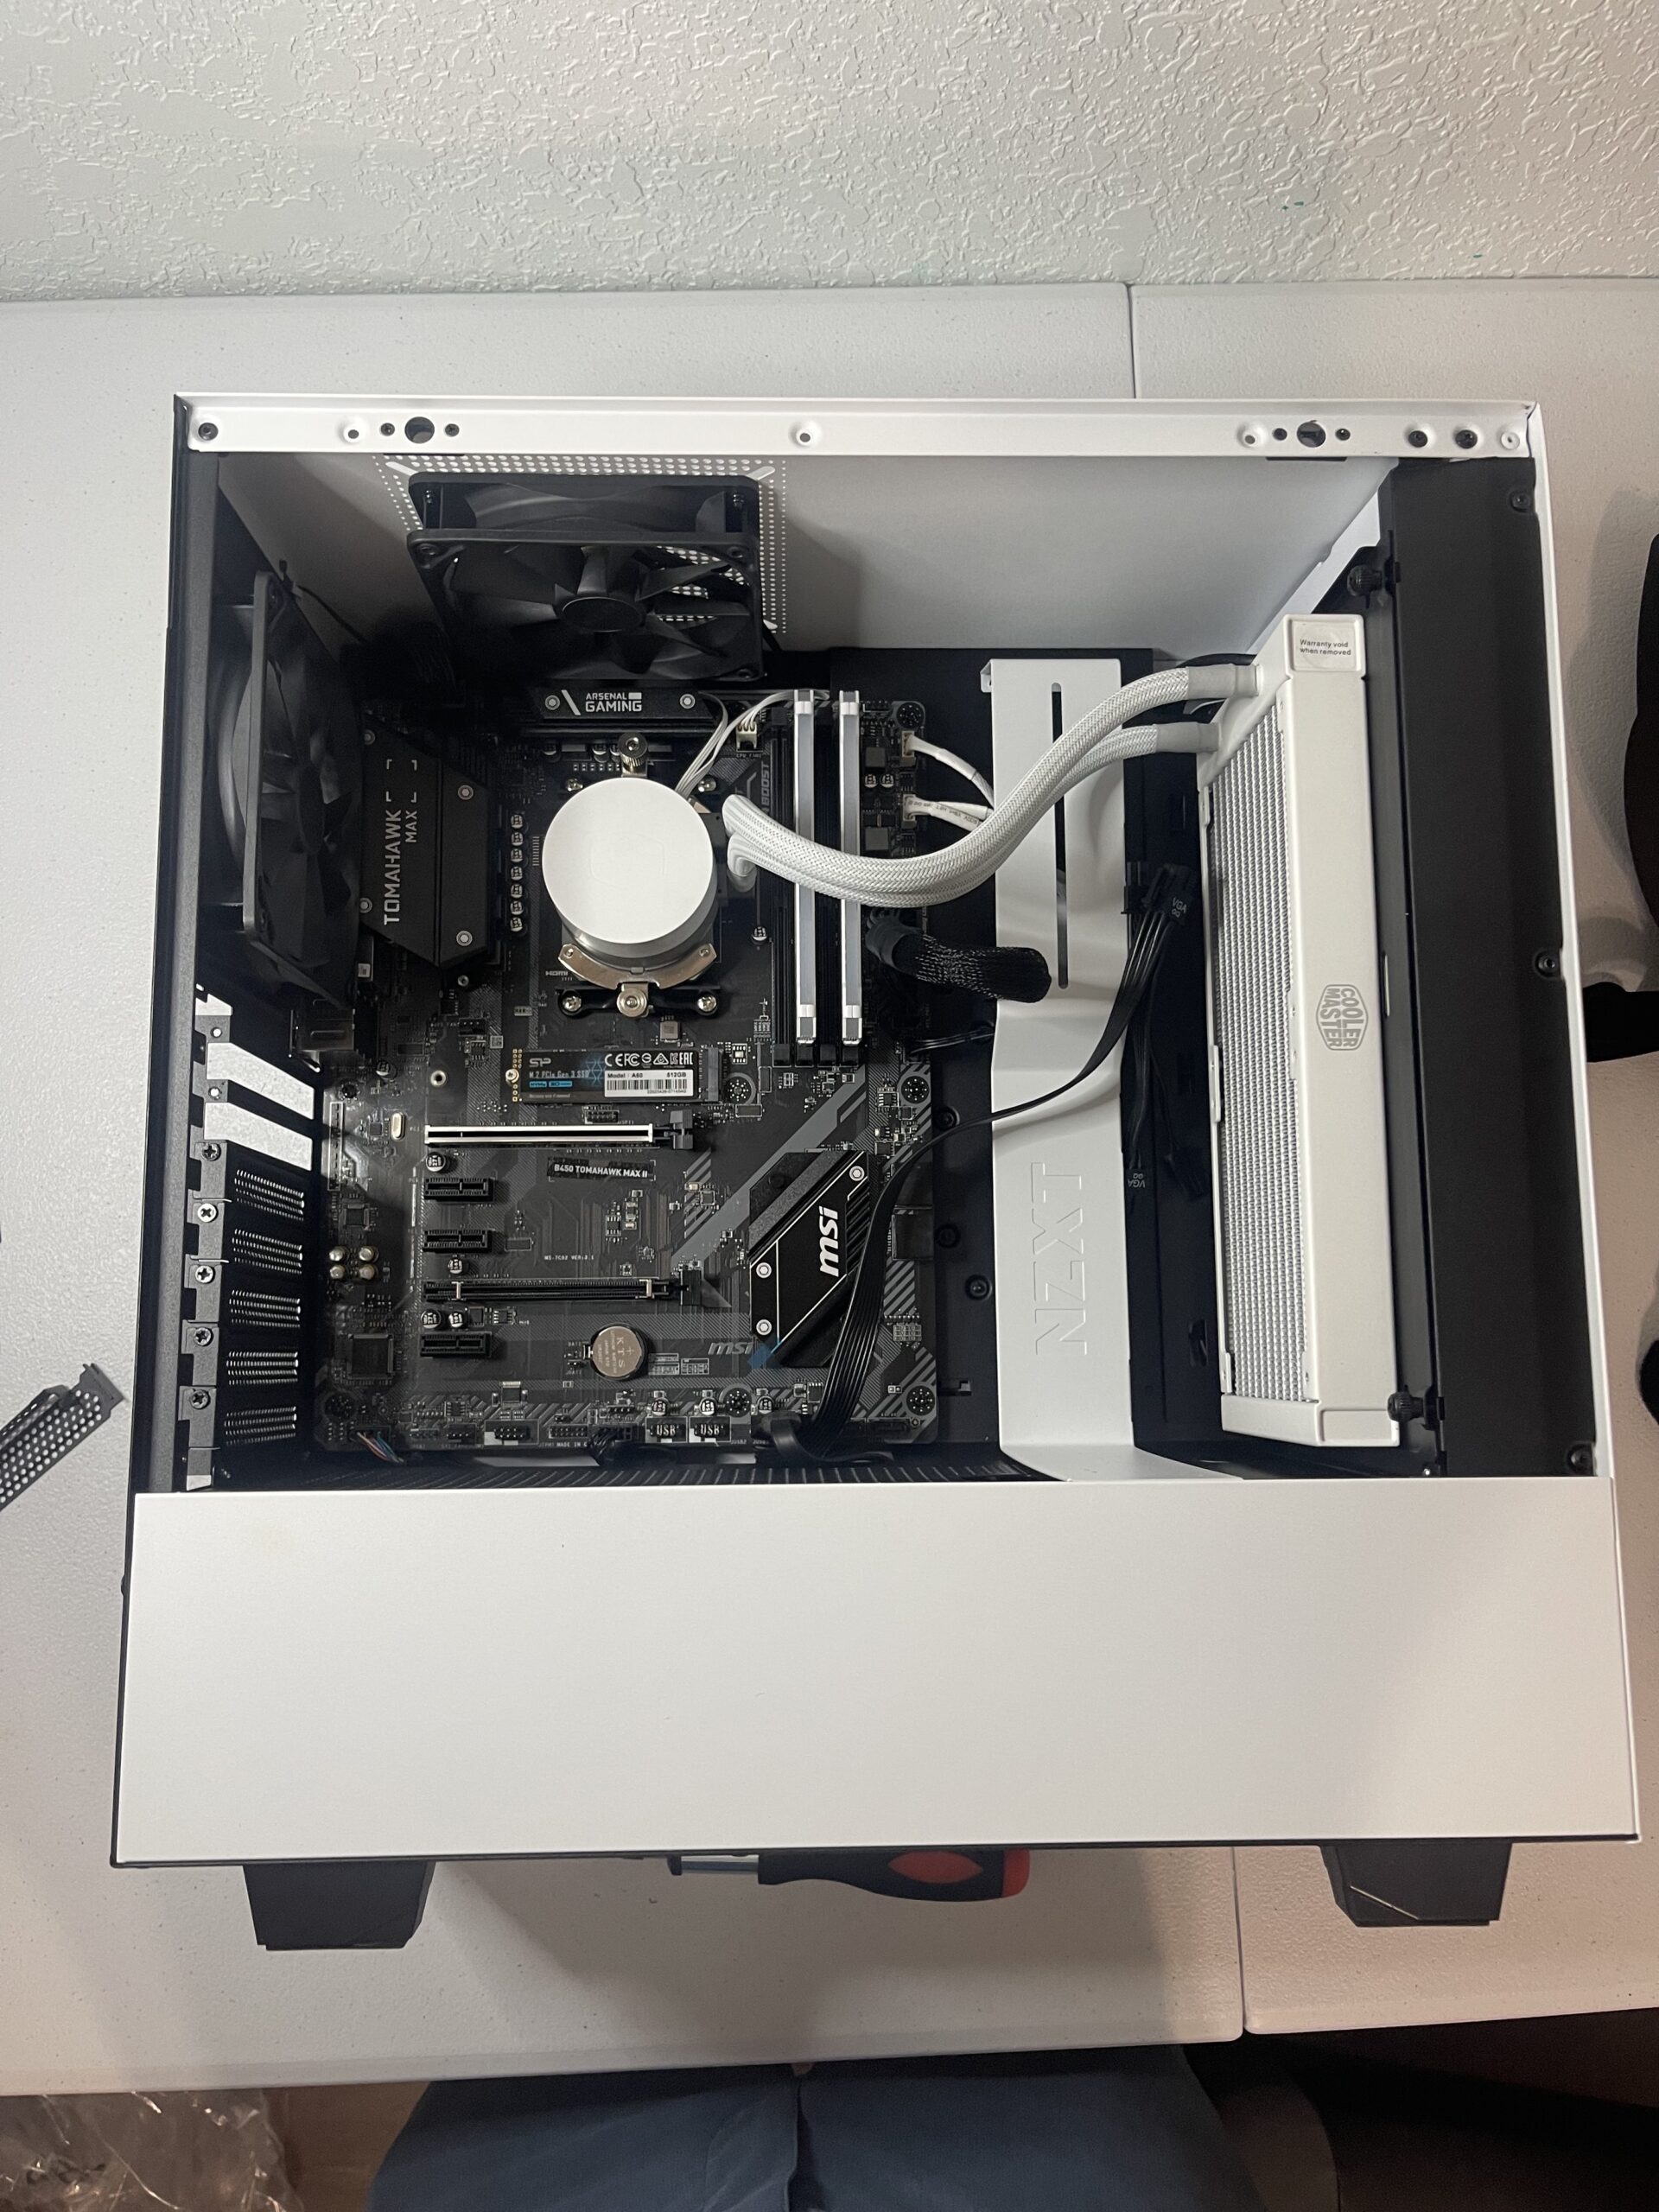
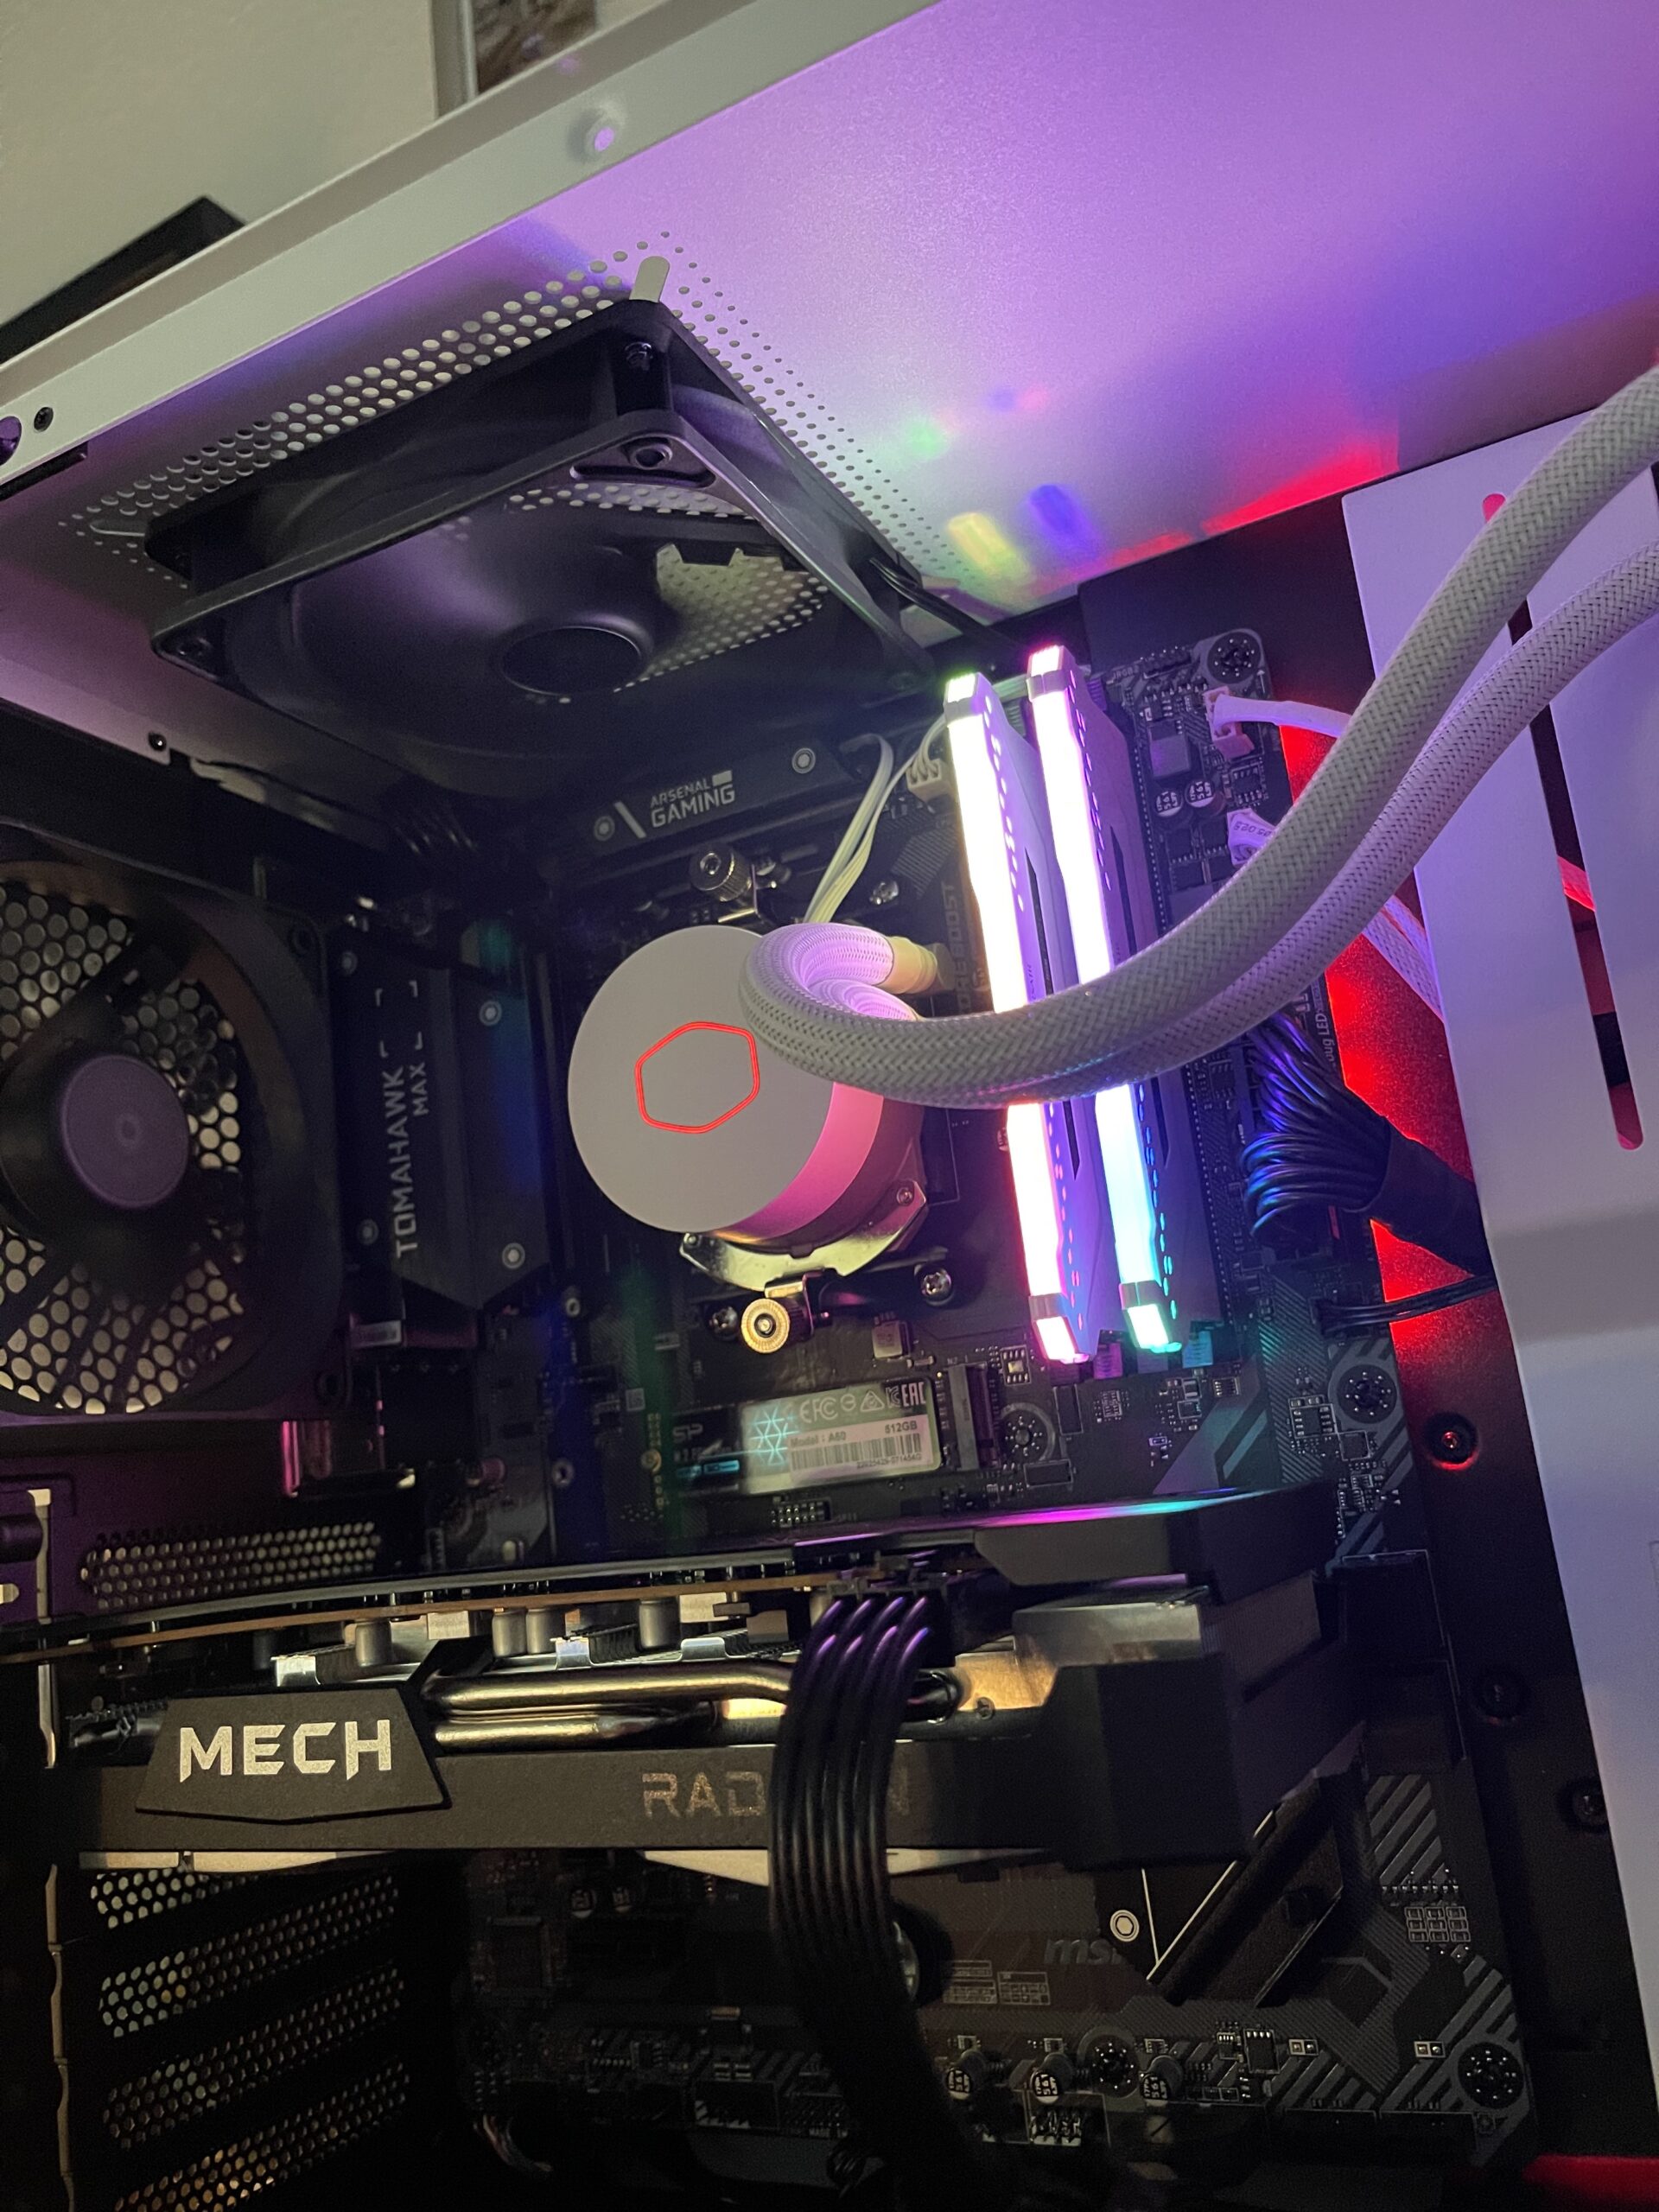
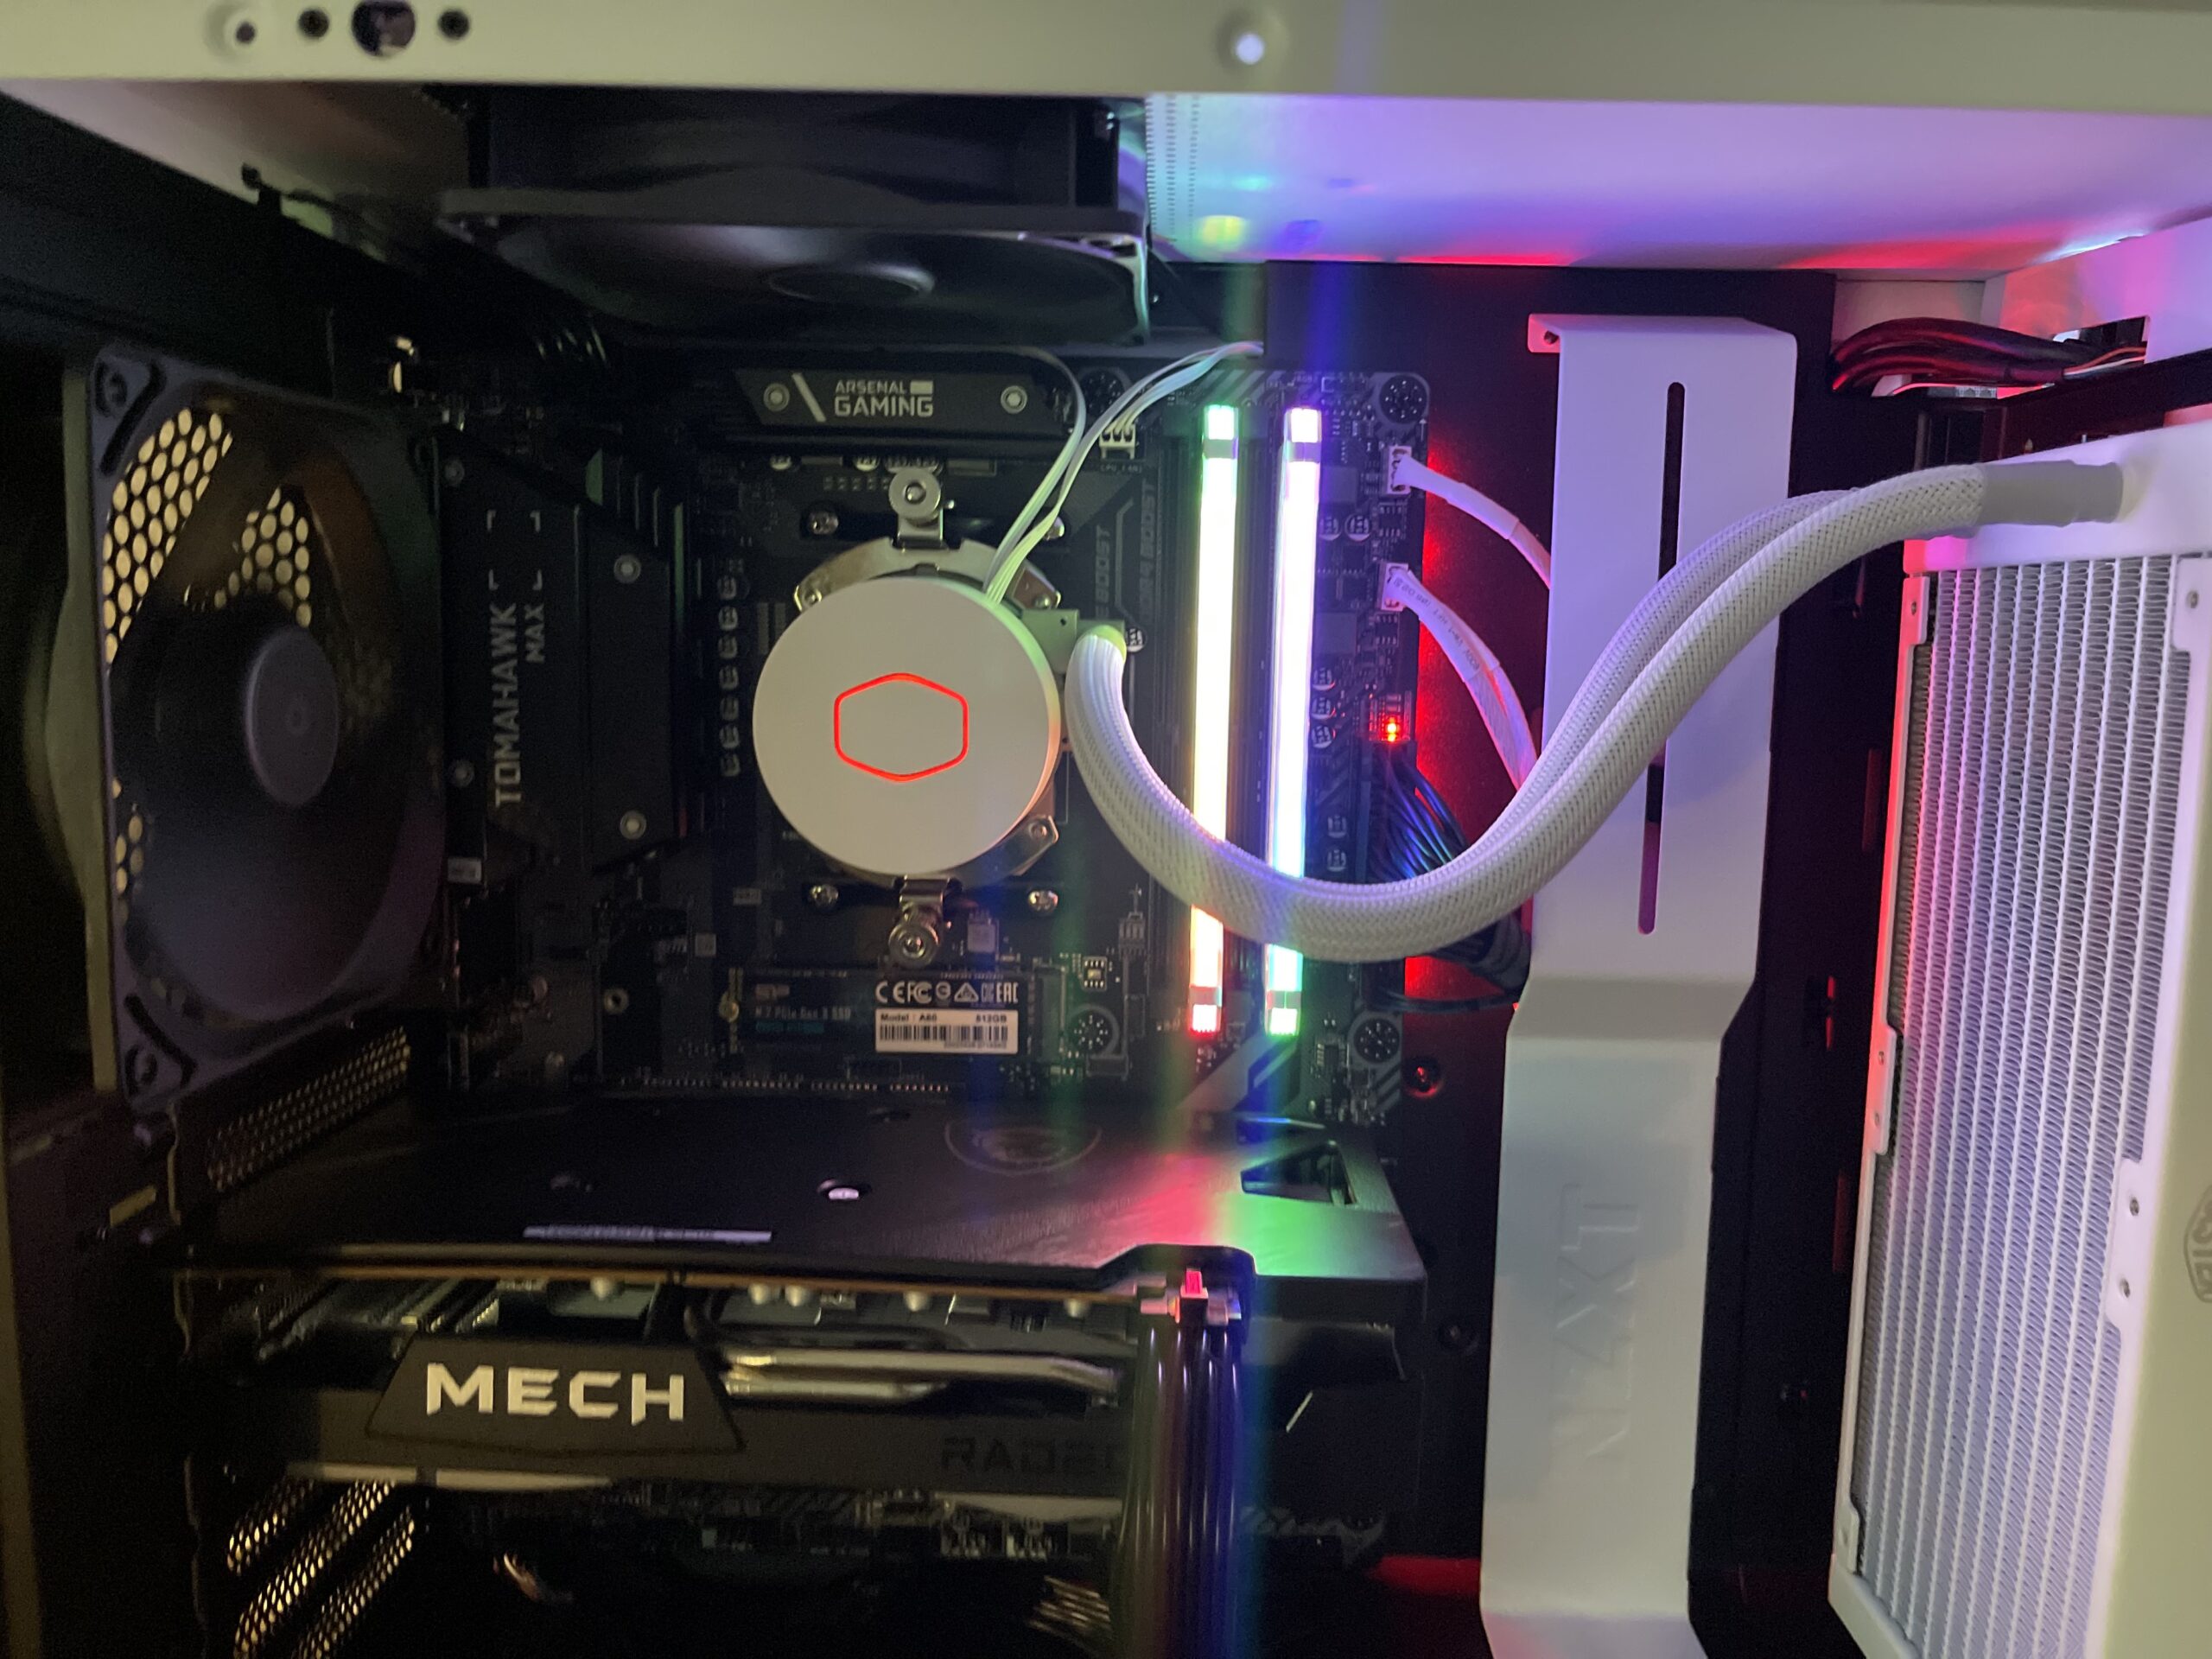
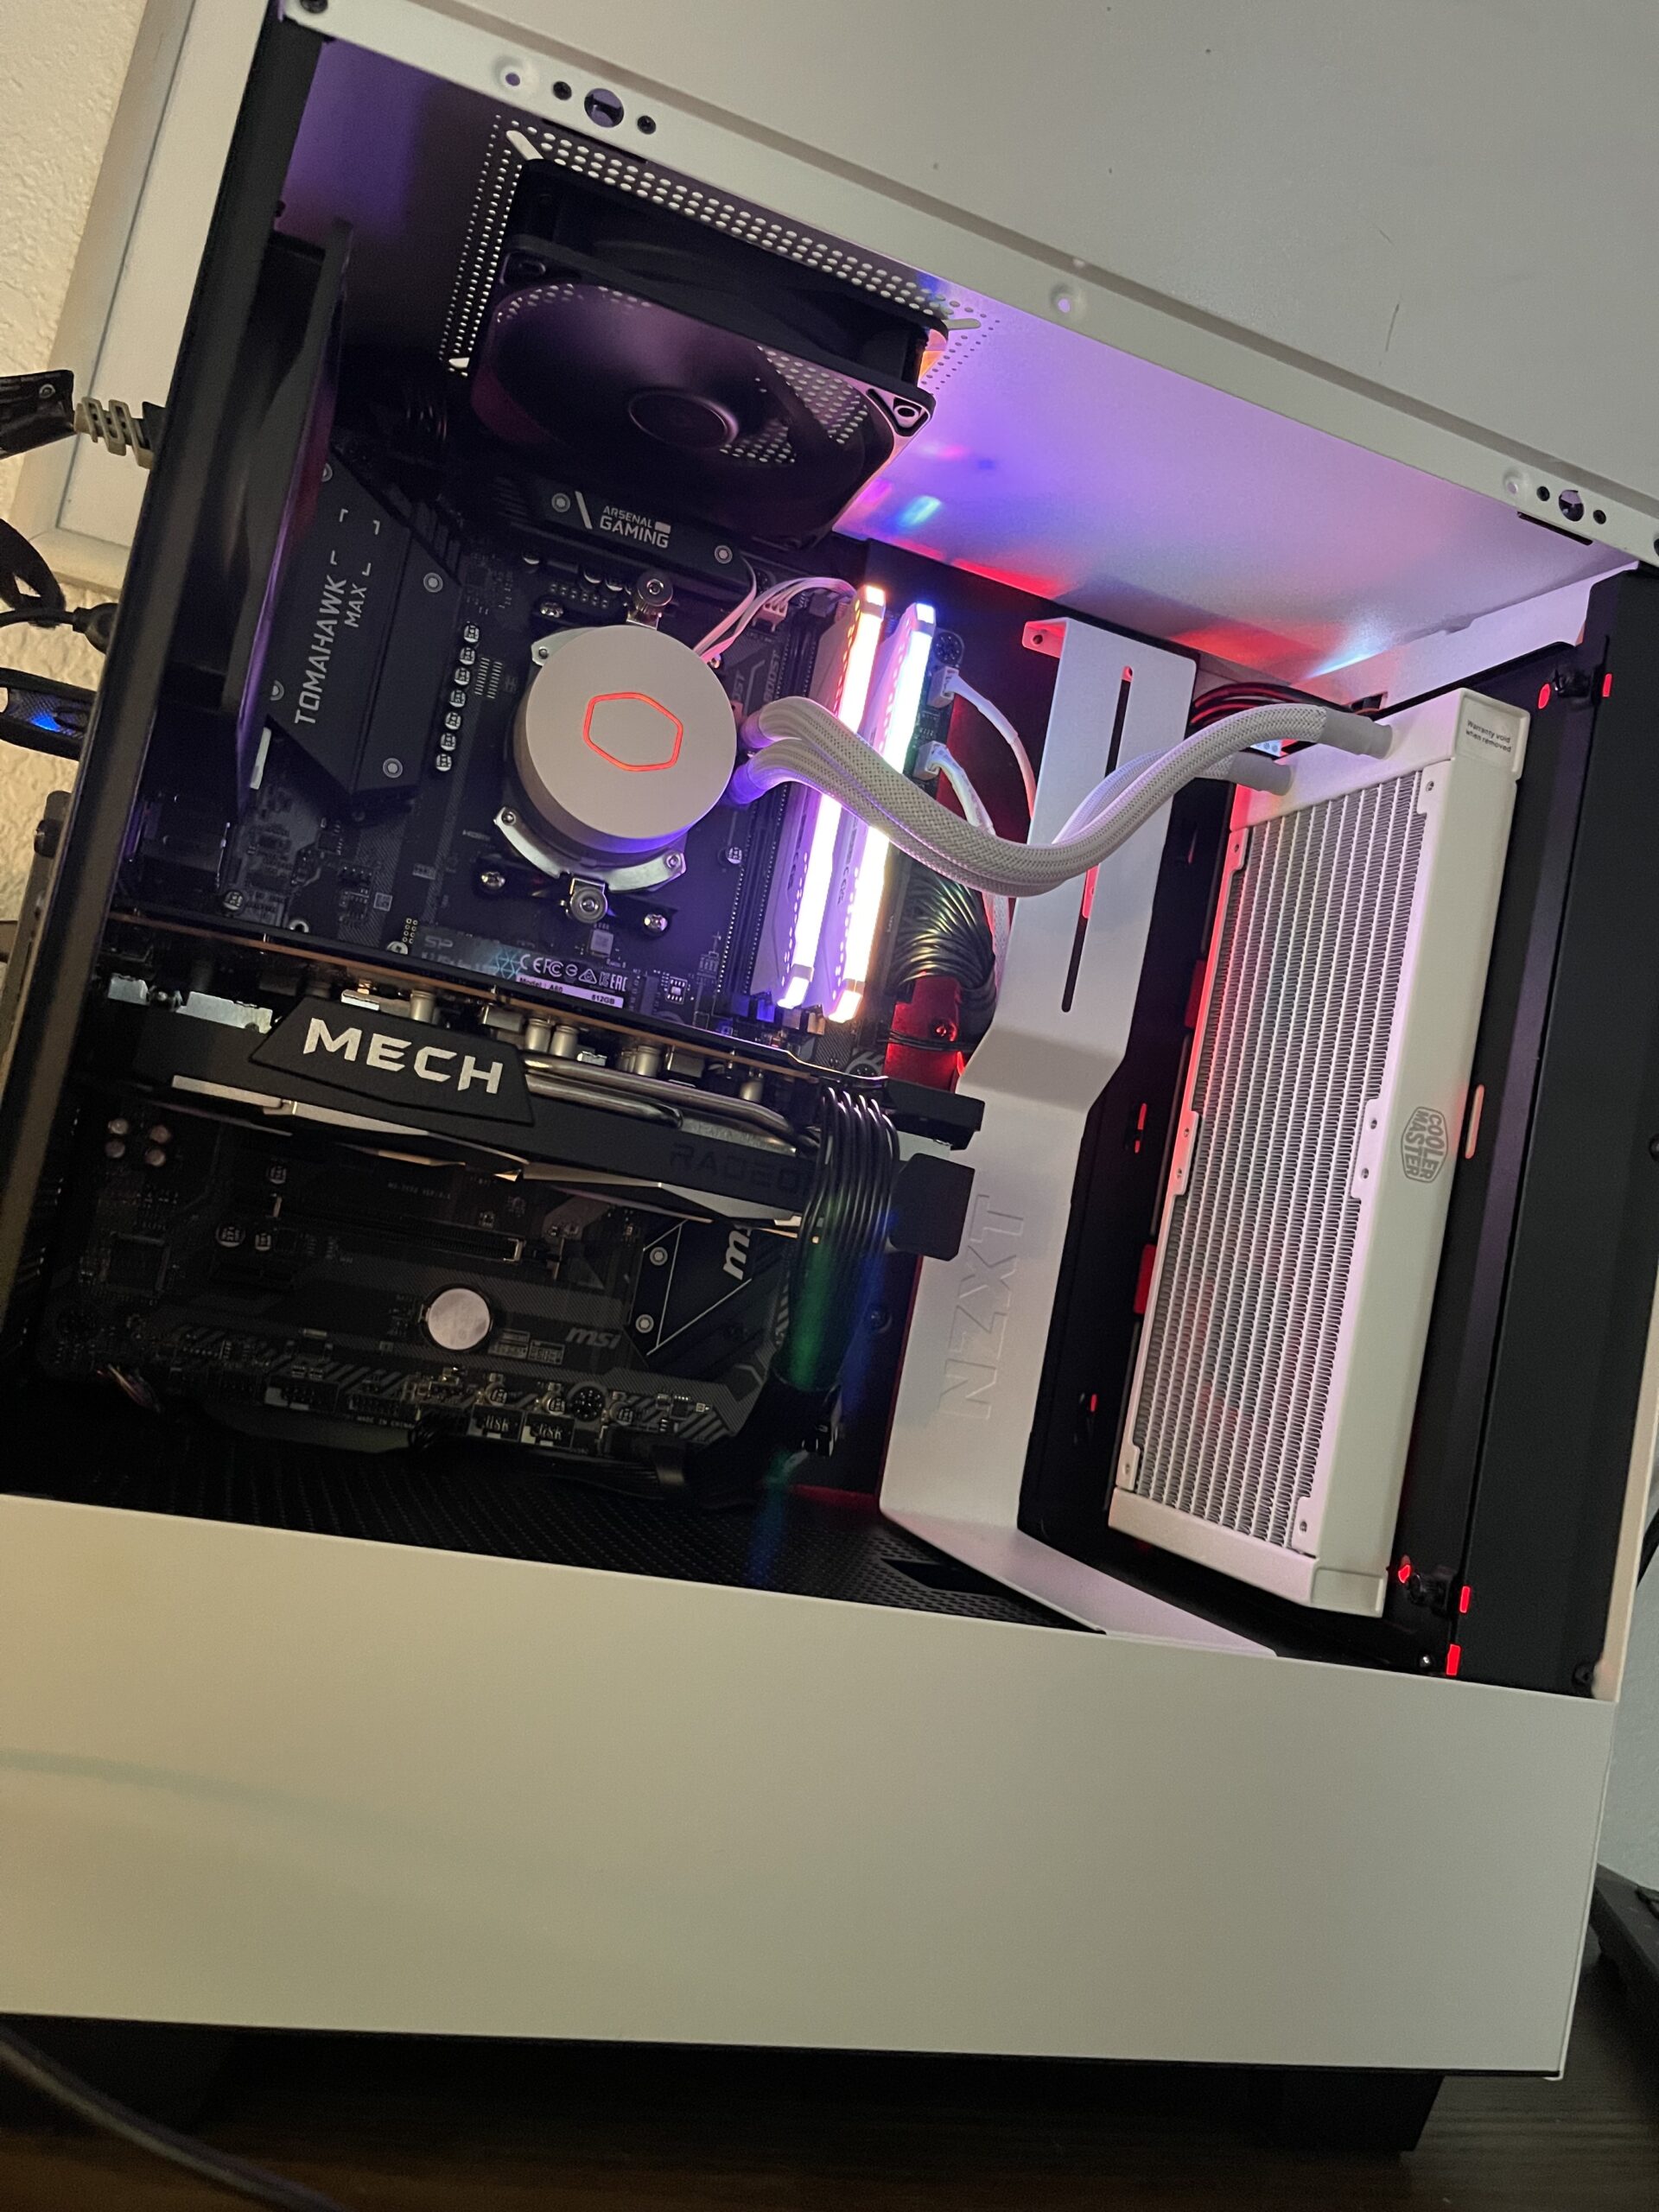
There comes a time in every gamer’s life where they ask, should they buy a gaming computer or should I build my own? Prebuilt gaming computers are a great way to begin your gaming journey, however, building your own computer means your computer will be built for what you need! Building your own computer has many benefits over buying a prebuilt.
Prebuilt VS Custom Gaming PC
Prebuilt computers are great if you have no technical expertise and want to start gaming as soon as possible. There are many companies out there that offer a variety of prebuilt gaming computers such as OriginPC or Xidax.com. However, after the dust is settled and you configured your perfect computer, you may notice the above average cost. The two biggest drawbacks to buying a prebuilt is shipping fees and a possible brand/labor fee.
For many gamers, being able to choose every component that goes into your machine means you get more out of their PC. This gives you the ability to perfectly tailor your system to your specific needs. Second, building a computer is cheaper in the long run. You can find great deals on components and you don’t have to pay for warranty or tech support (most individual parts come with manufacturer warranties anyways!). Finally, it’s a fun project! Building your own computer is a great way to learn about how computers work and how to troubleshoot problems yourself.
Planning A Custom Gaming Computer’s Specifications
Any project has a much higher success rate when it is planned beforehand. Building a custom gaming computer is no different! In order to plan for a successful build, we’ll need the following information/requirements:
Which CPU brand is better for you: AMD or Intel?
Choosing a CPU brand will not have a heavy impact on your overall performance. Both are great competitive companies, however, choosing a brand will be the core of your computer. Choosing an AMD CPU means you will need to choose an AMD based motherboard, cooler, and possibly graphics card.
How much wattage will the system take?
The final part to choose for your build will more than likely be the Power Supply. This is because to calculate the wattage you need to run your computer, you will need to add the wattage requirement for each part. For the most part, you will mainly need to add the wattage for CPU, GPU, and RAM as these are your more power demanding hardware parts. The rest of your hardware requires less than 10 wattage to operate such as storage.
After calculating the wattage, you will want to purchase a PSU with a little higher than your outcome to account for future proofing your PC as well as any addons you might be interested in installing such as more storage, or case lighting.
After choosing your PC parts, are they fully compatible?
- Motherboard to CPU compatibility
- RAM speed to Motherboard compatibility
- Power Supply Connector compatibility. It helps to check if a PSU is intended for ATX or mini ATX motherboards.
- Motherboard to Case compatibility
Is your computer future proof? How many years do you think it will last?
What size computer case are you going to get? Mini / Mid Tower / Full Tower
Does your gaming computer need a RAID Configuration? (Optional)
This one is not necessary but it is an option nonetheless. Computers have the option to have RAID configurations setup. Each configuration has it’s own purpose such as the mirror configuration. If one hard drive fails, a second hard drive acts as an exact copy or “mirror” which would have a working copy of your data. Another configuration is intended to boost performance by combining two or more drives. However, if one hard drive fails, data recovery will be slightly more difficult than if you had one drive. Finally there’s the configuration with the previous configurations combined. If you have 3 or more drives, you can use 2 for performance and the third for data backup.
Time for Assembly
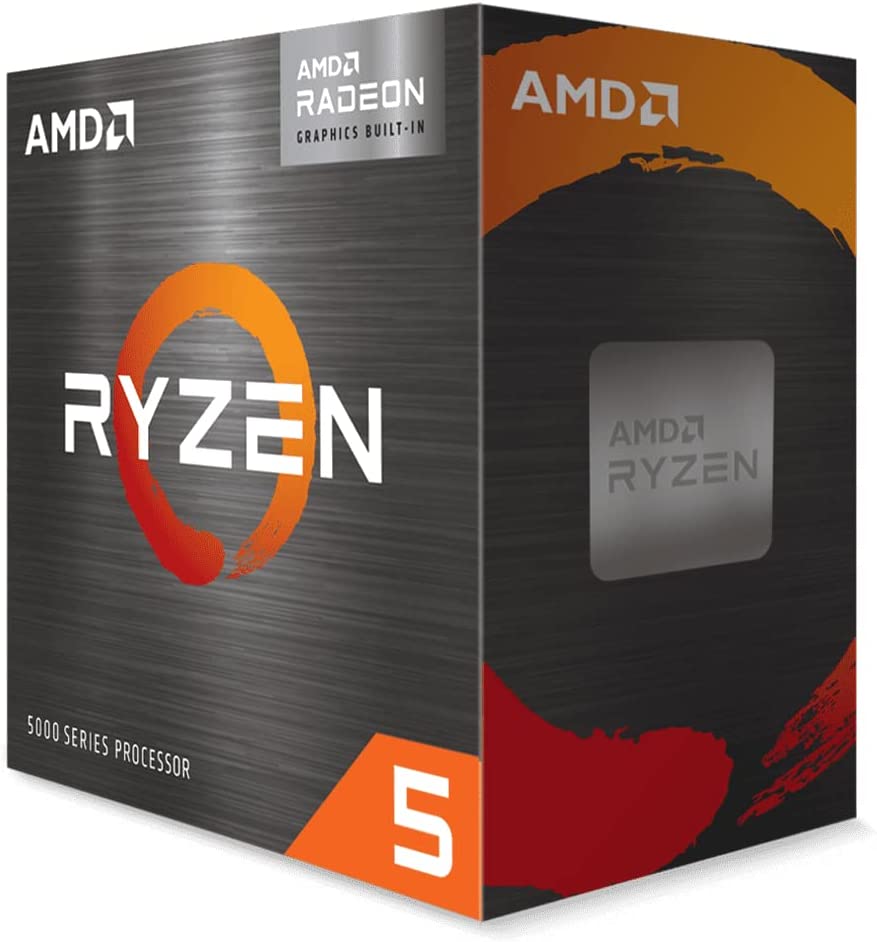
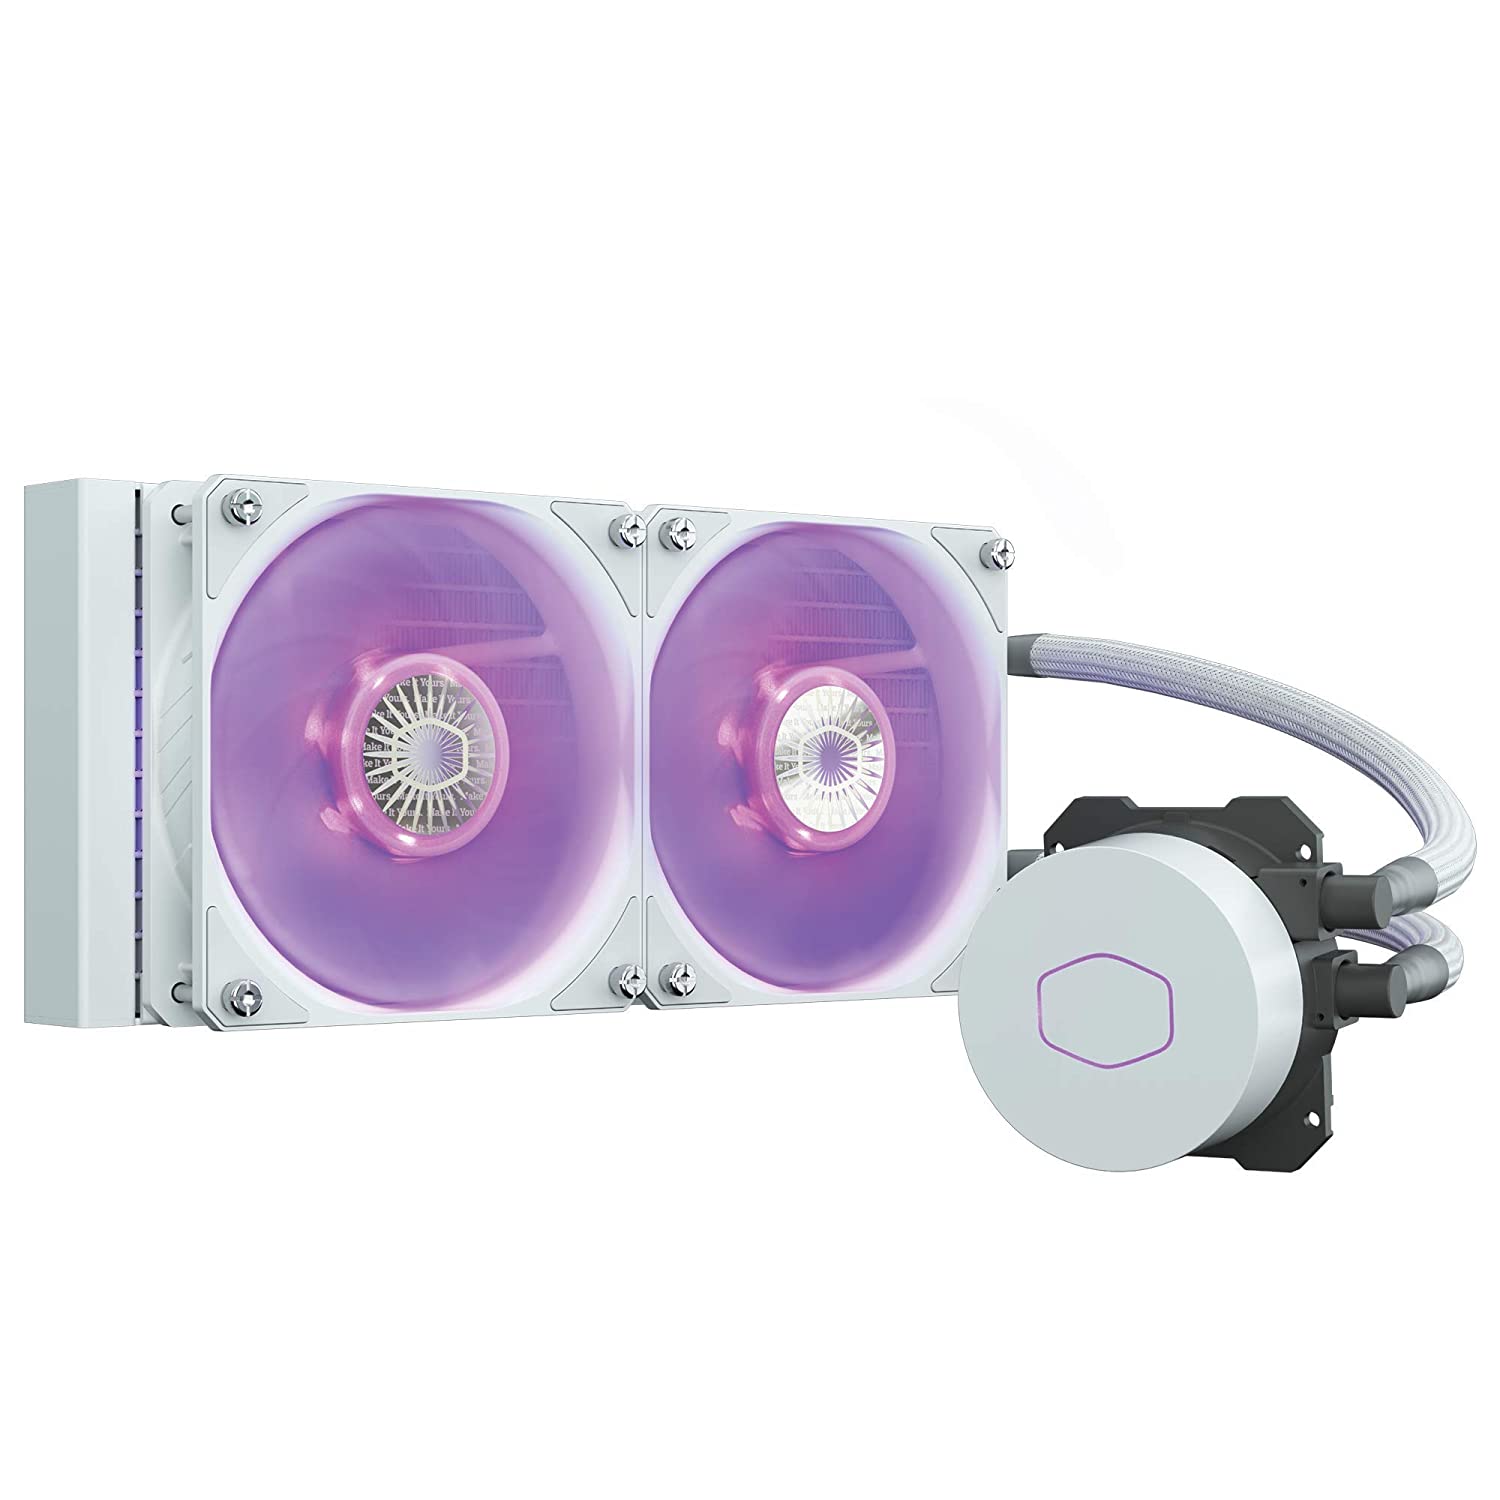
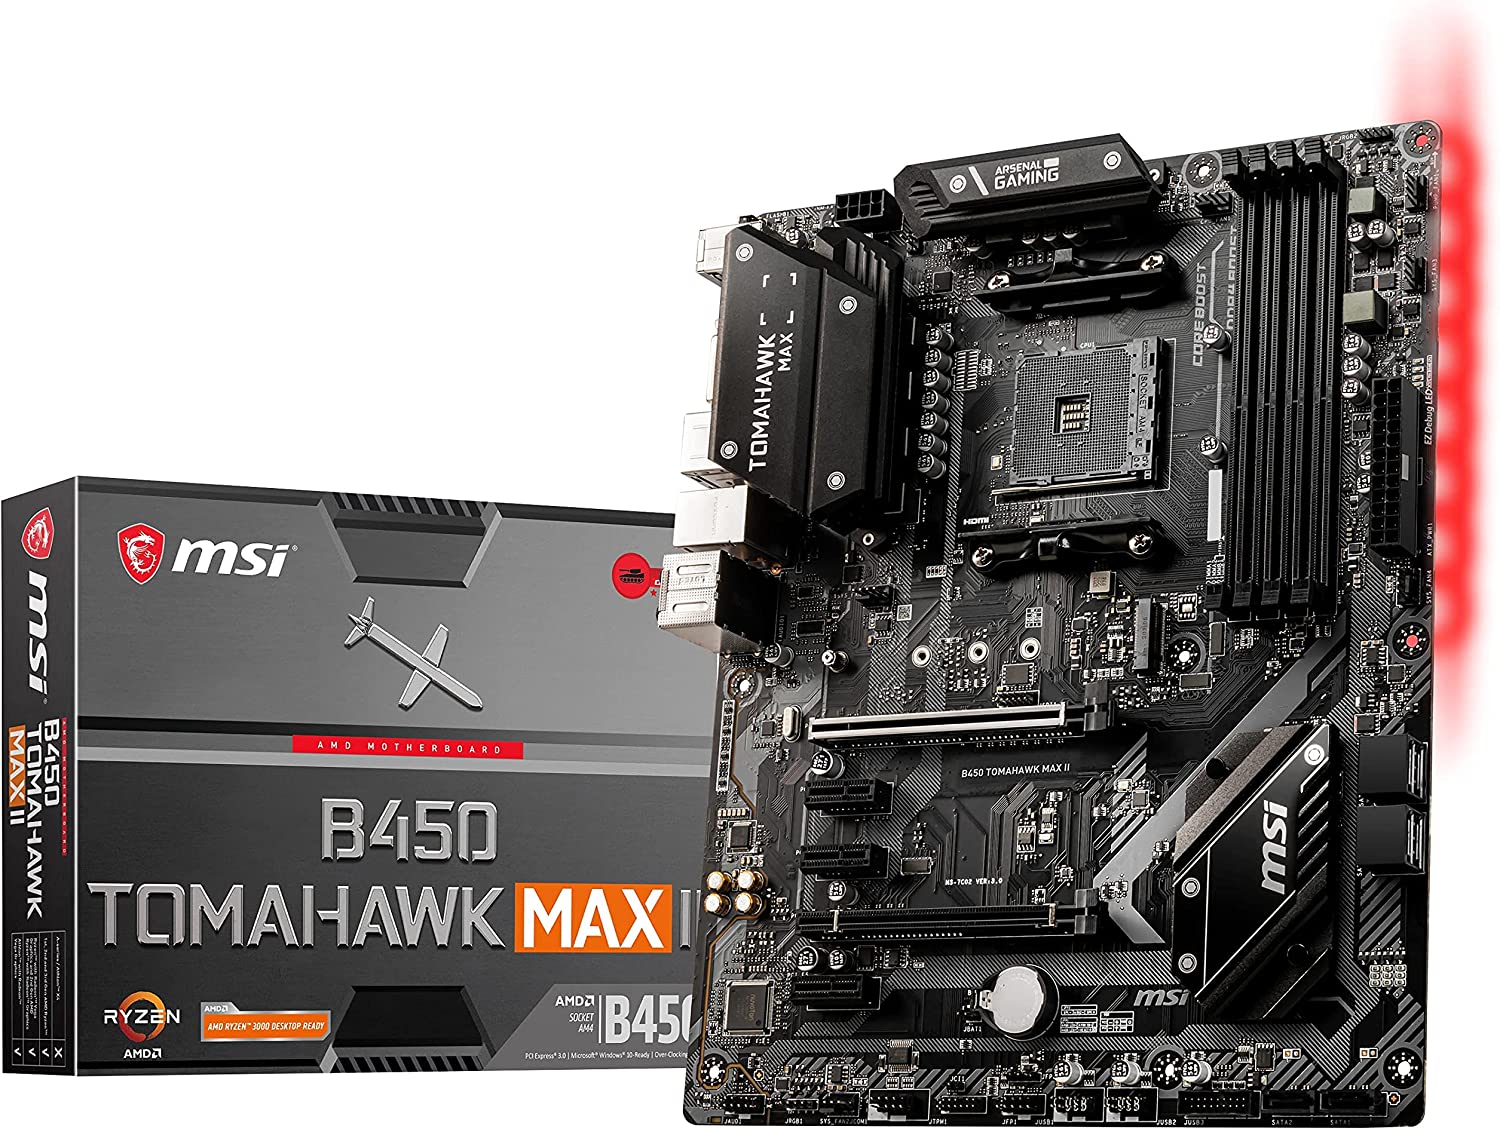
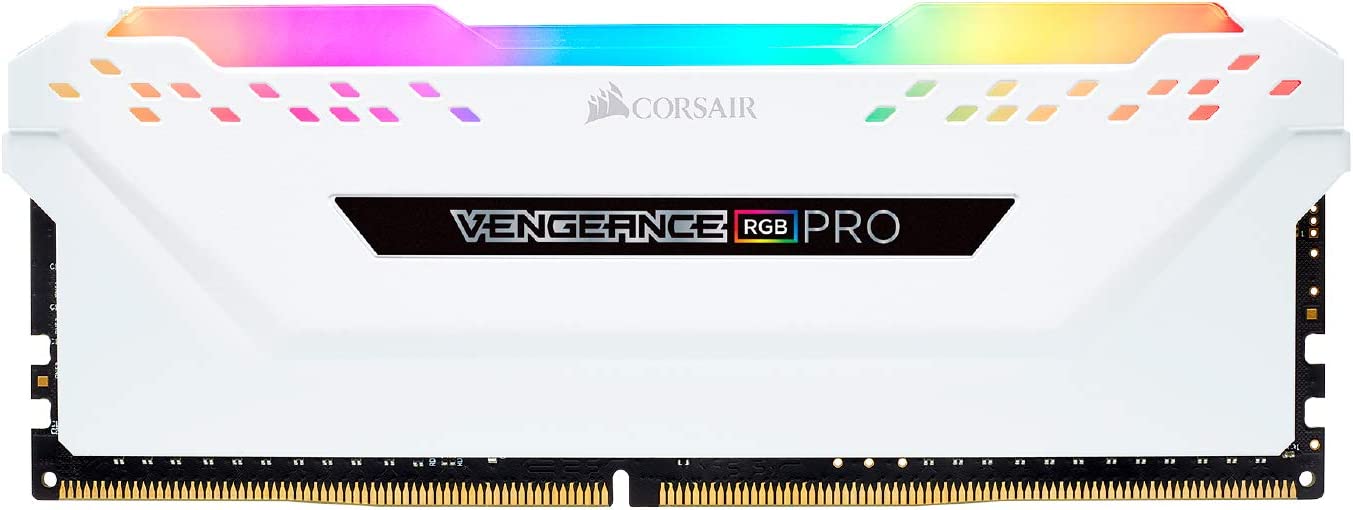
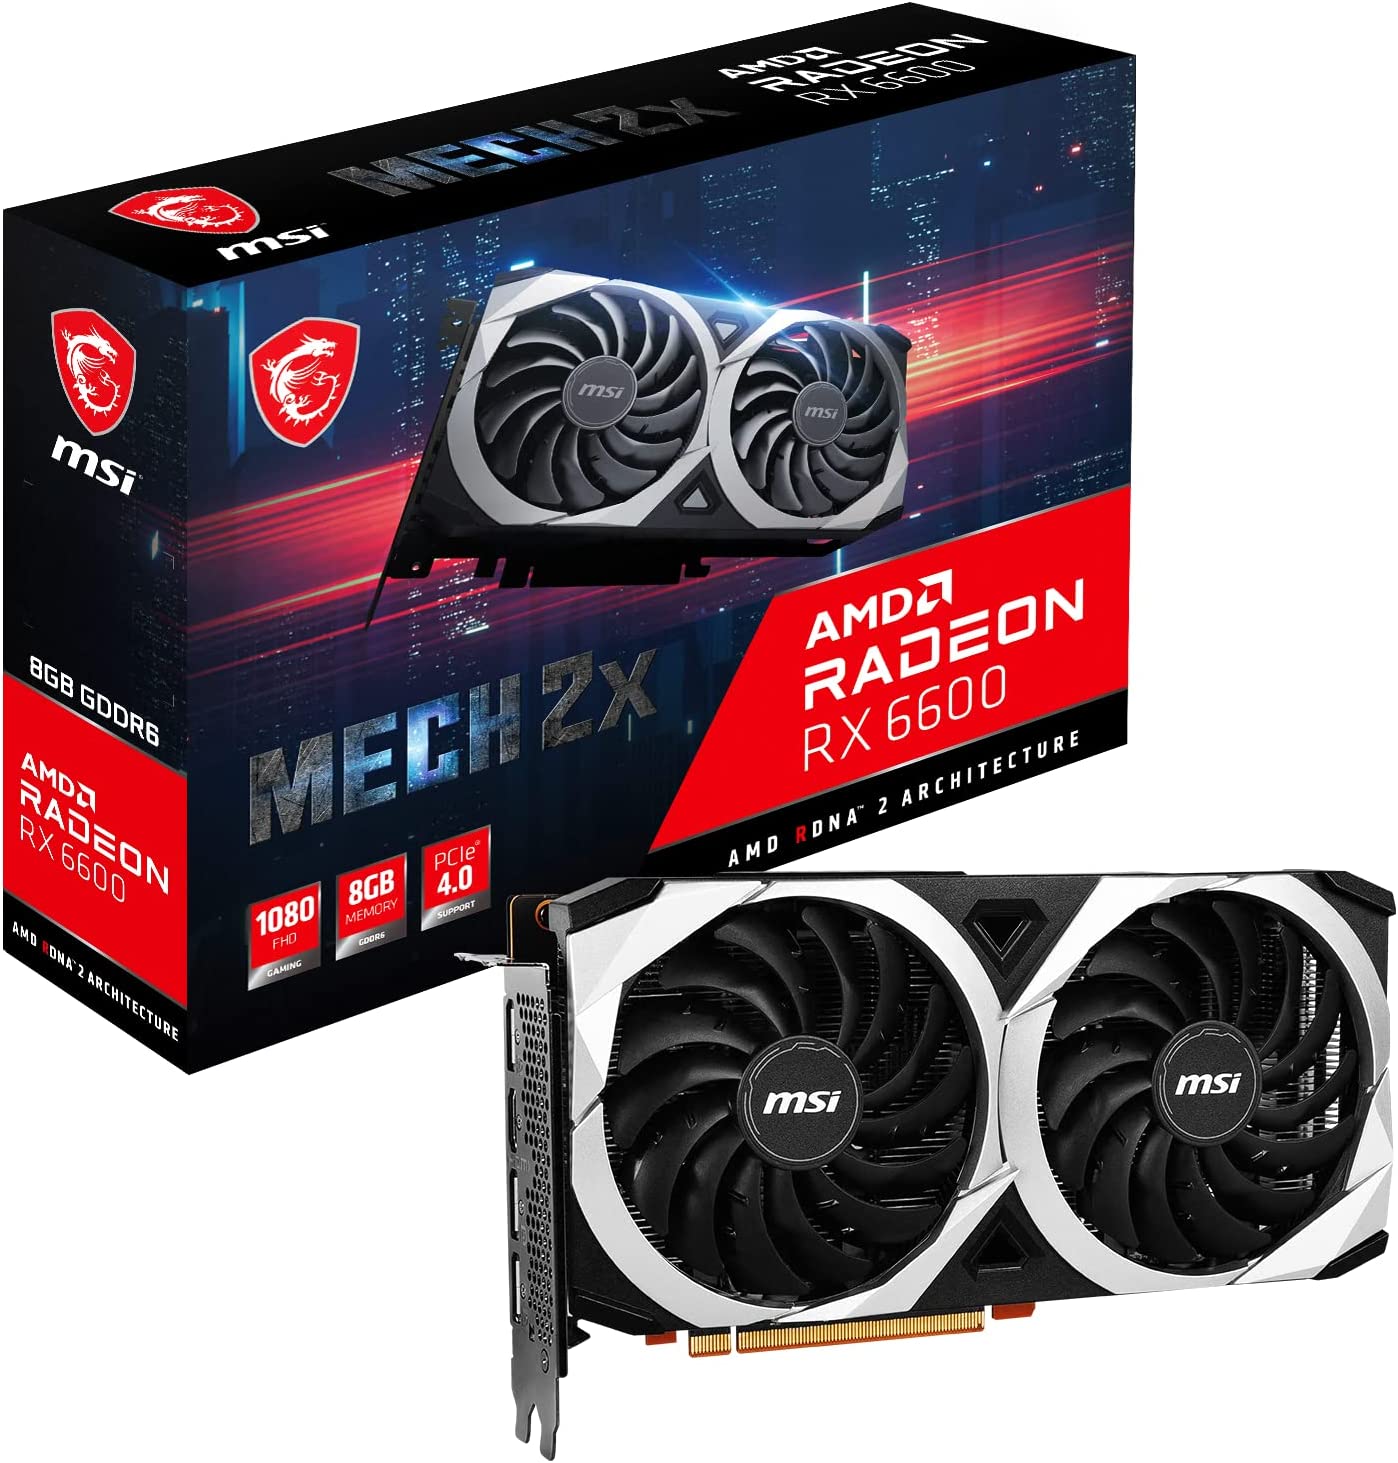
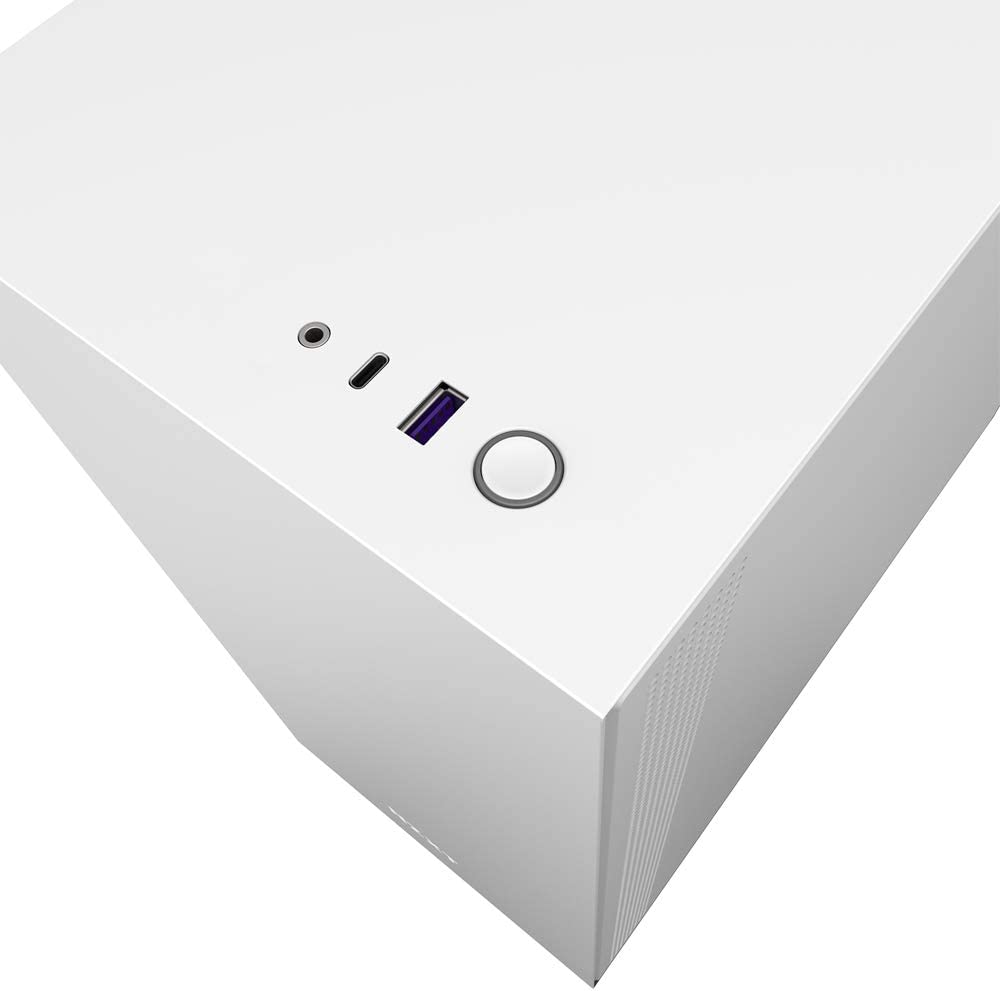
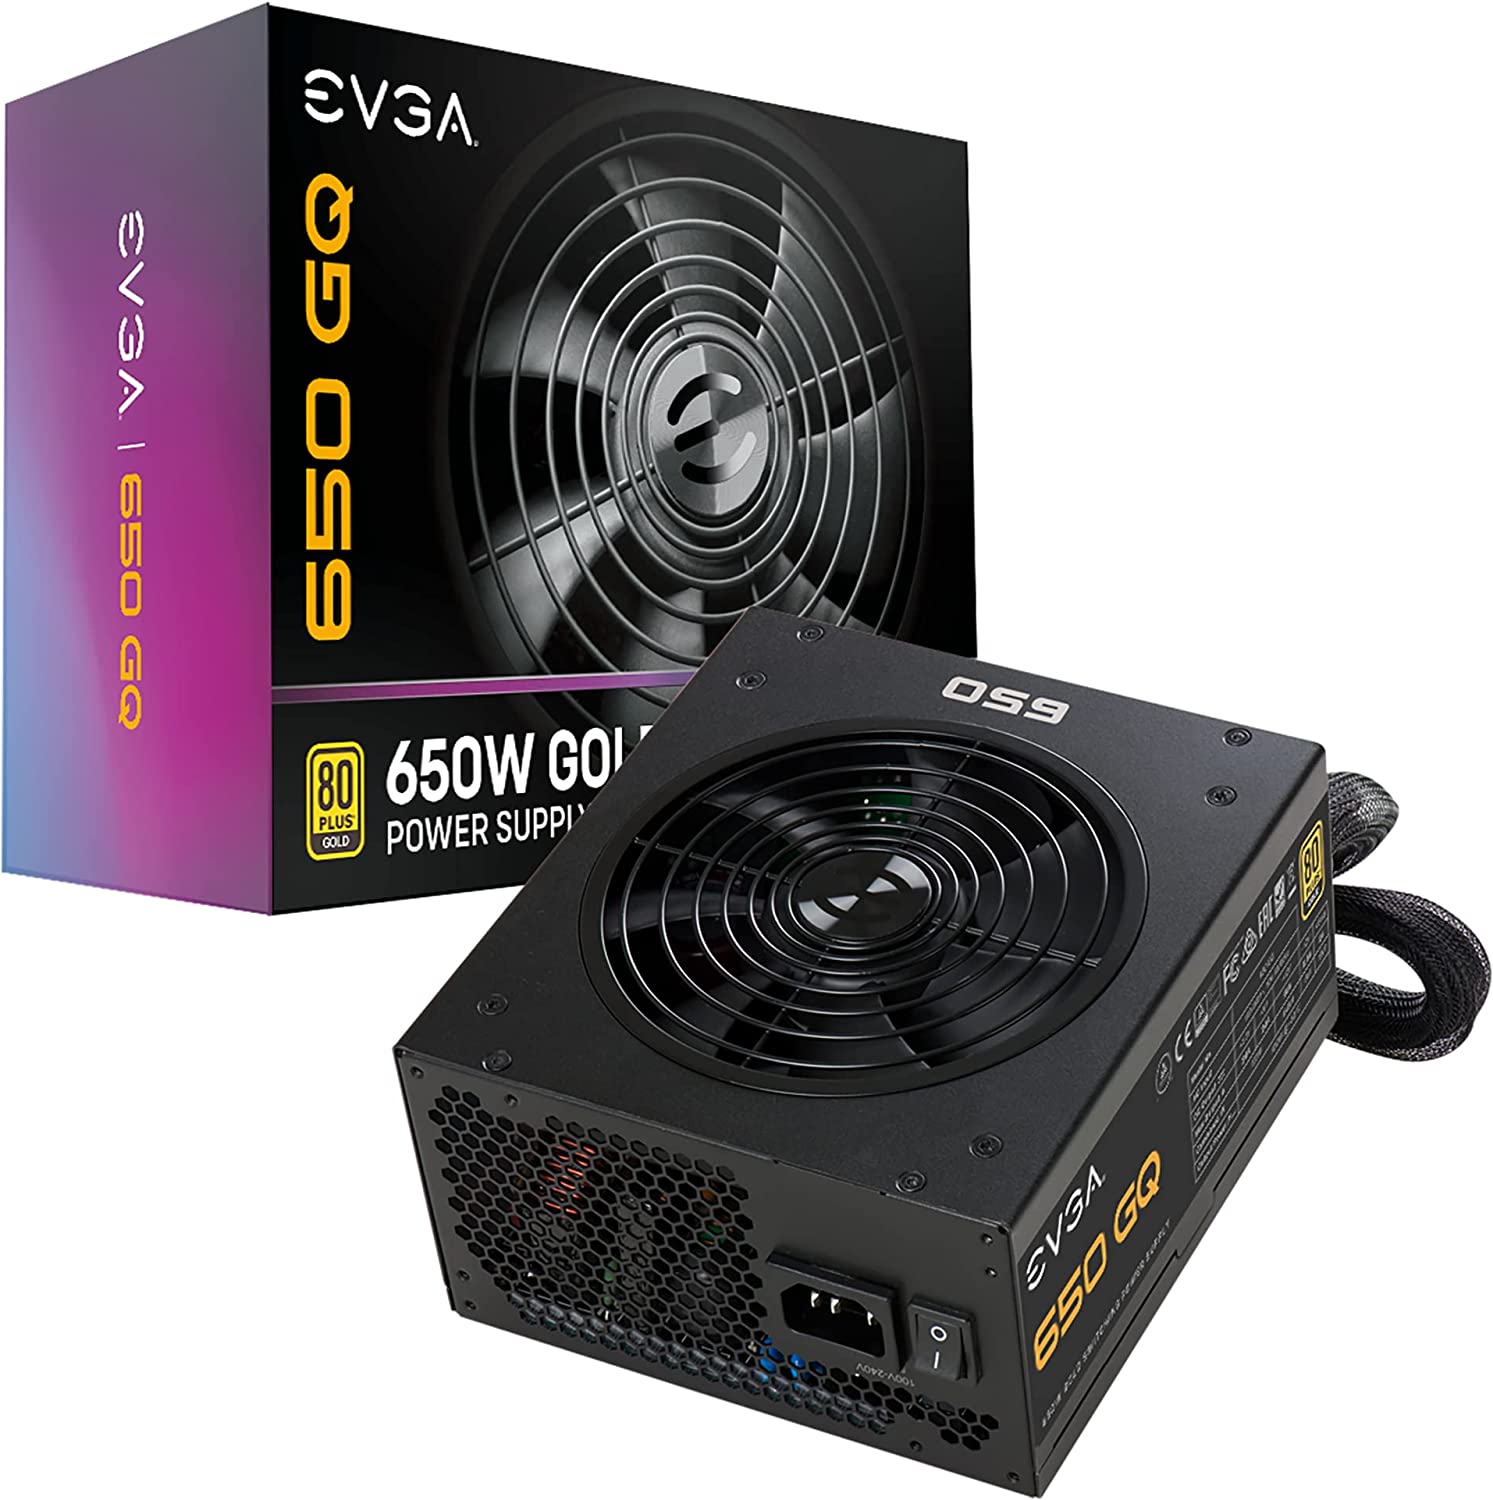
For this article, we will use the following part list to build our custom gaming computer:
This PC build had a budget requirement of $1000 for all parts (not including mouse, keyboard, and monitor). While planning this build we noticed parts changed in prices so you may see different costs if you choose to follow this guide.
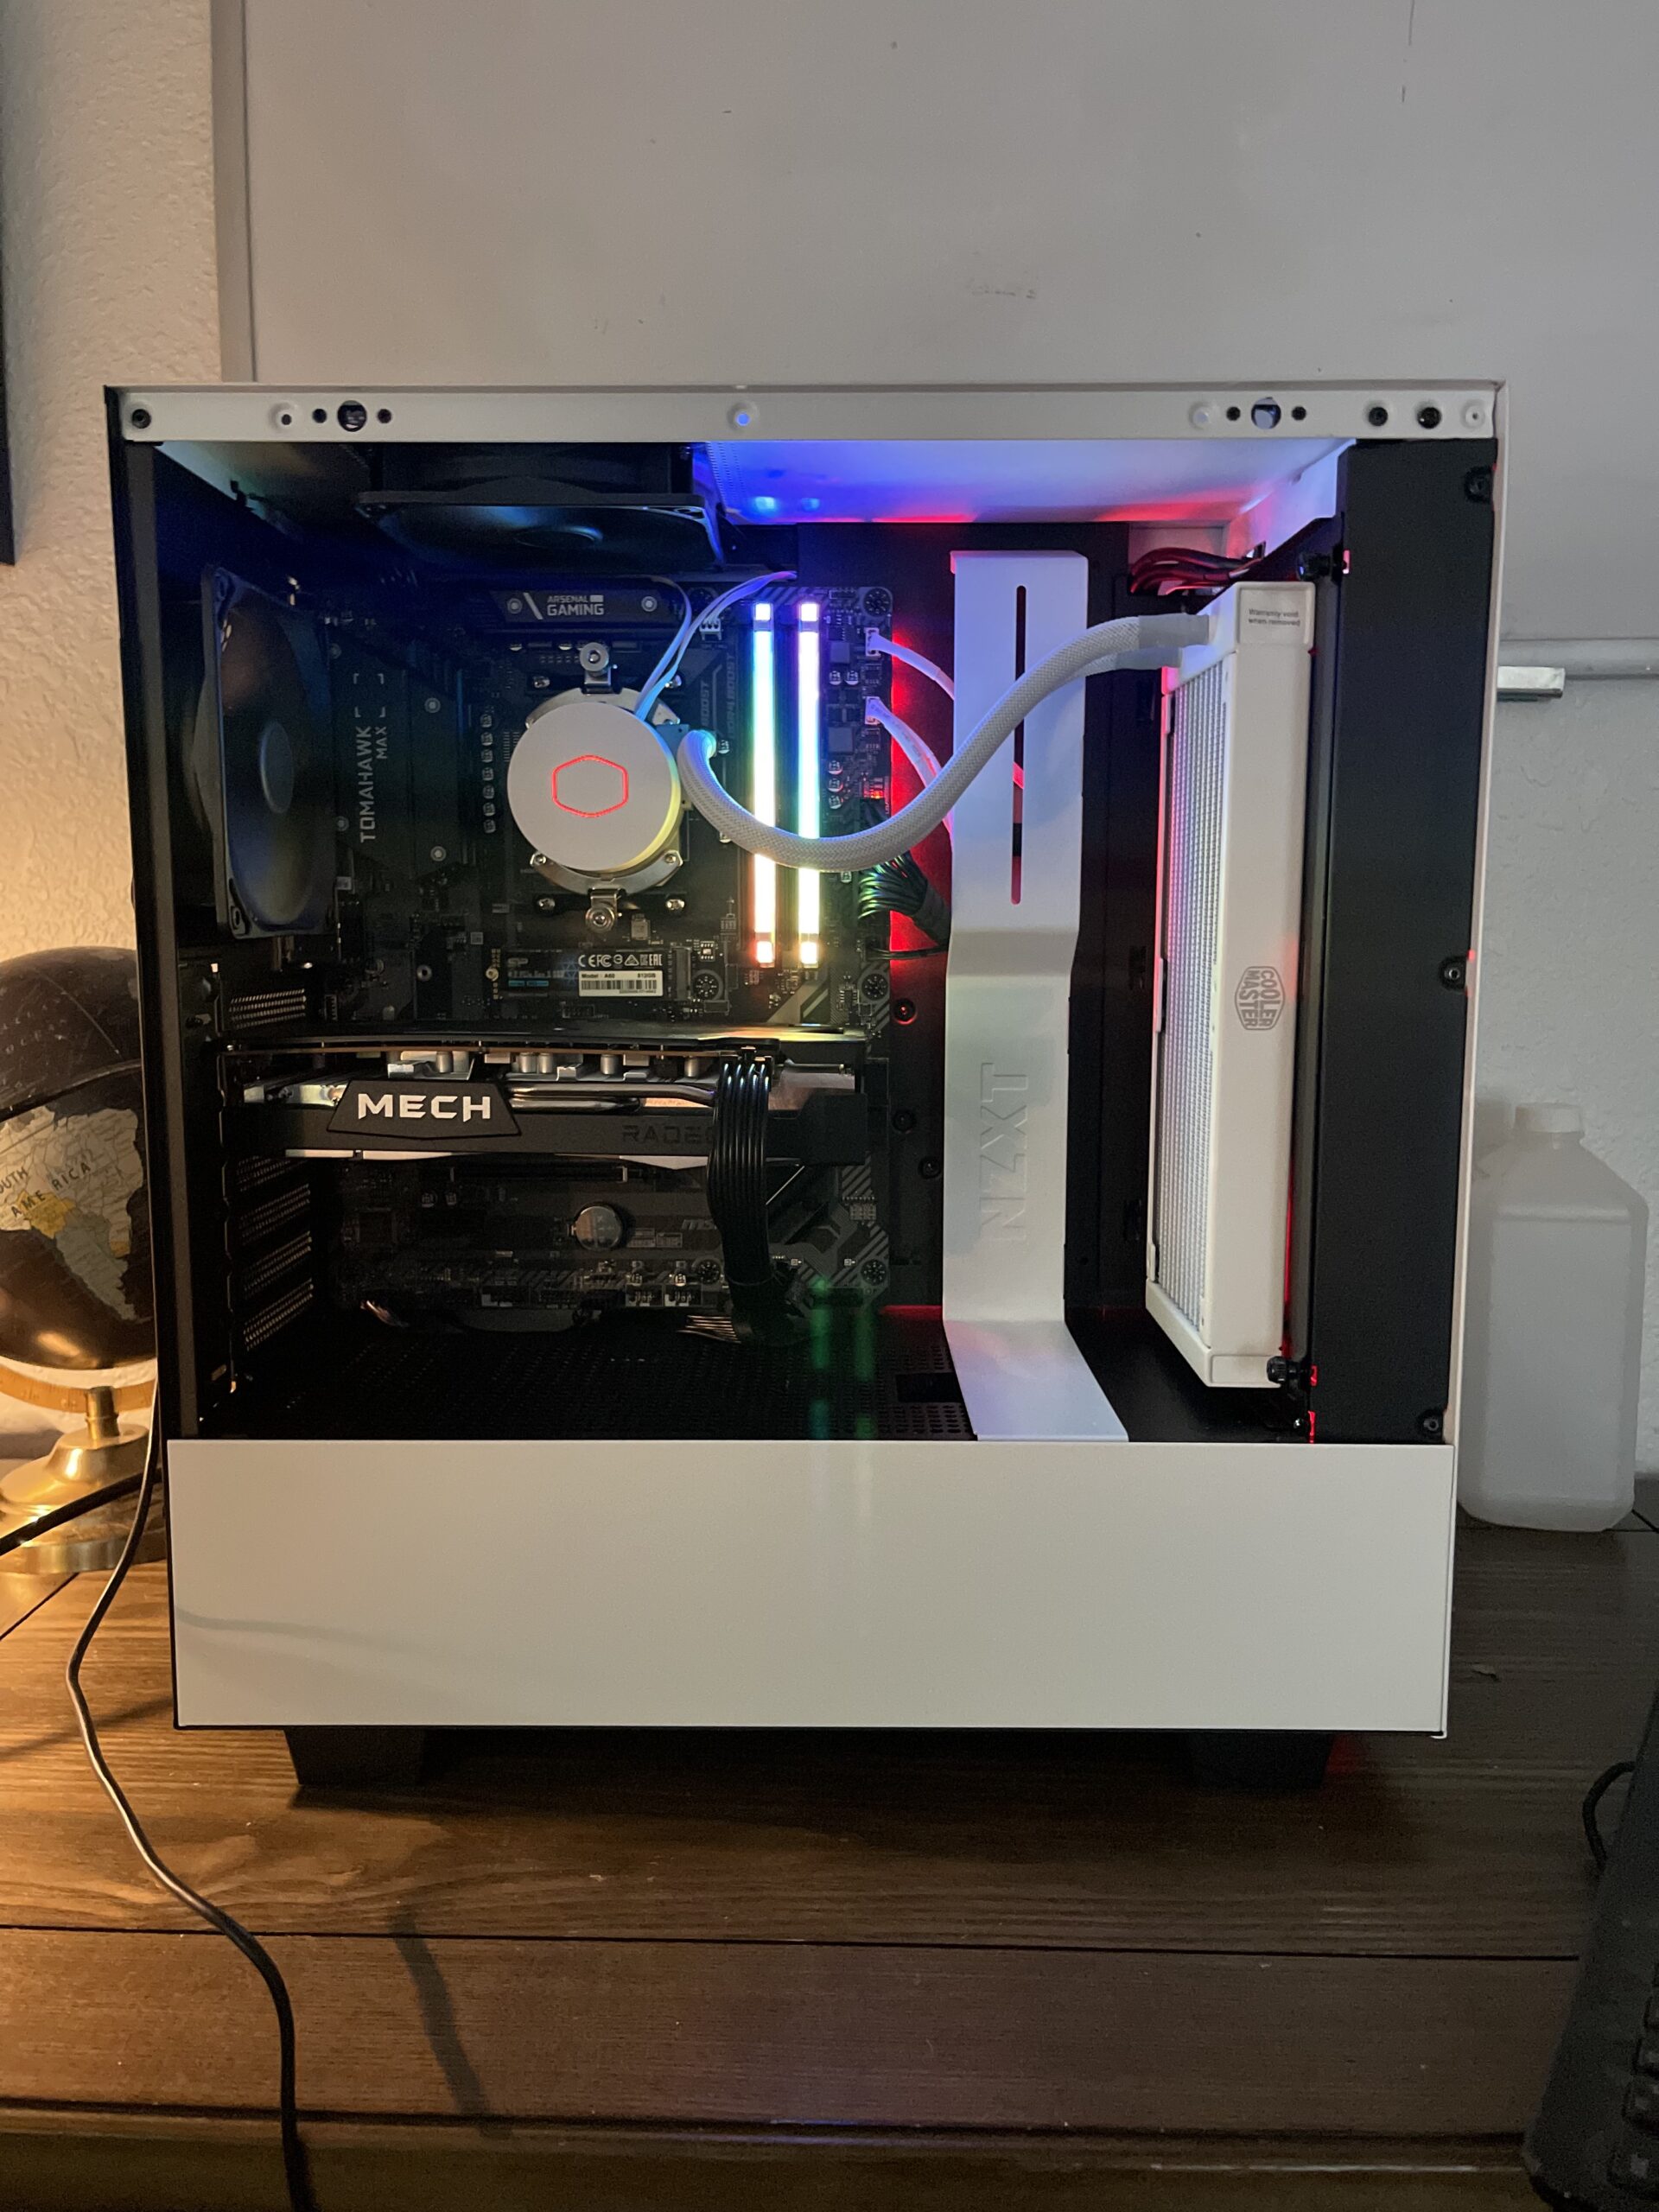
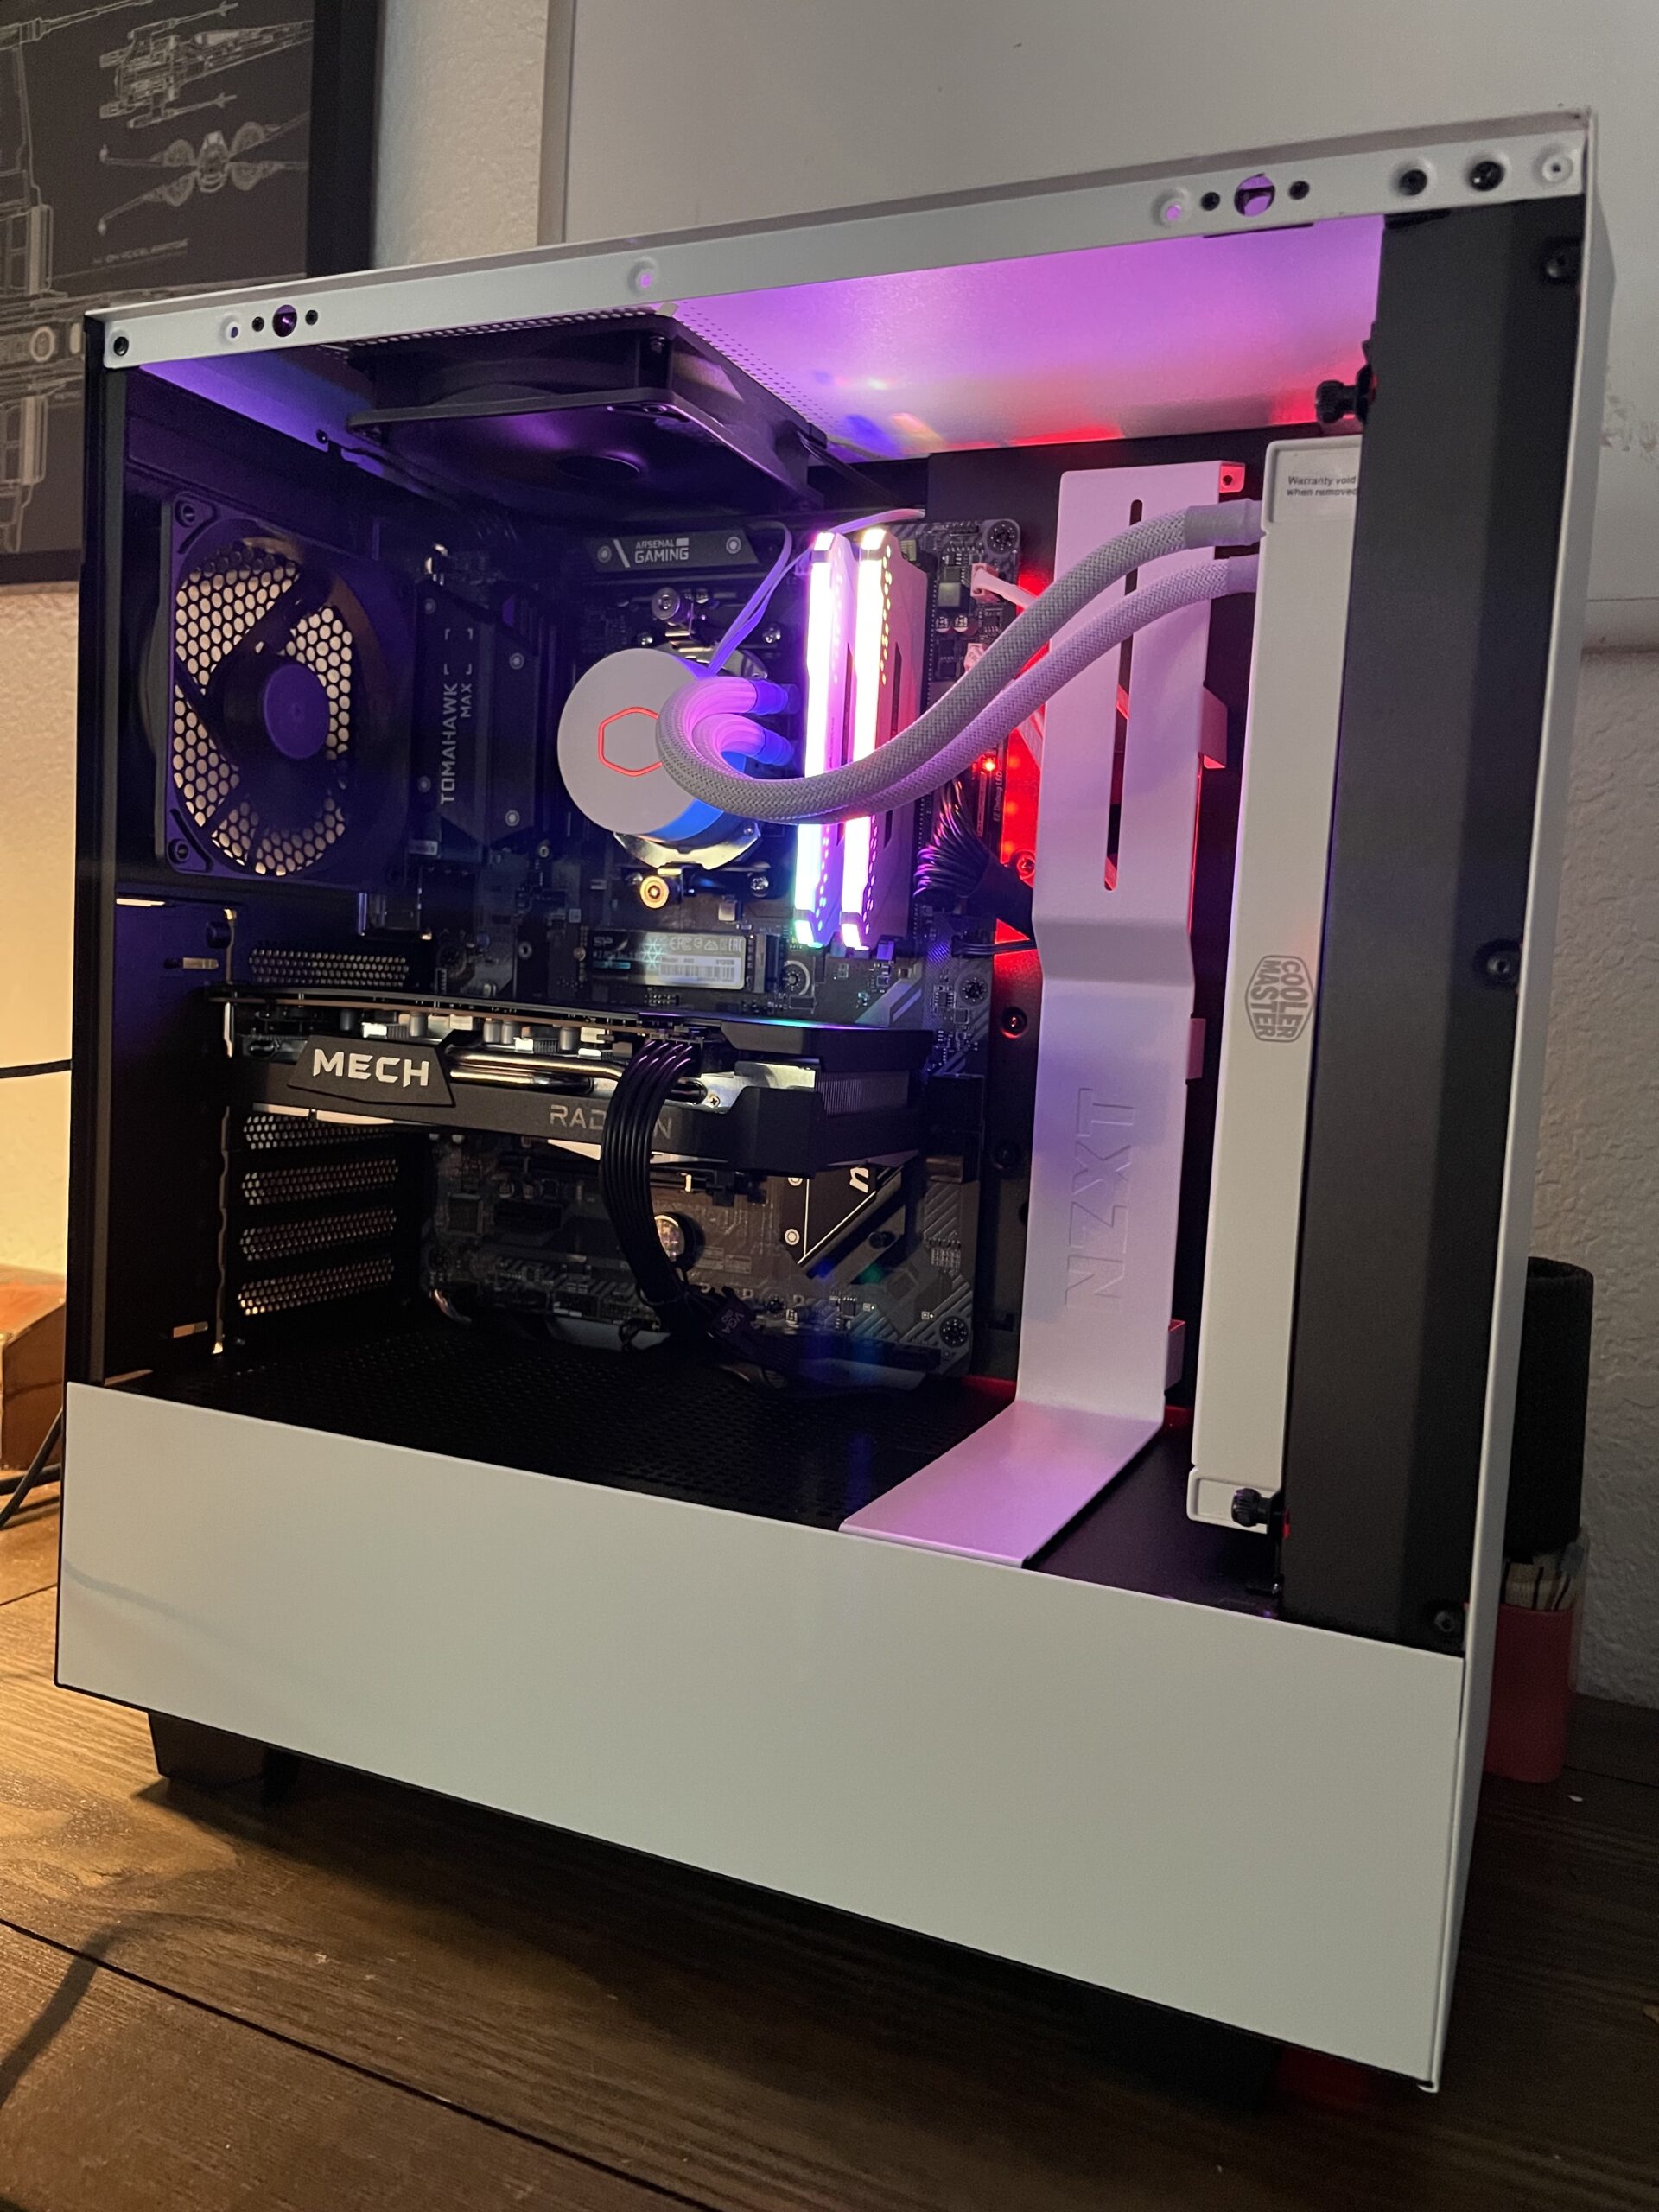
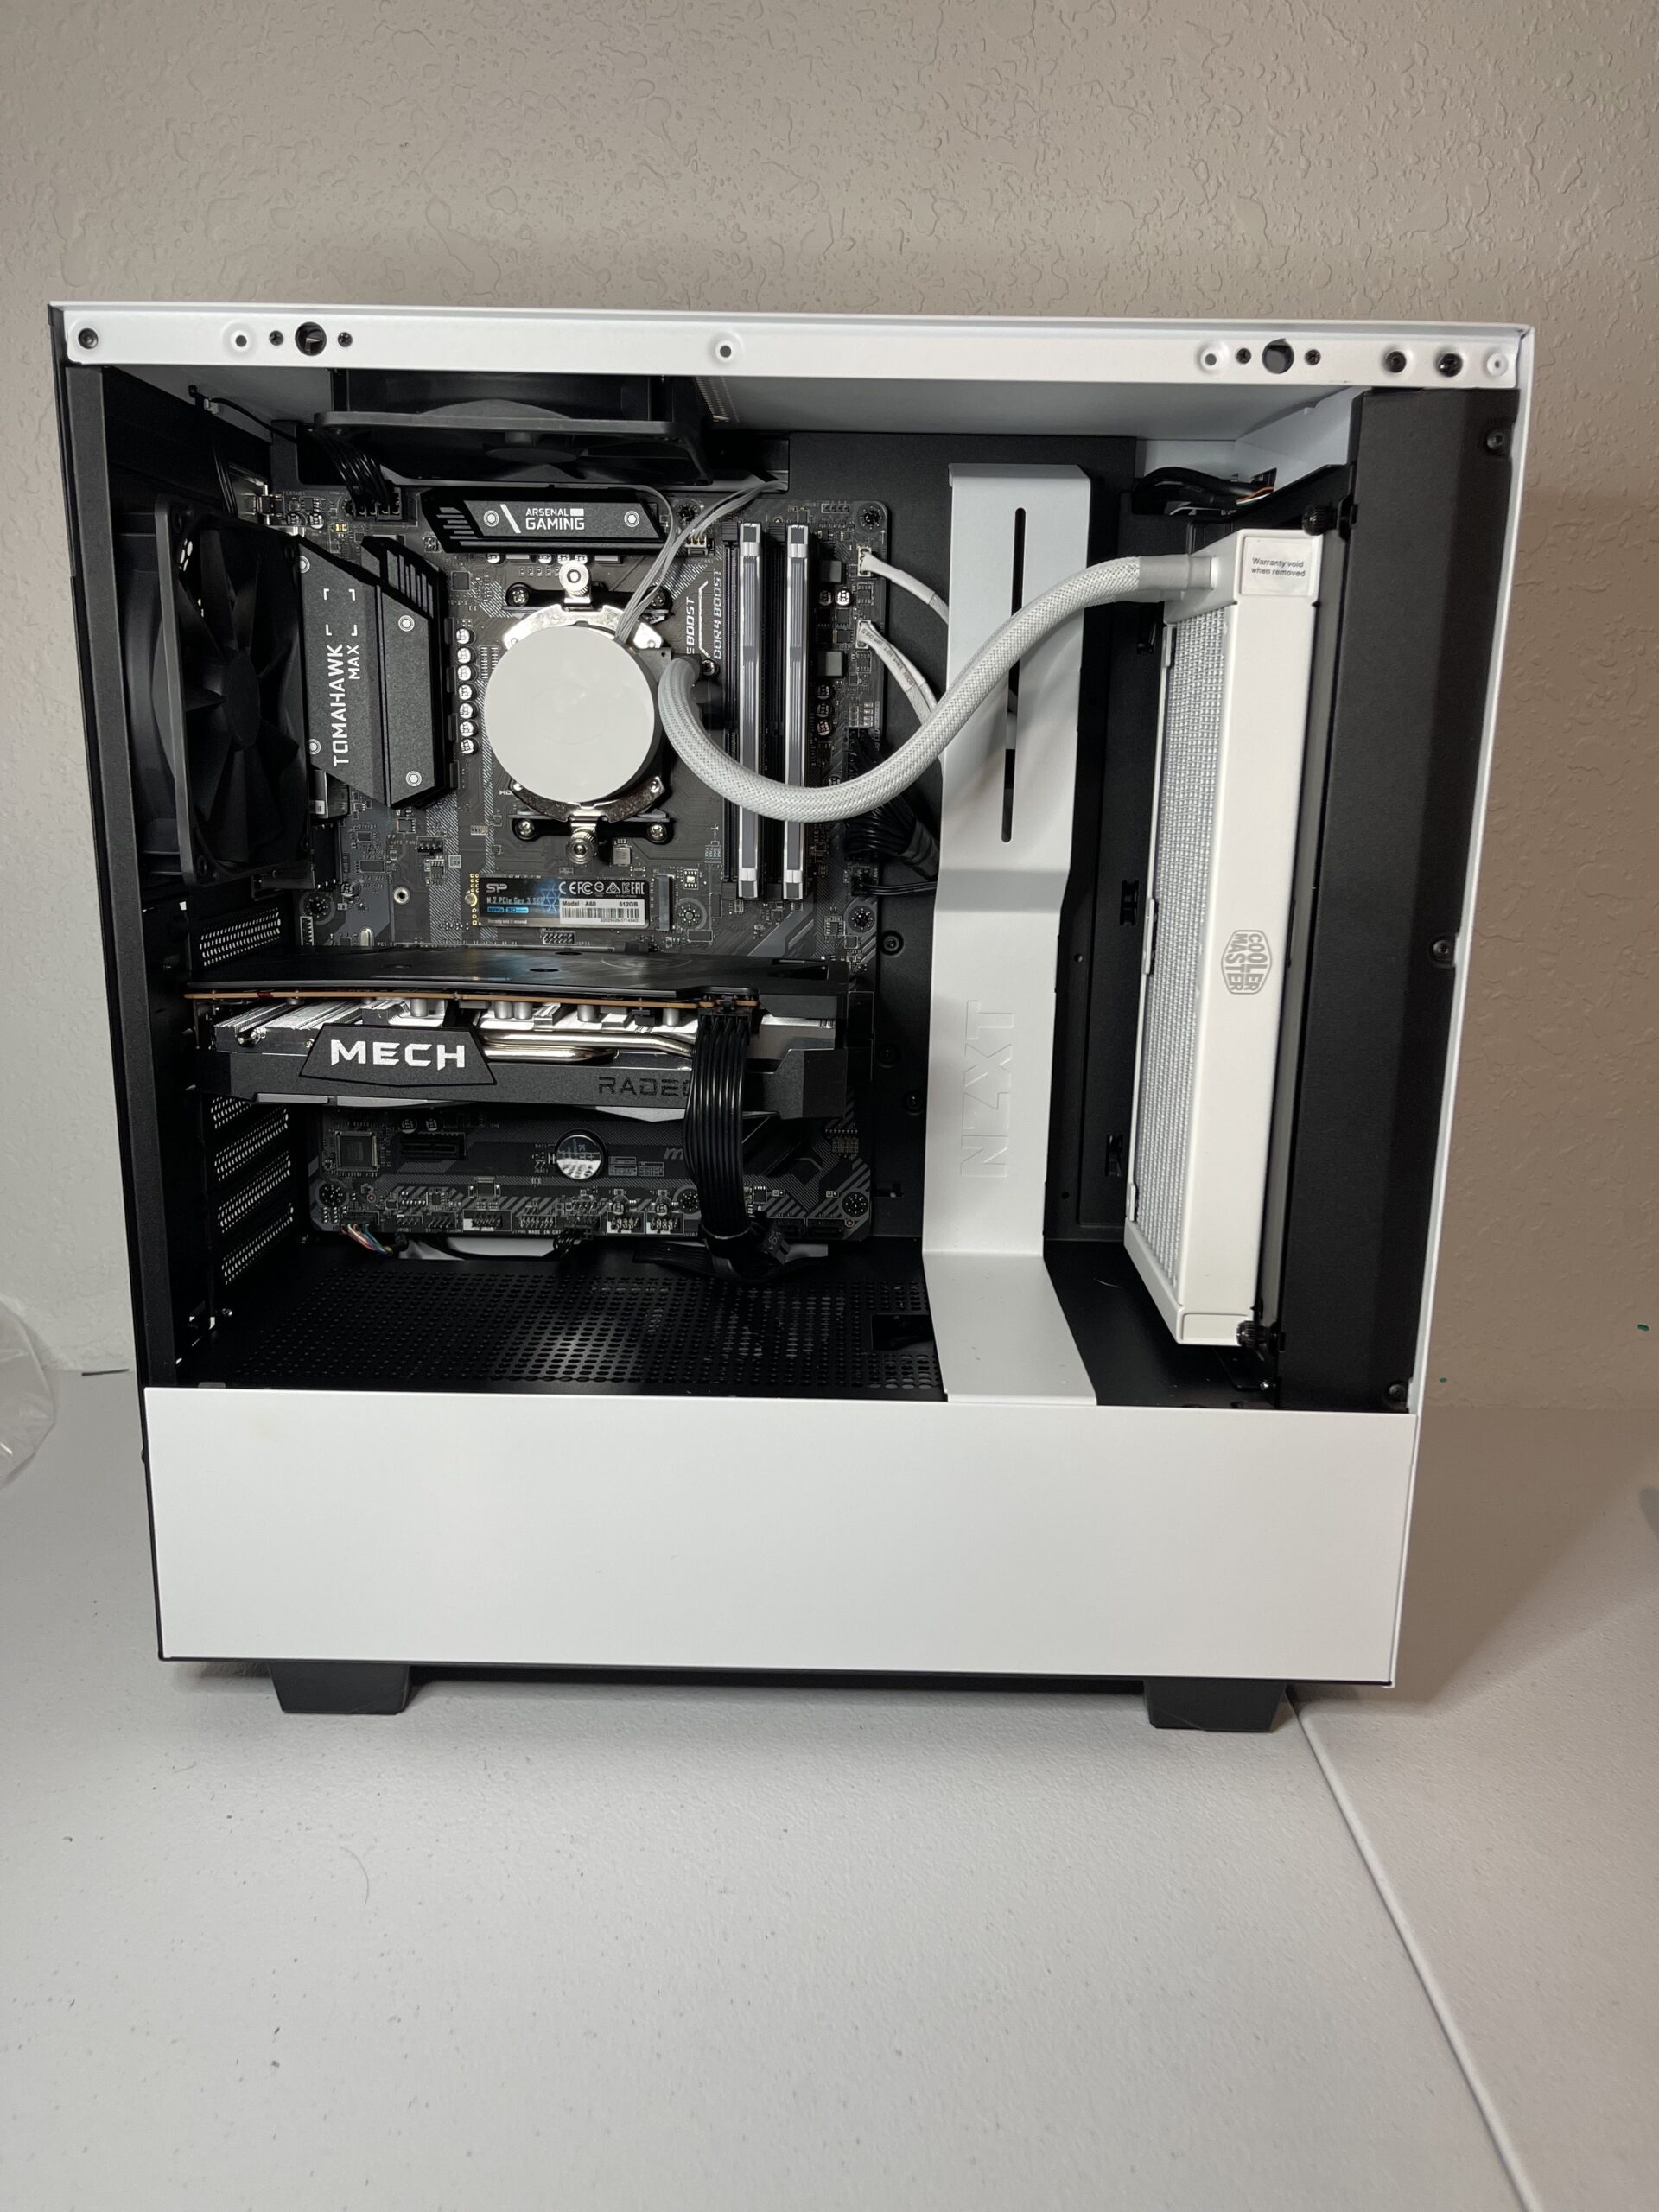
Preview Of Our Completed Gaming PC Build
Steps To Build Your Gaming Computer
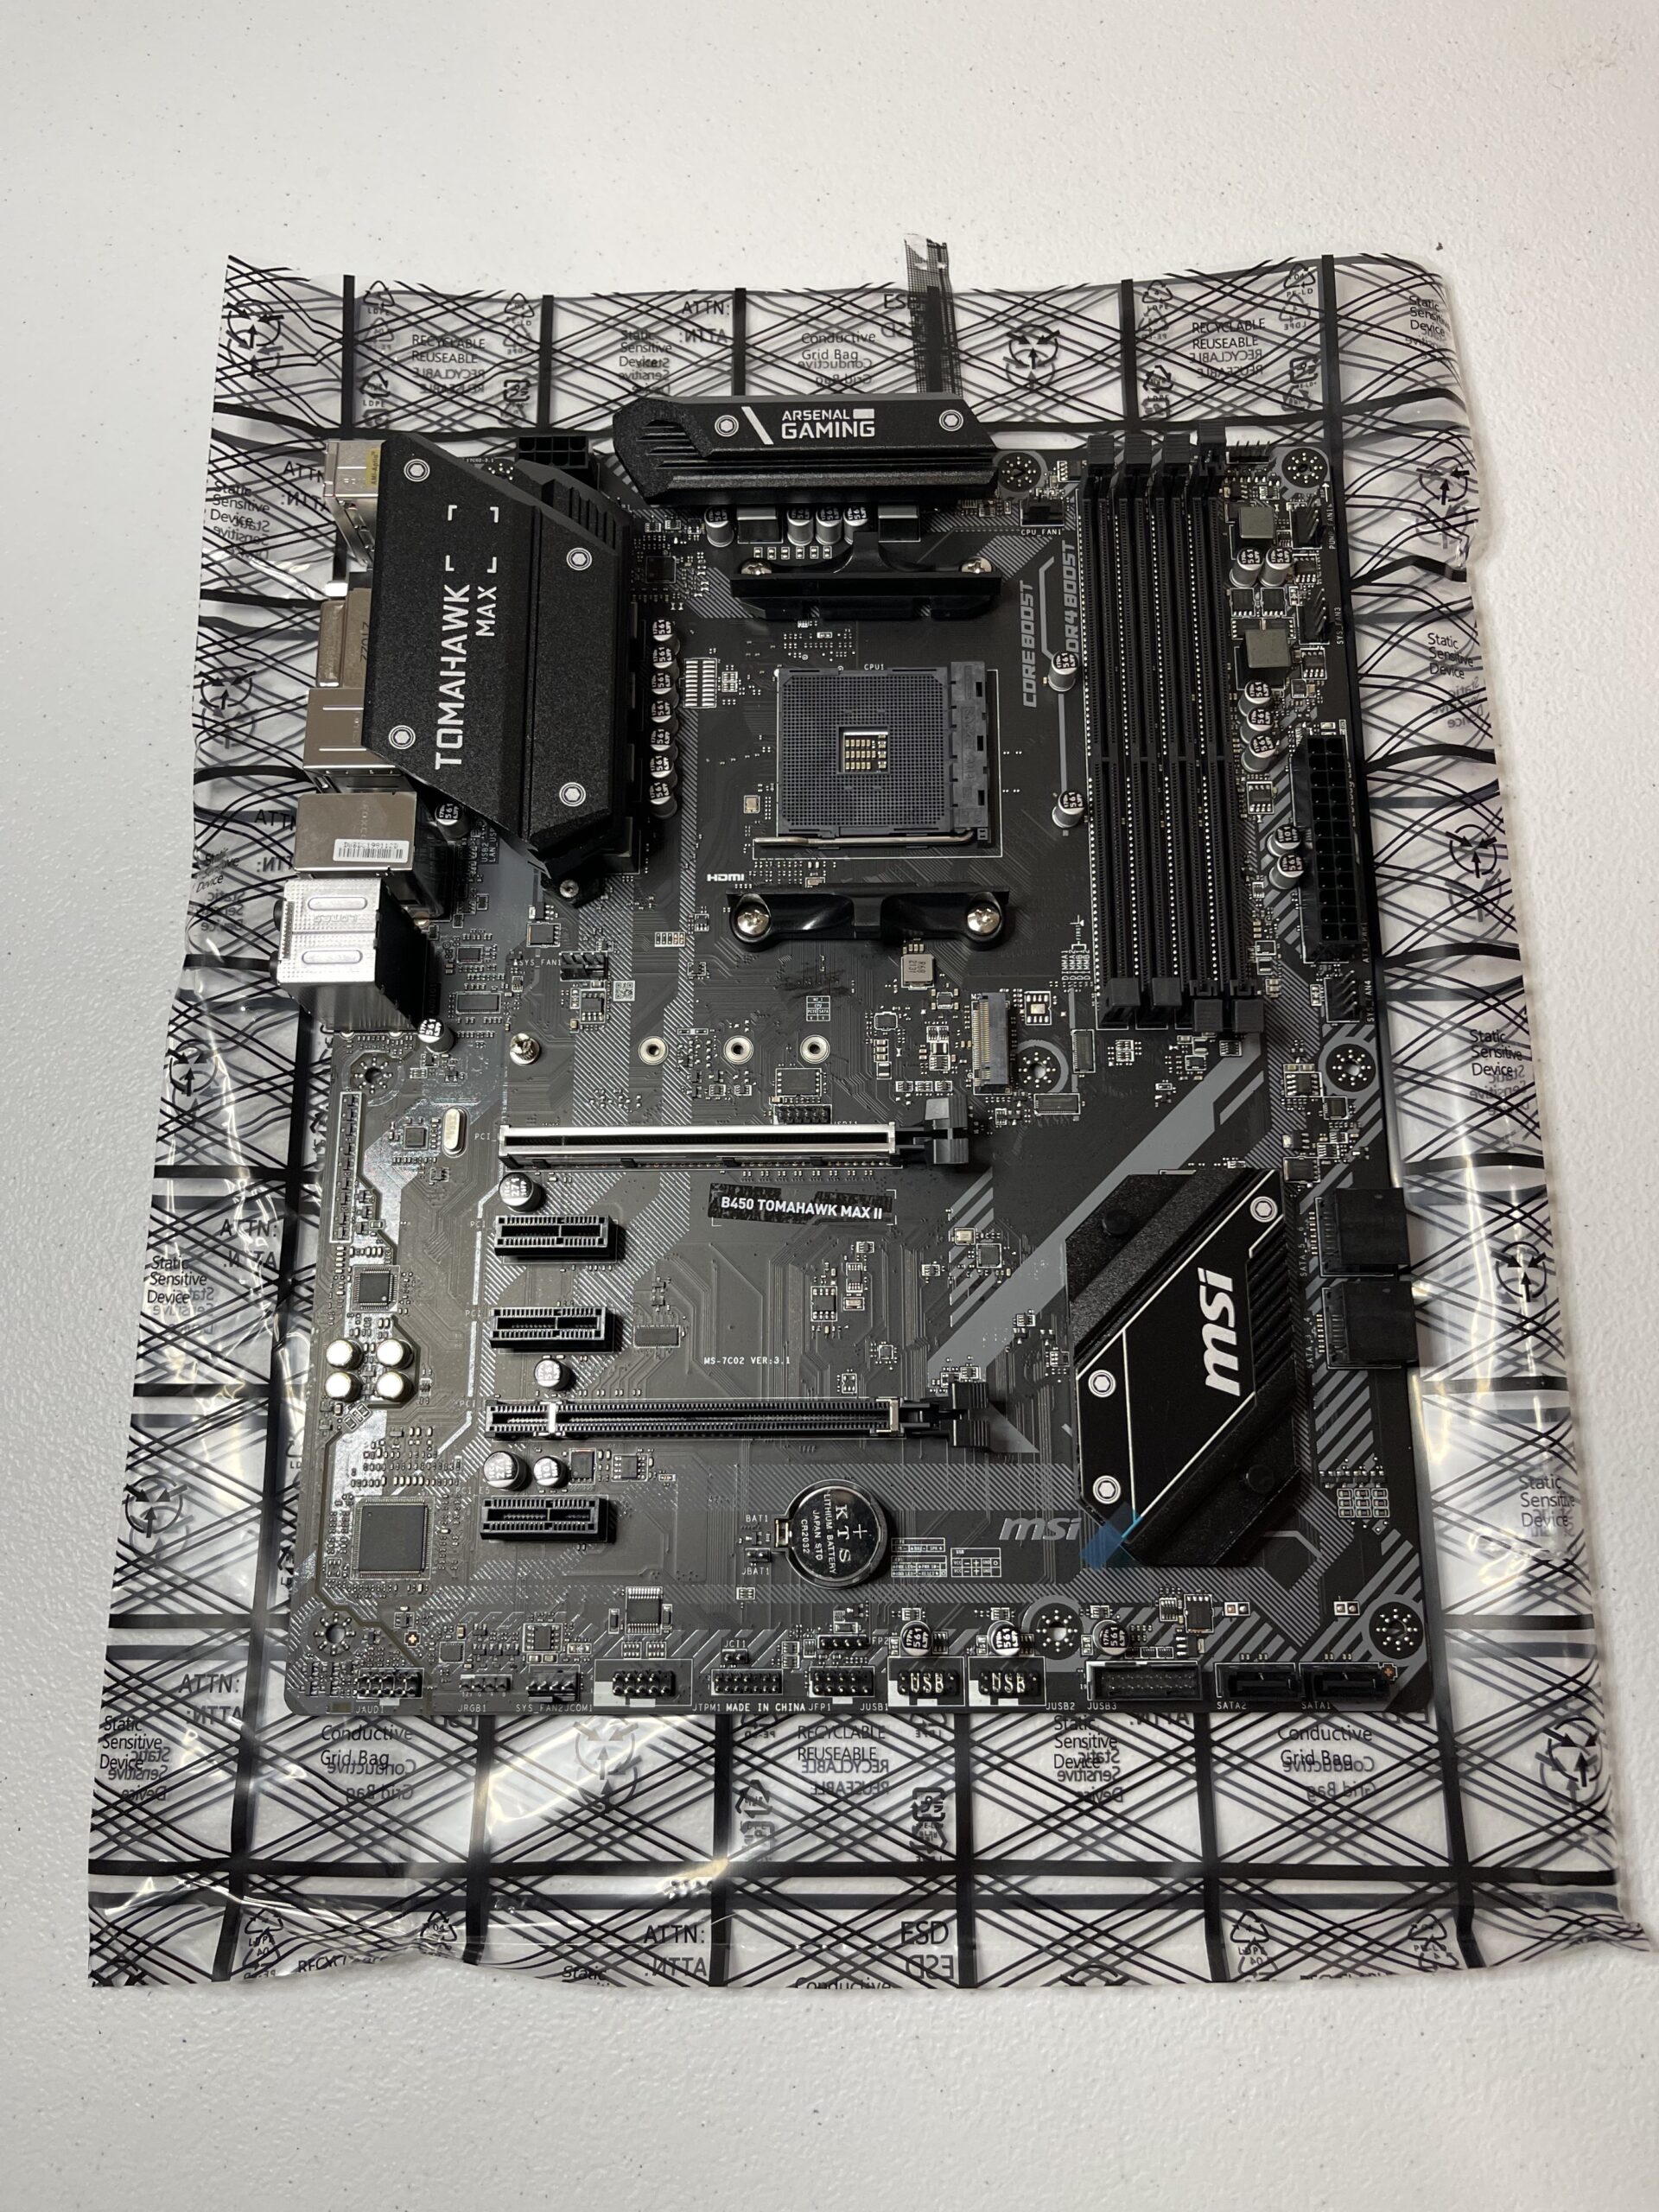
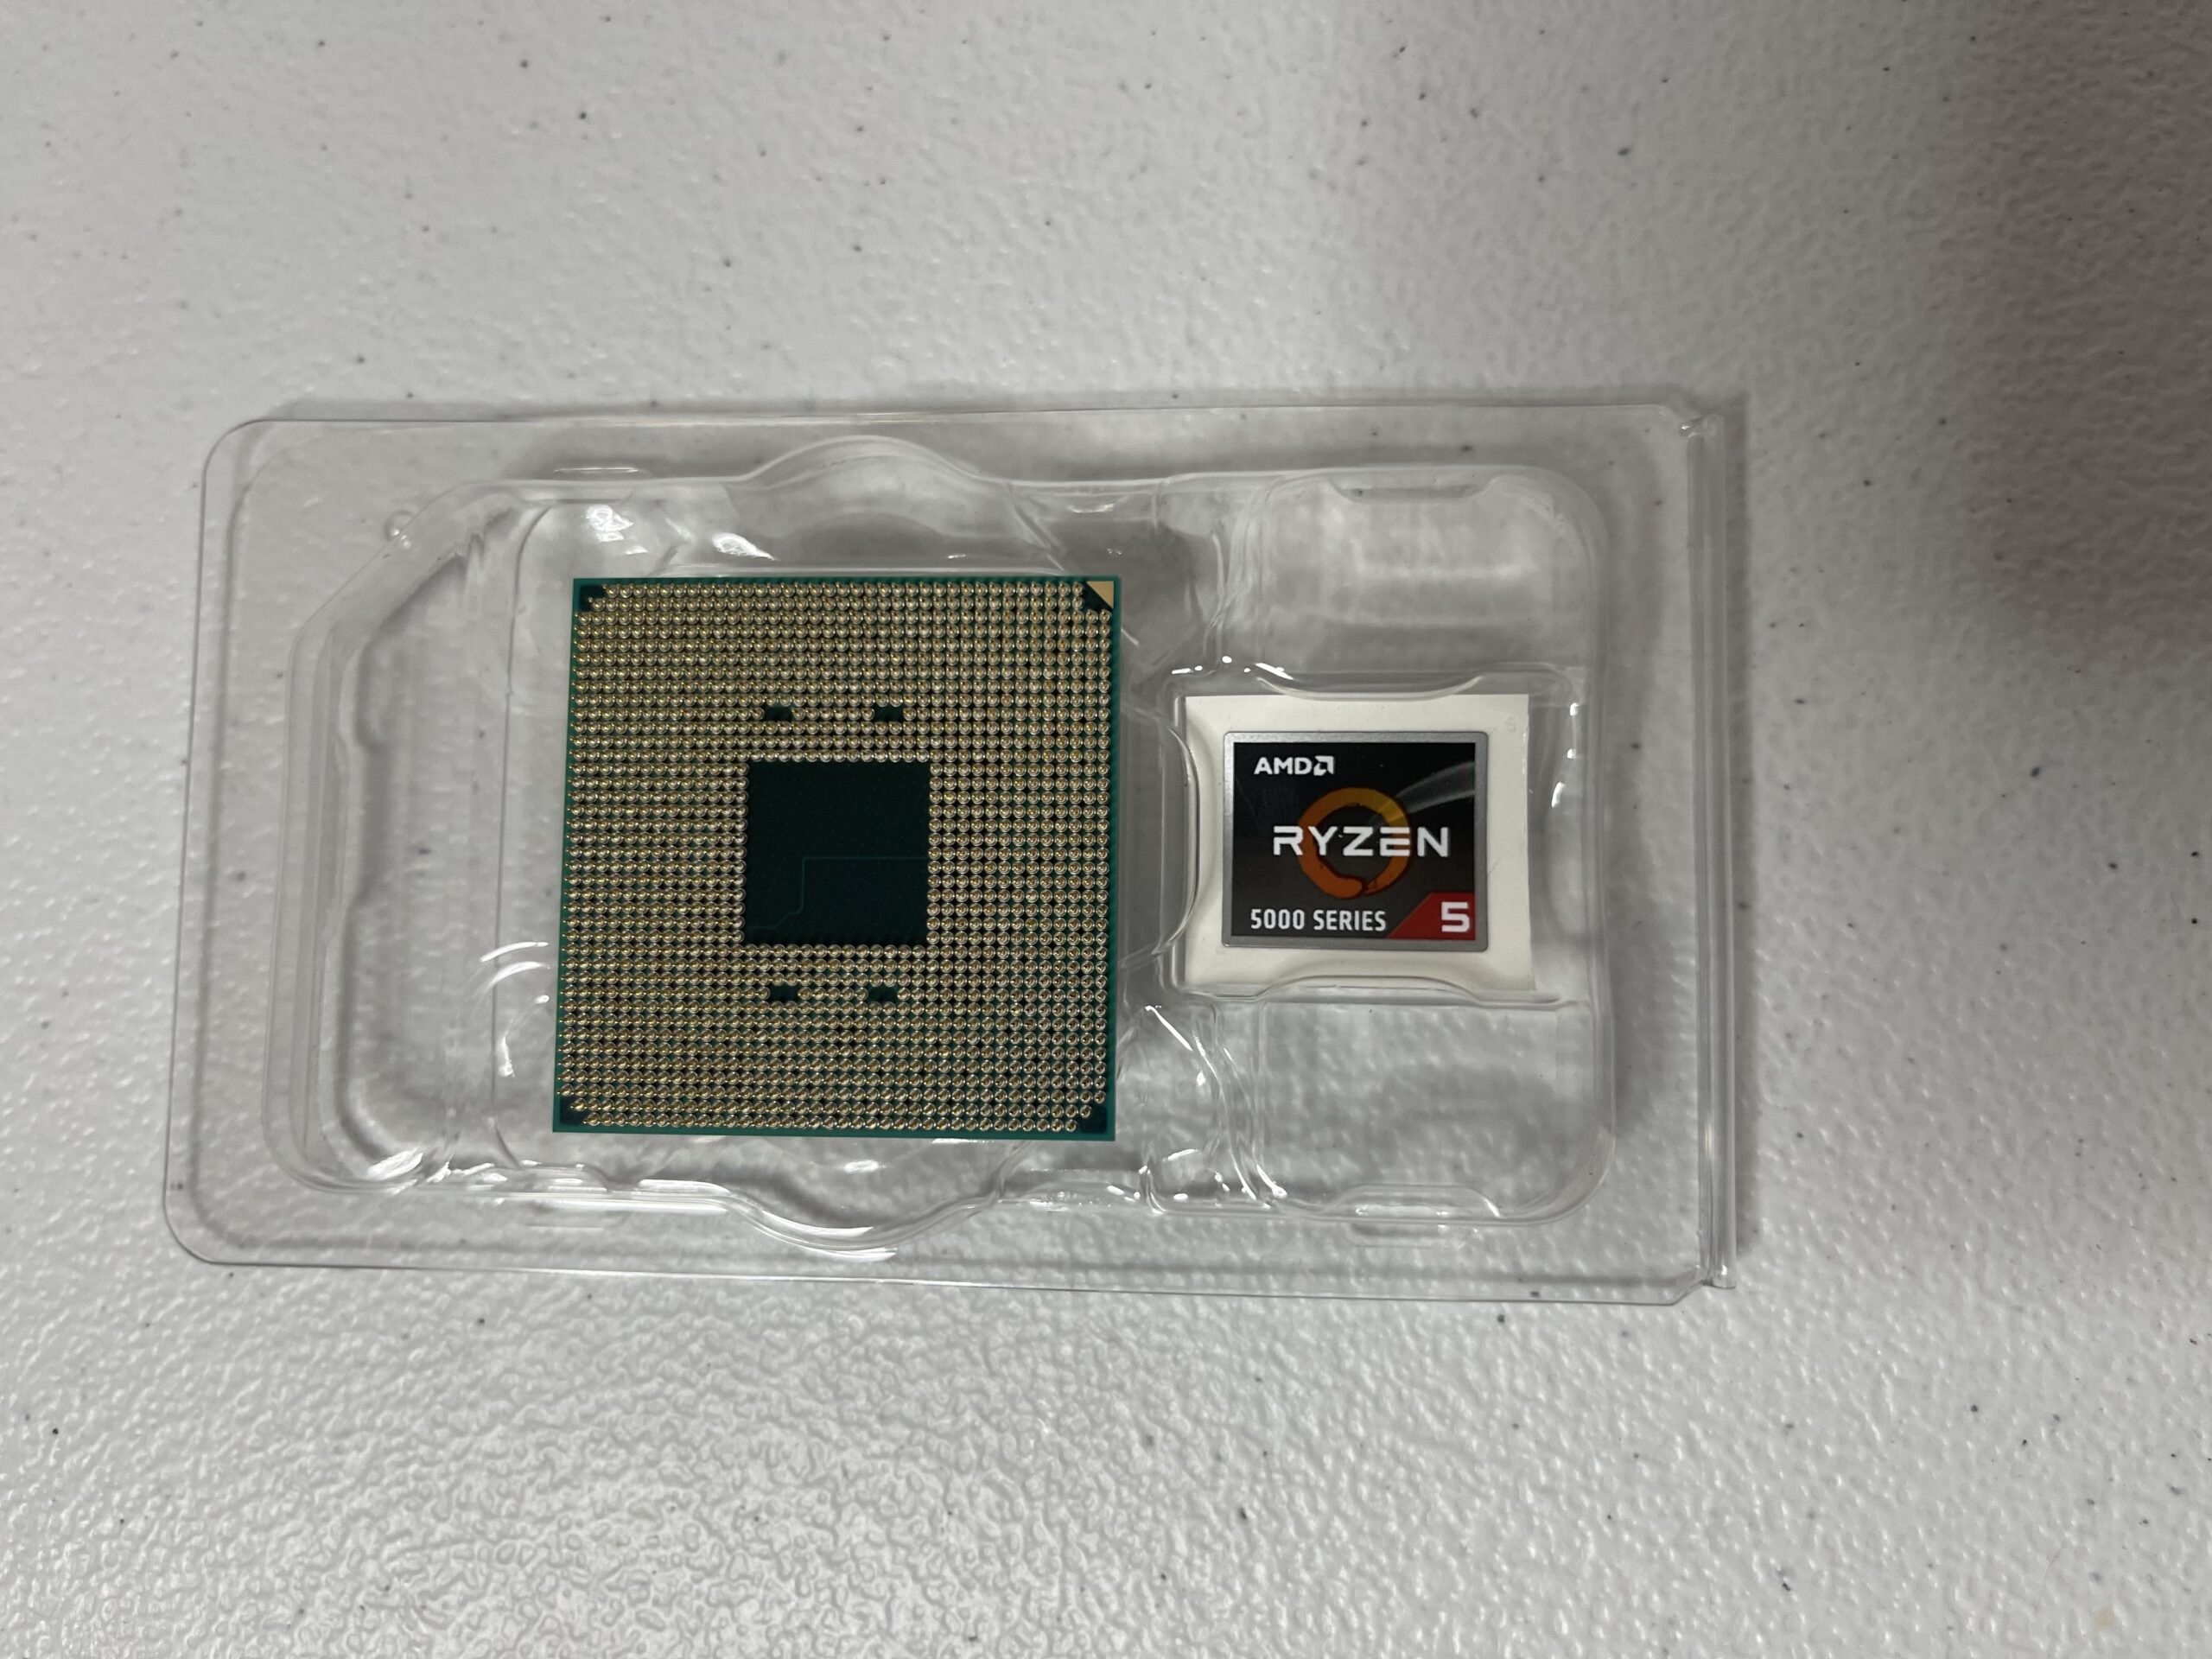
Step 1: Add Components to Motherboard
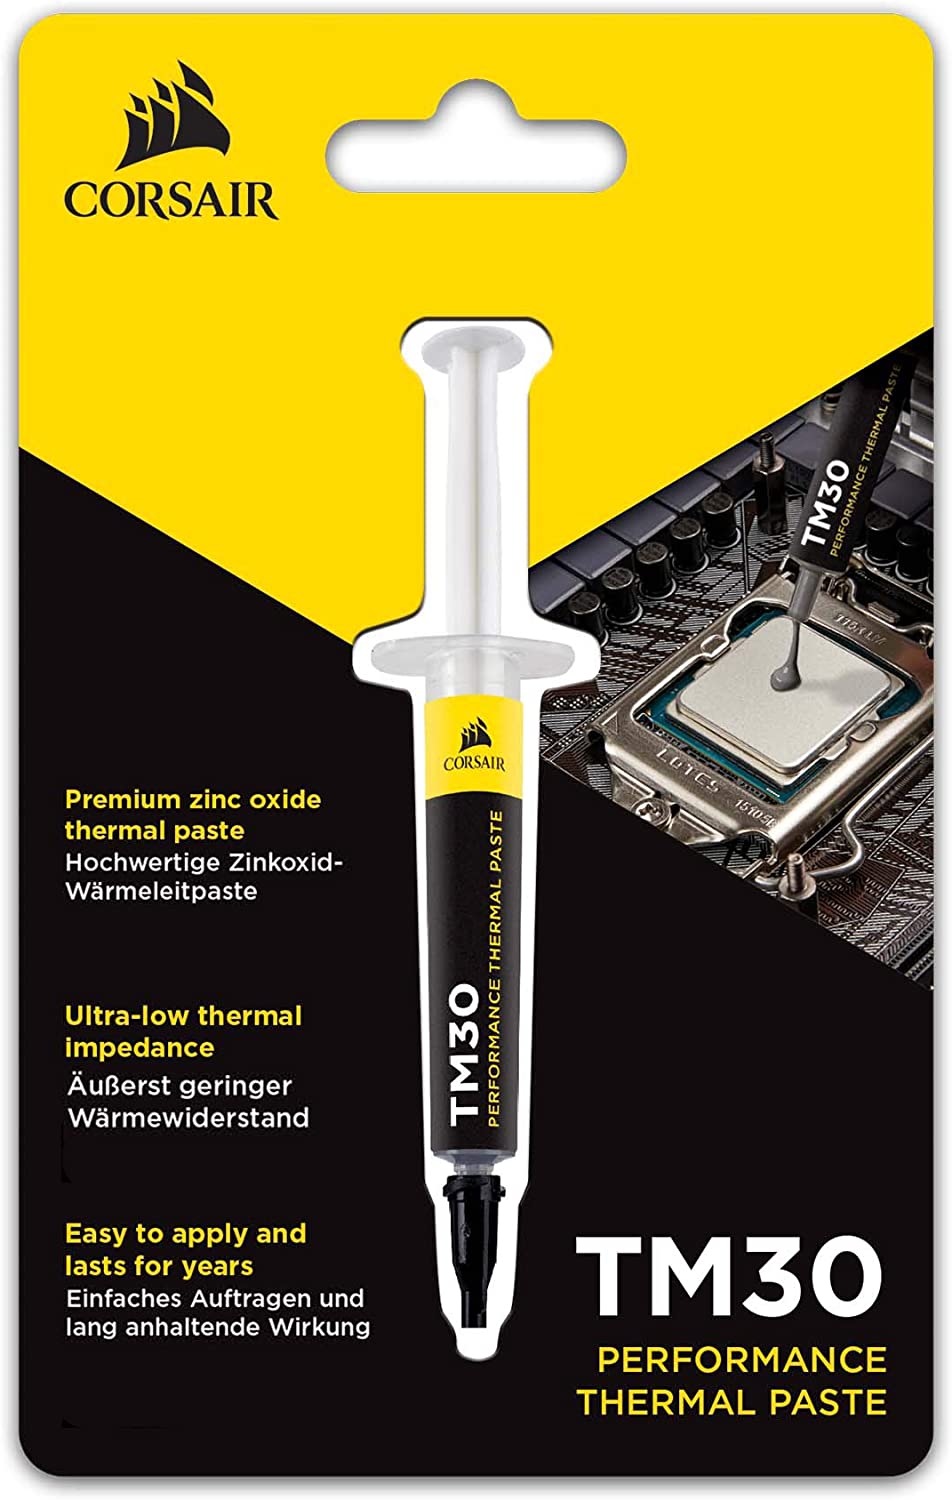
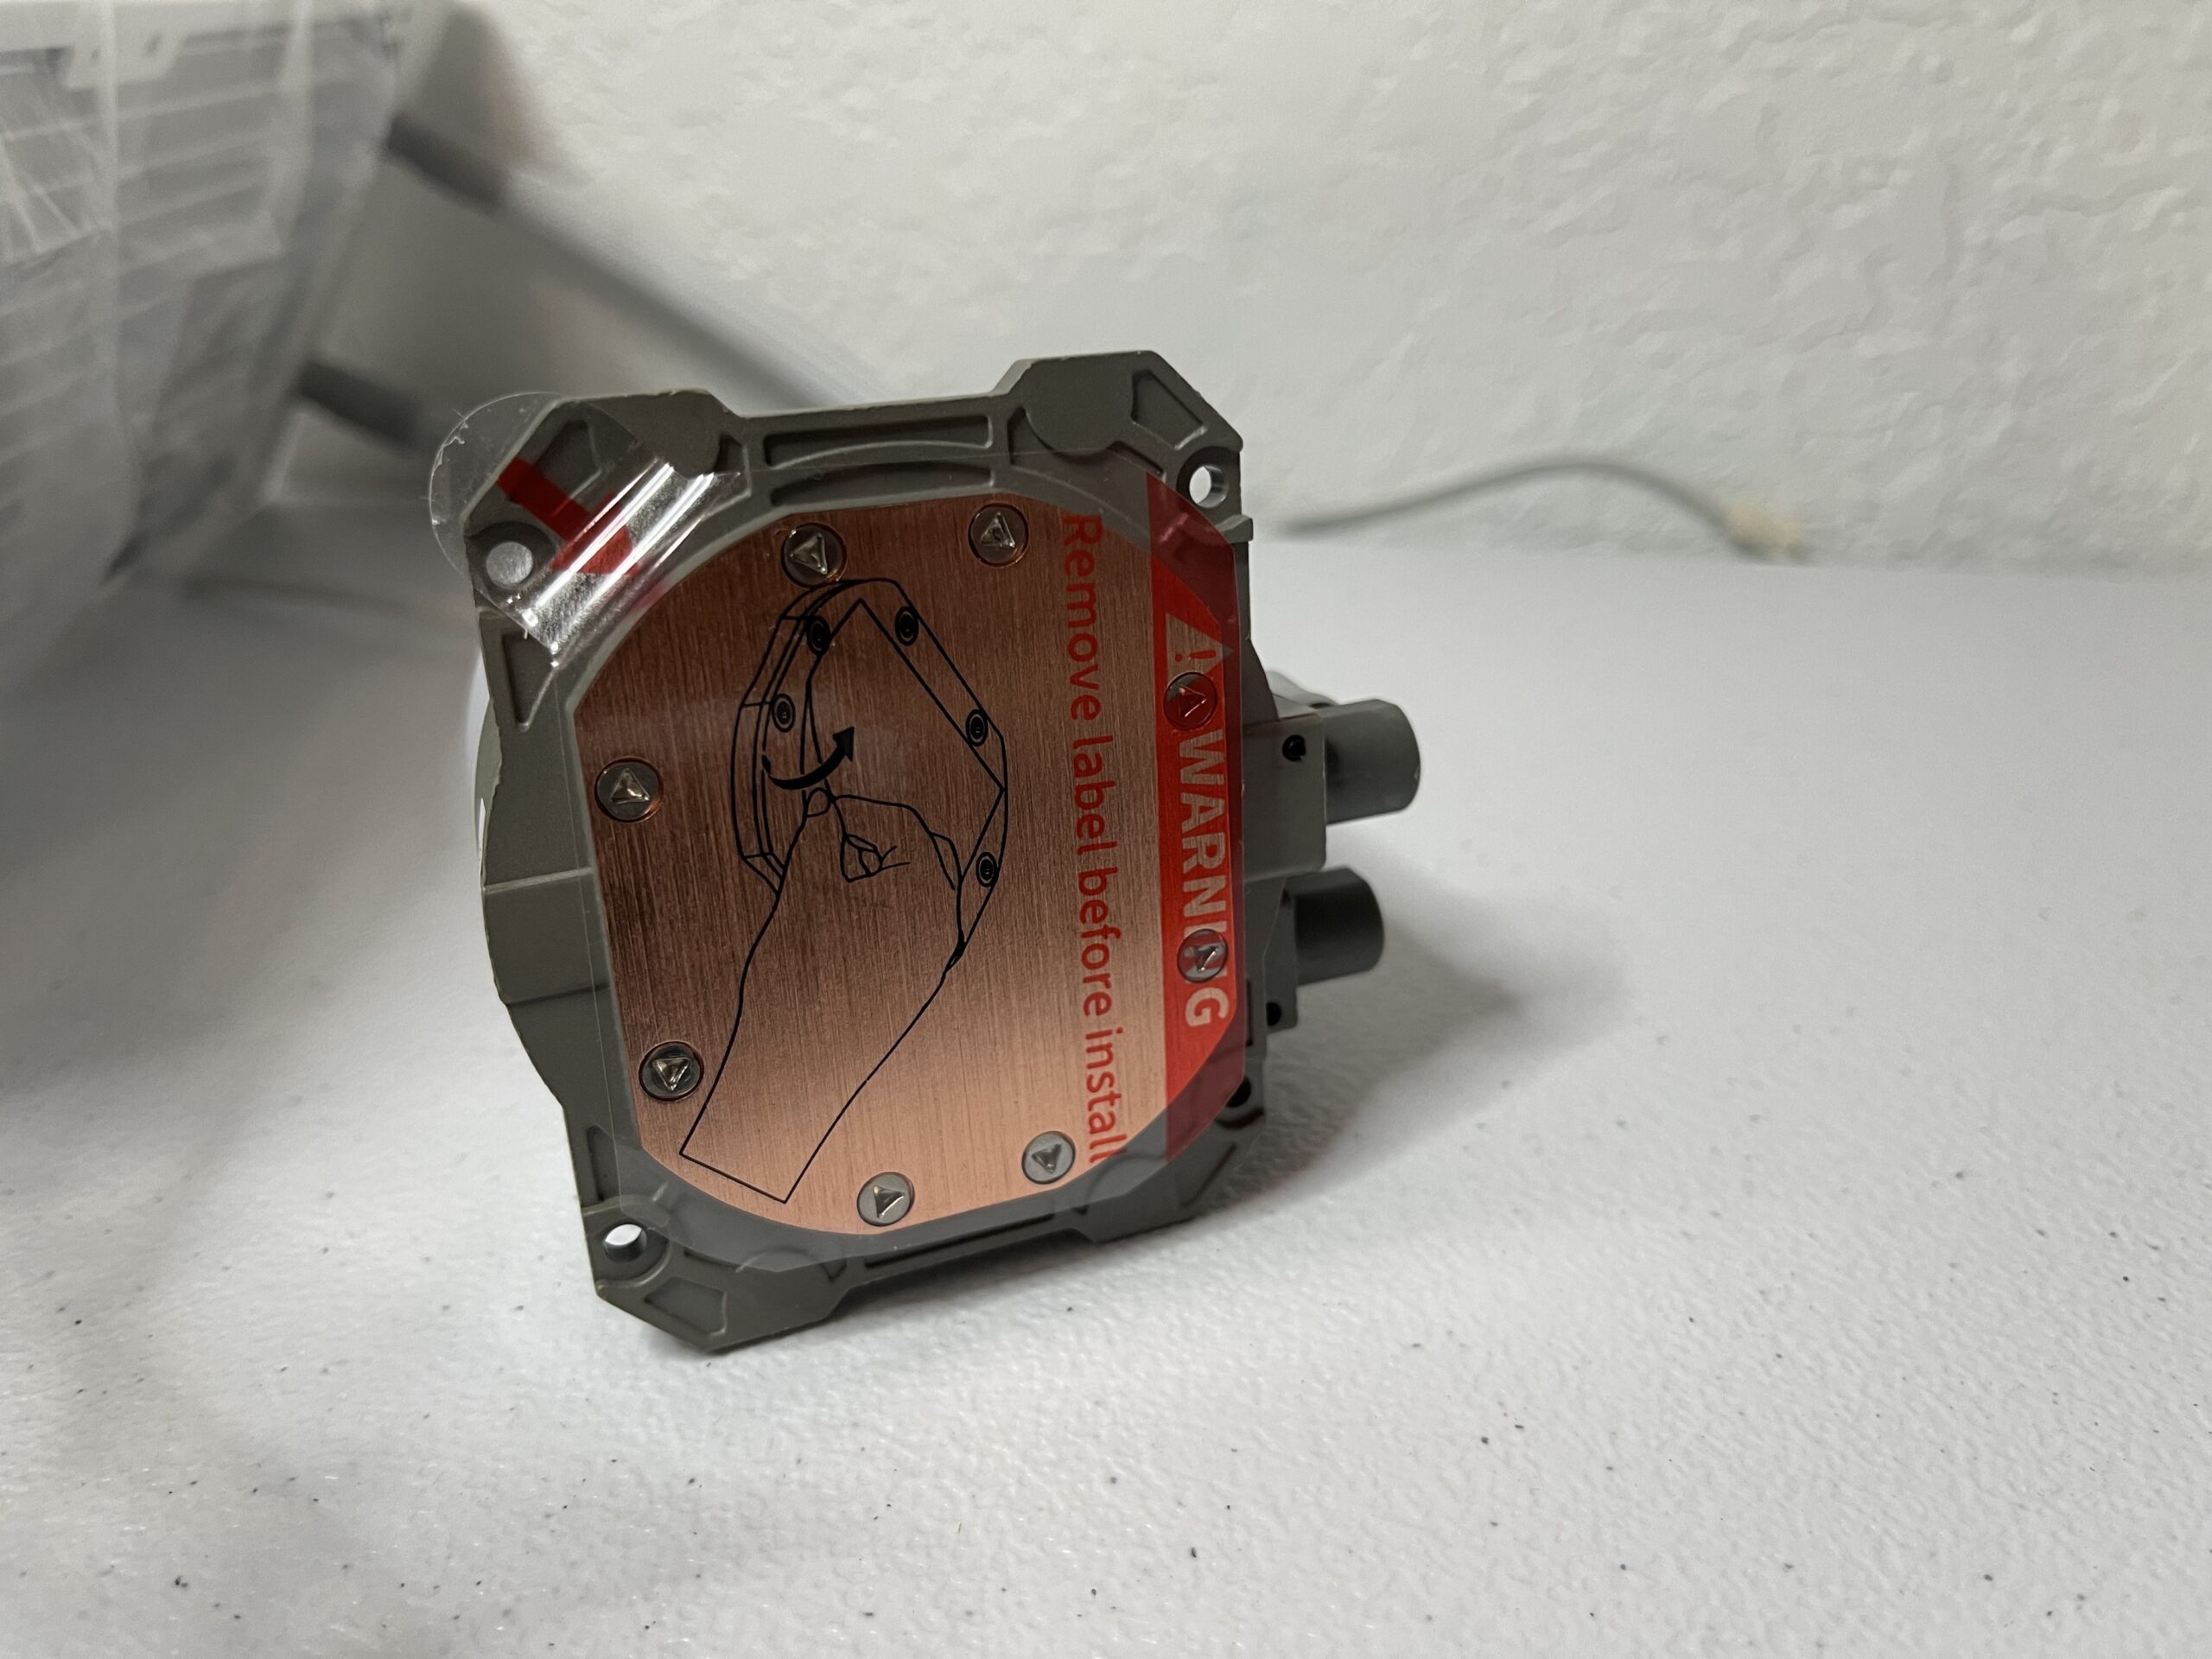
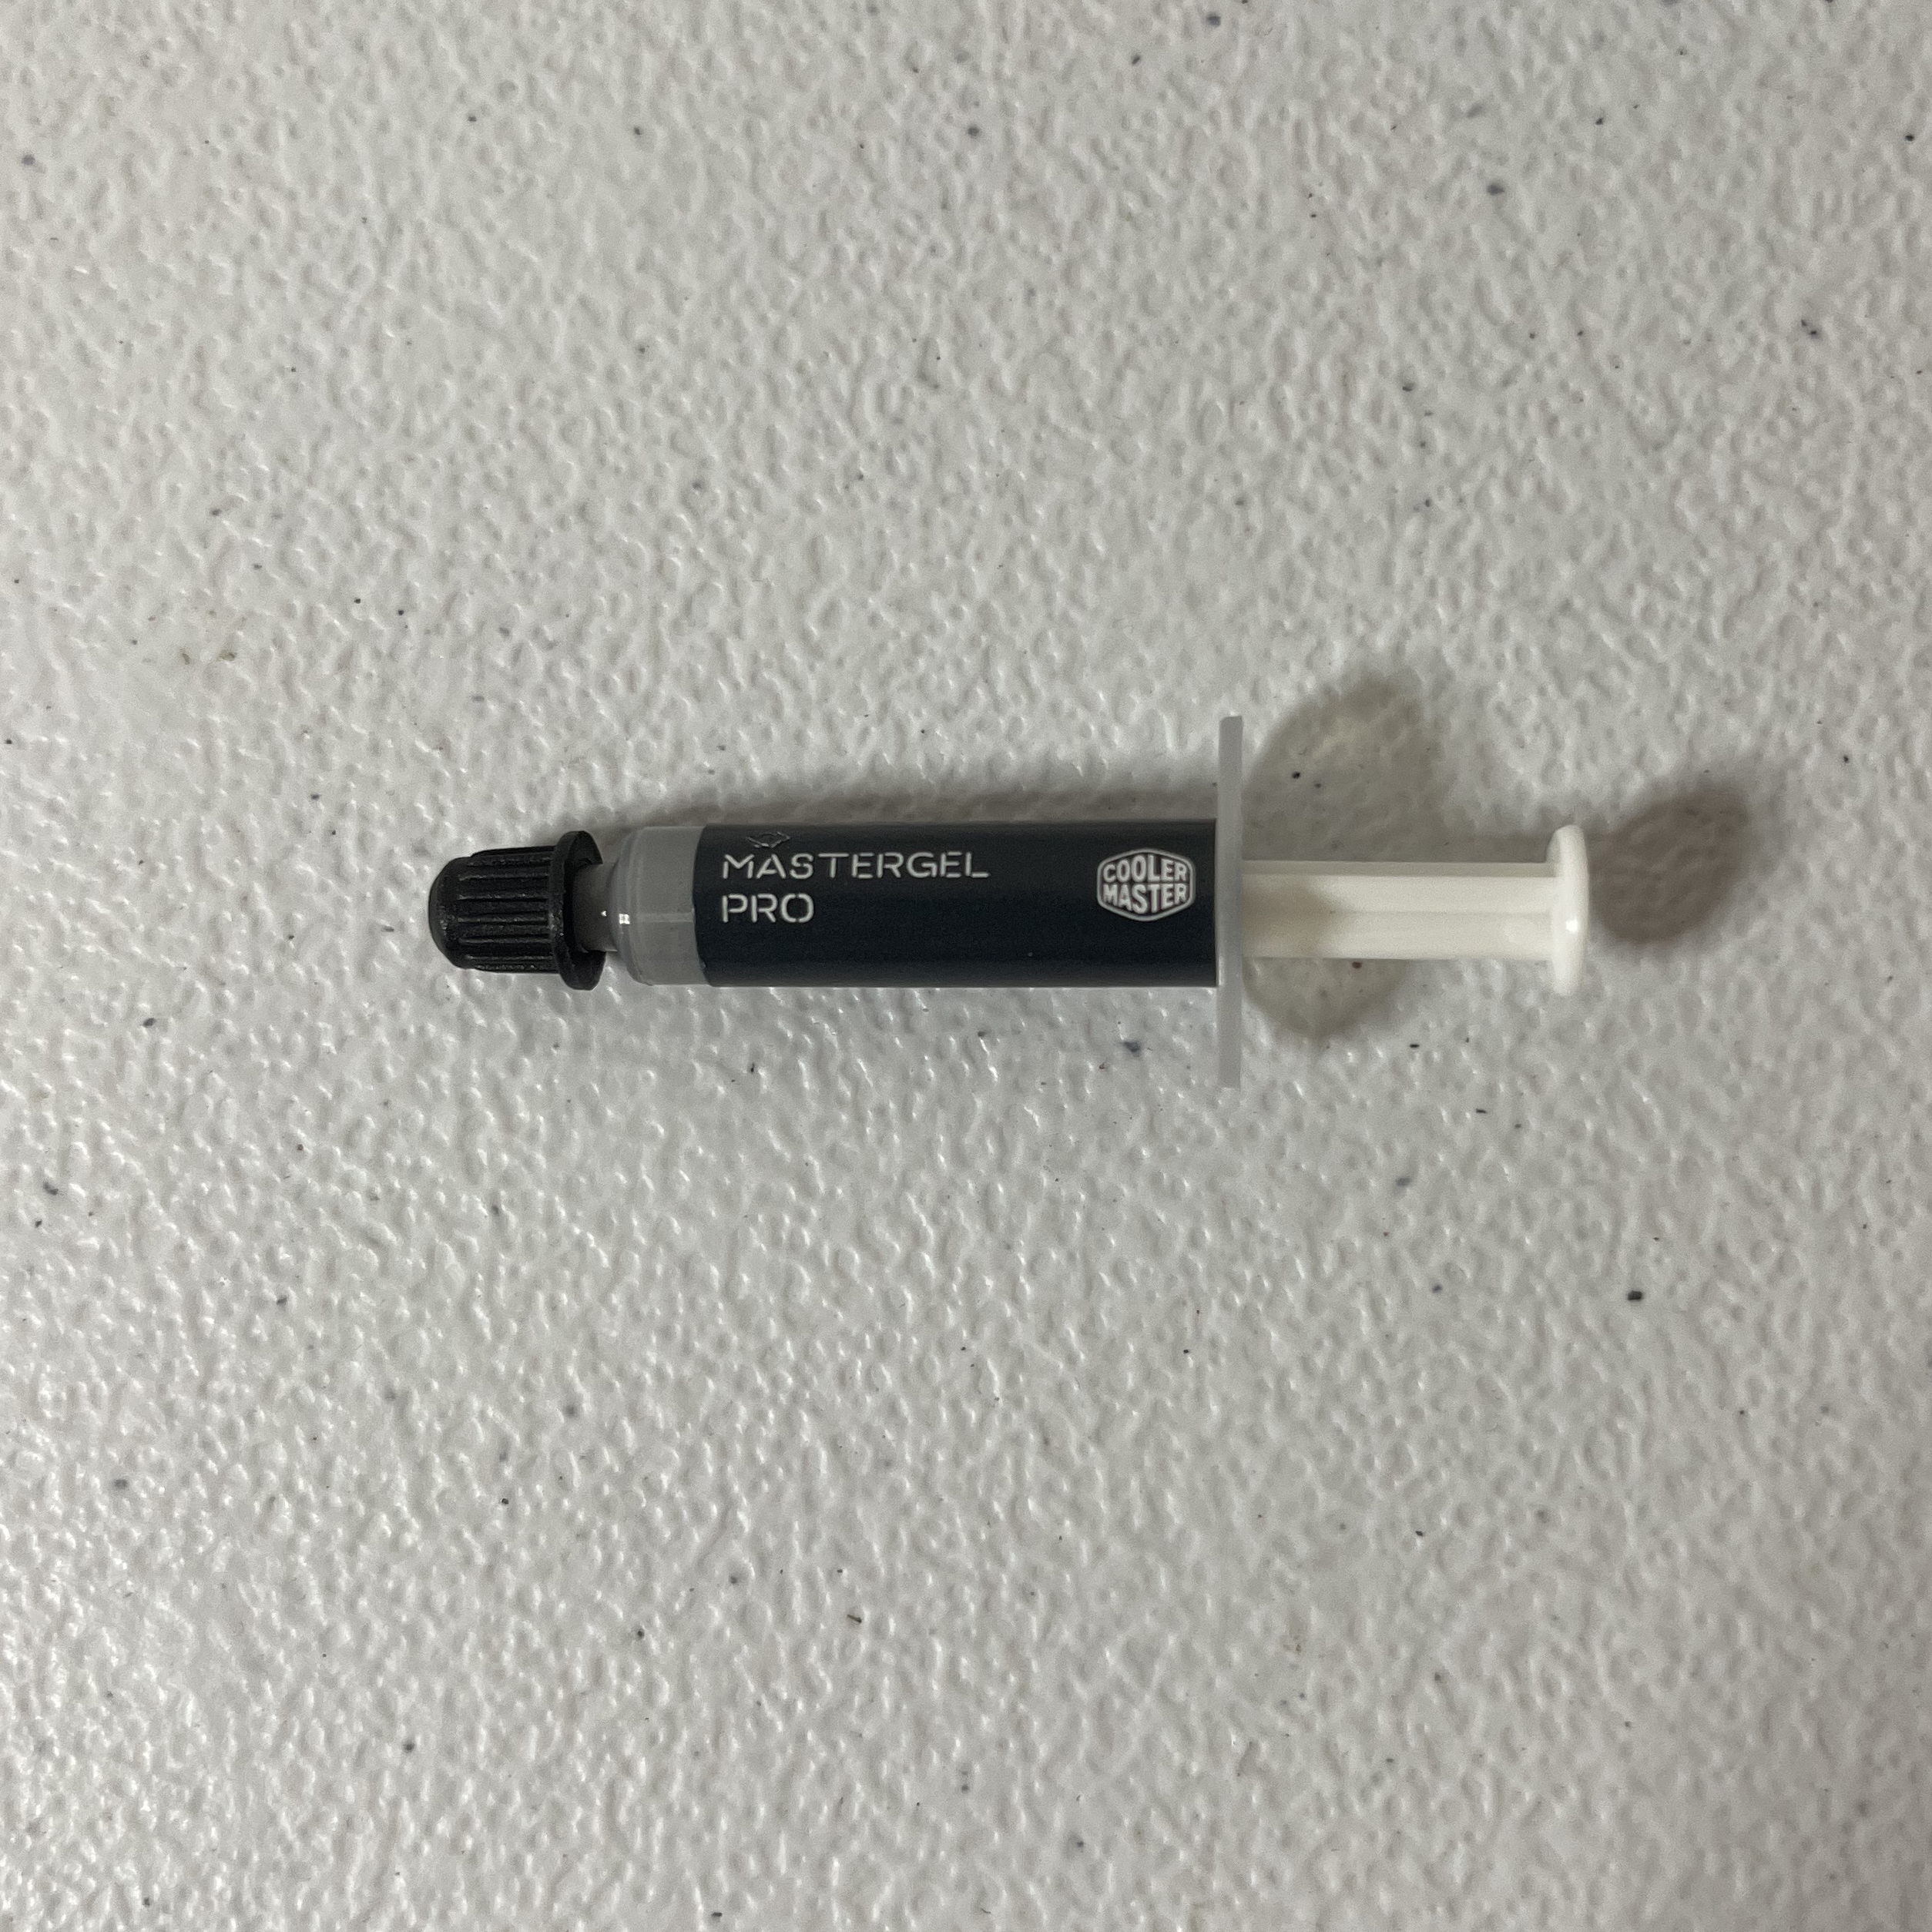
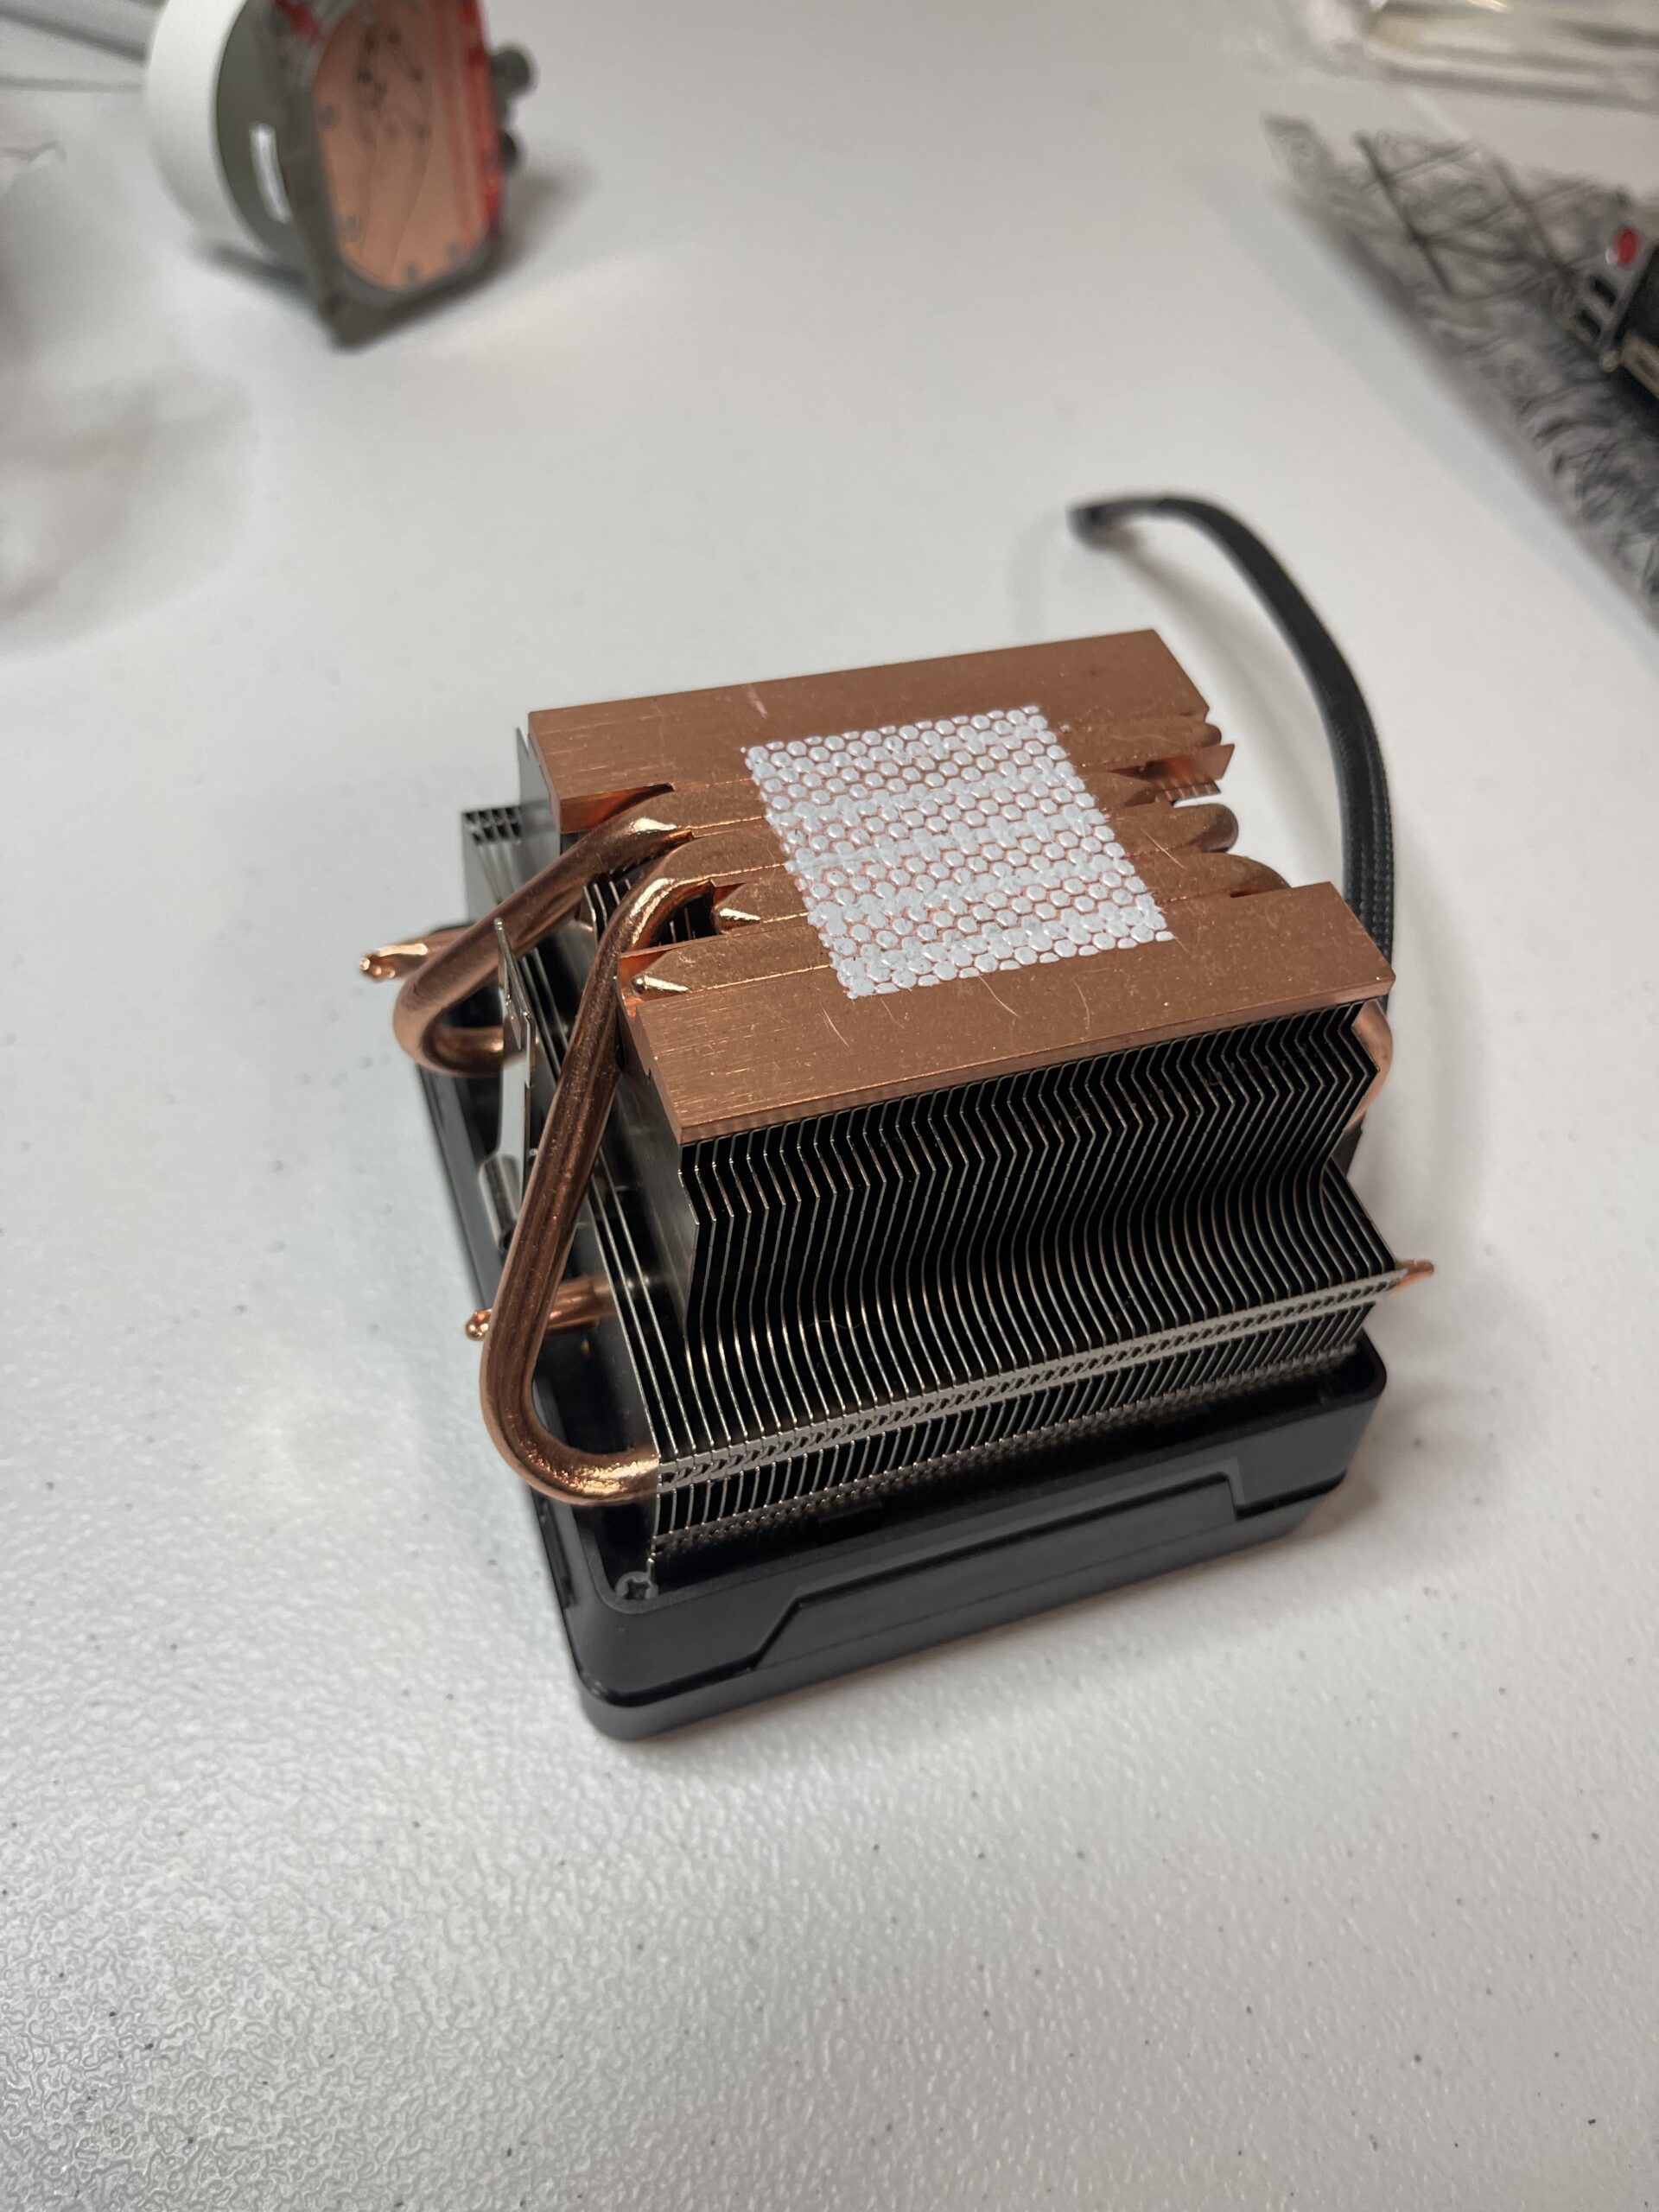
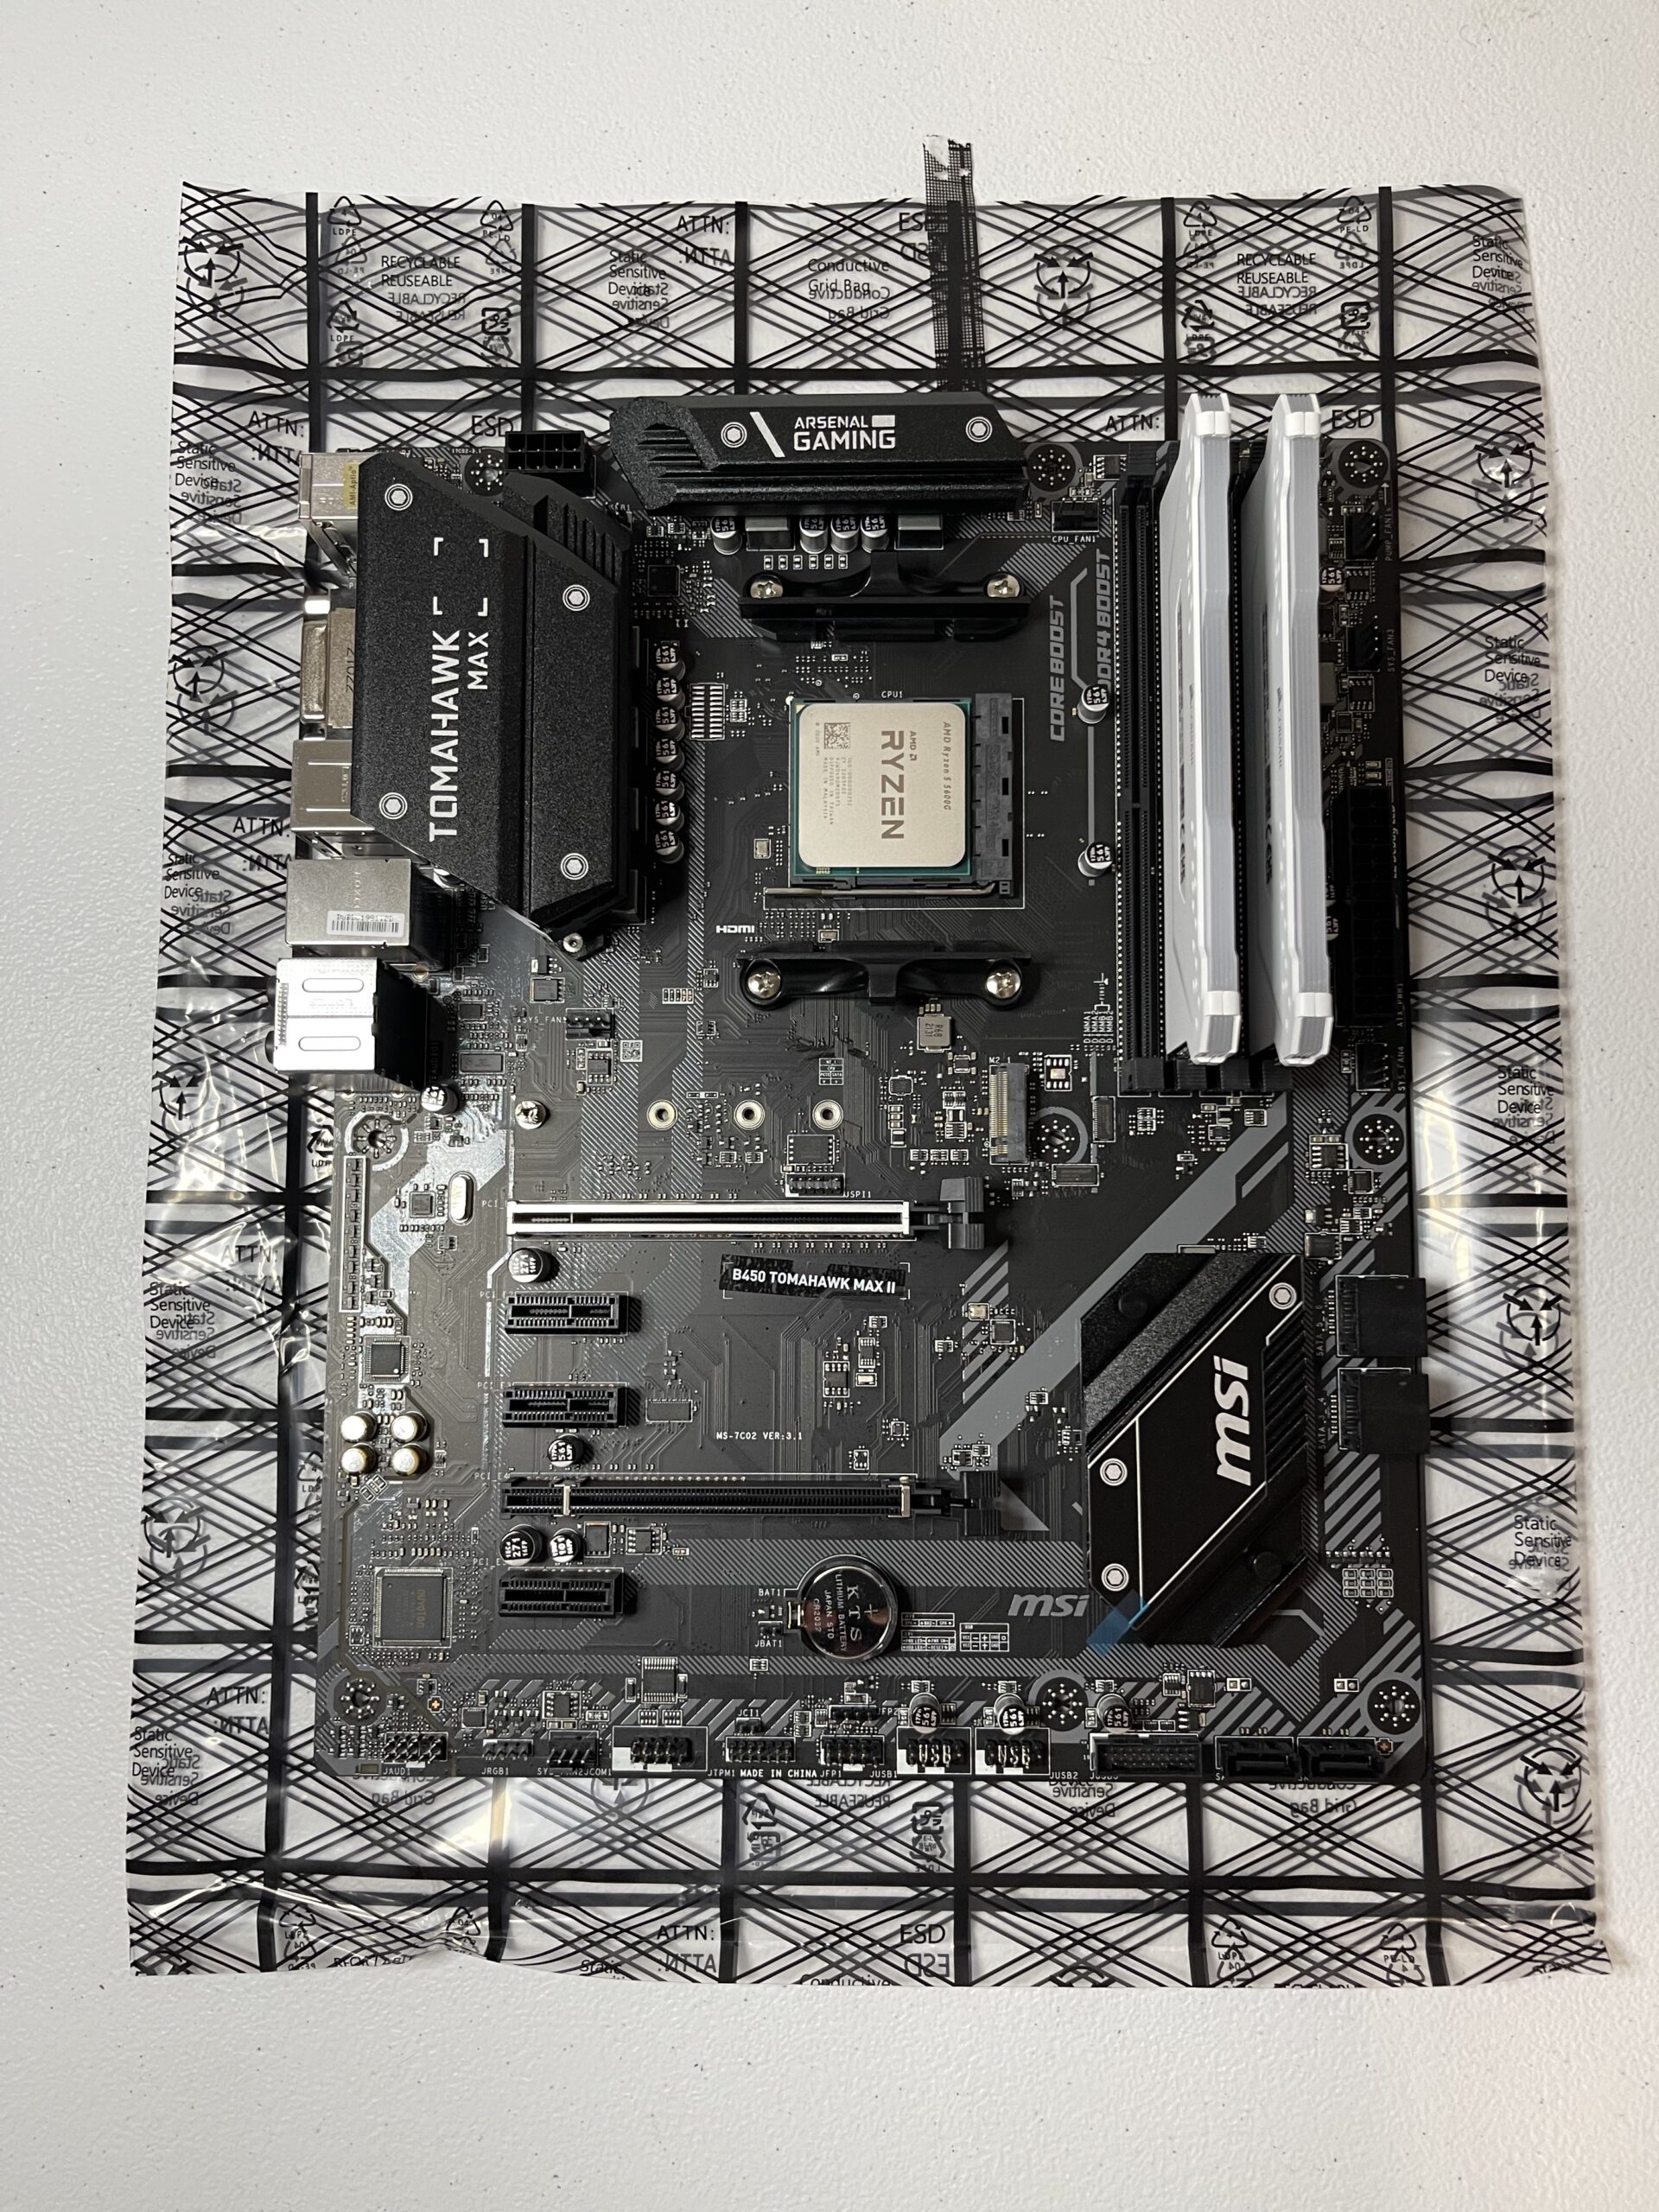
We begin by attaching the CPU to the motherboard. Most CPU coolers come with their own thermal paste already applied, however, it is always handy to have spare thermal paste around in case you need to uninstall and reinstall the CPU or cooler.
Here is a thermal paste you can order if you would like to have a spare handy and appliance examples. The goal of thermal paste is to safely transmit the heat from the CPU to the CPU cooler. This means you want to apply enough thermal paste to cover the entire CPU surface area without it leaking out once the CPU cooler presses on it.
RAM
Attaching the RAM is possibly the best and easiest portion of this guide. It is as simple as matching the notch on the RAM to the notch on the motherboard and pressing until your hear two clicks, one for each clip on the ends of the motherboard RAM slot.
CPU Cooler
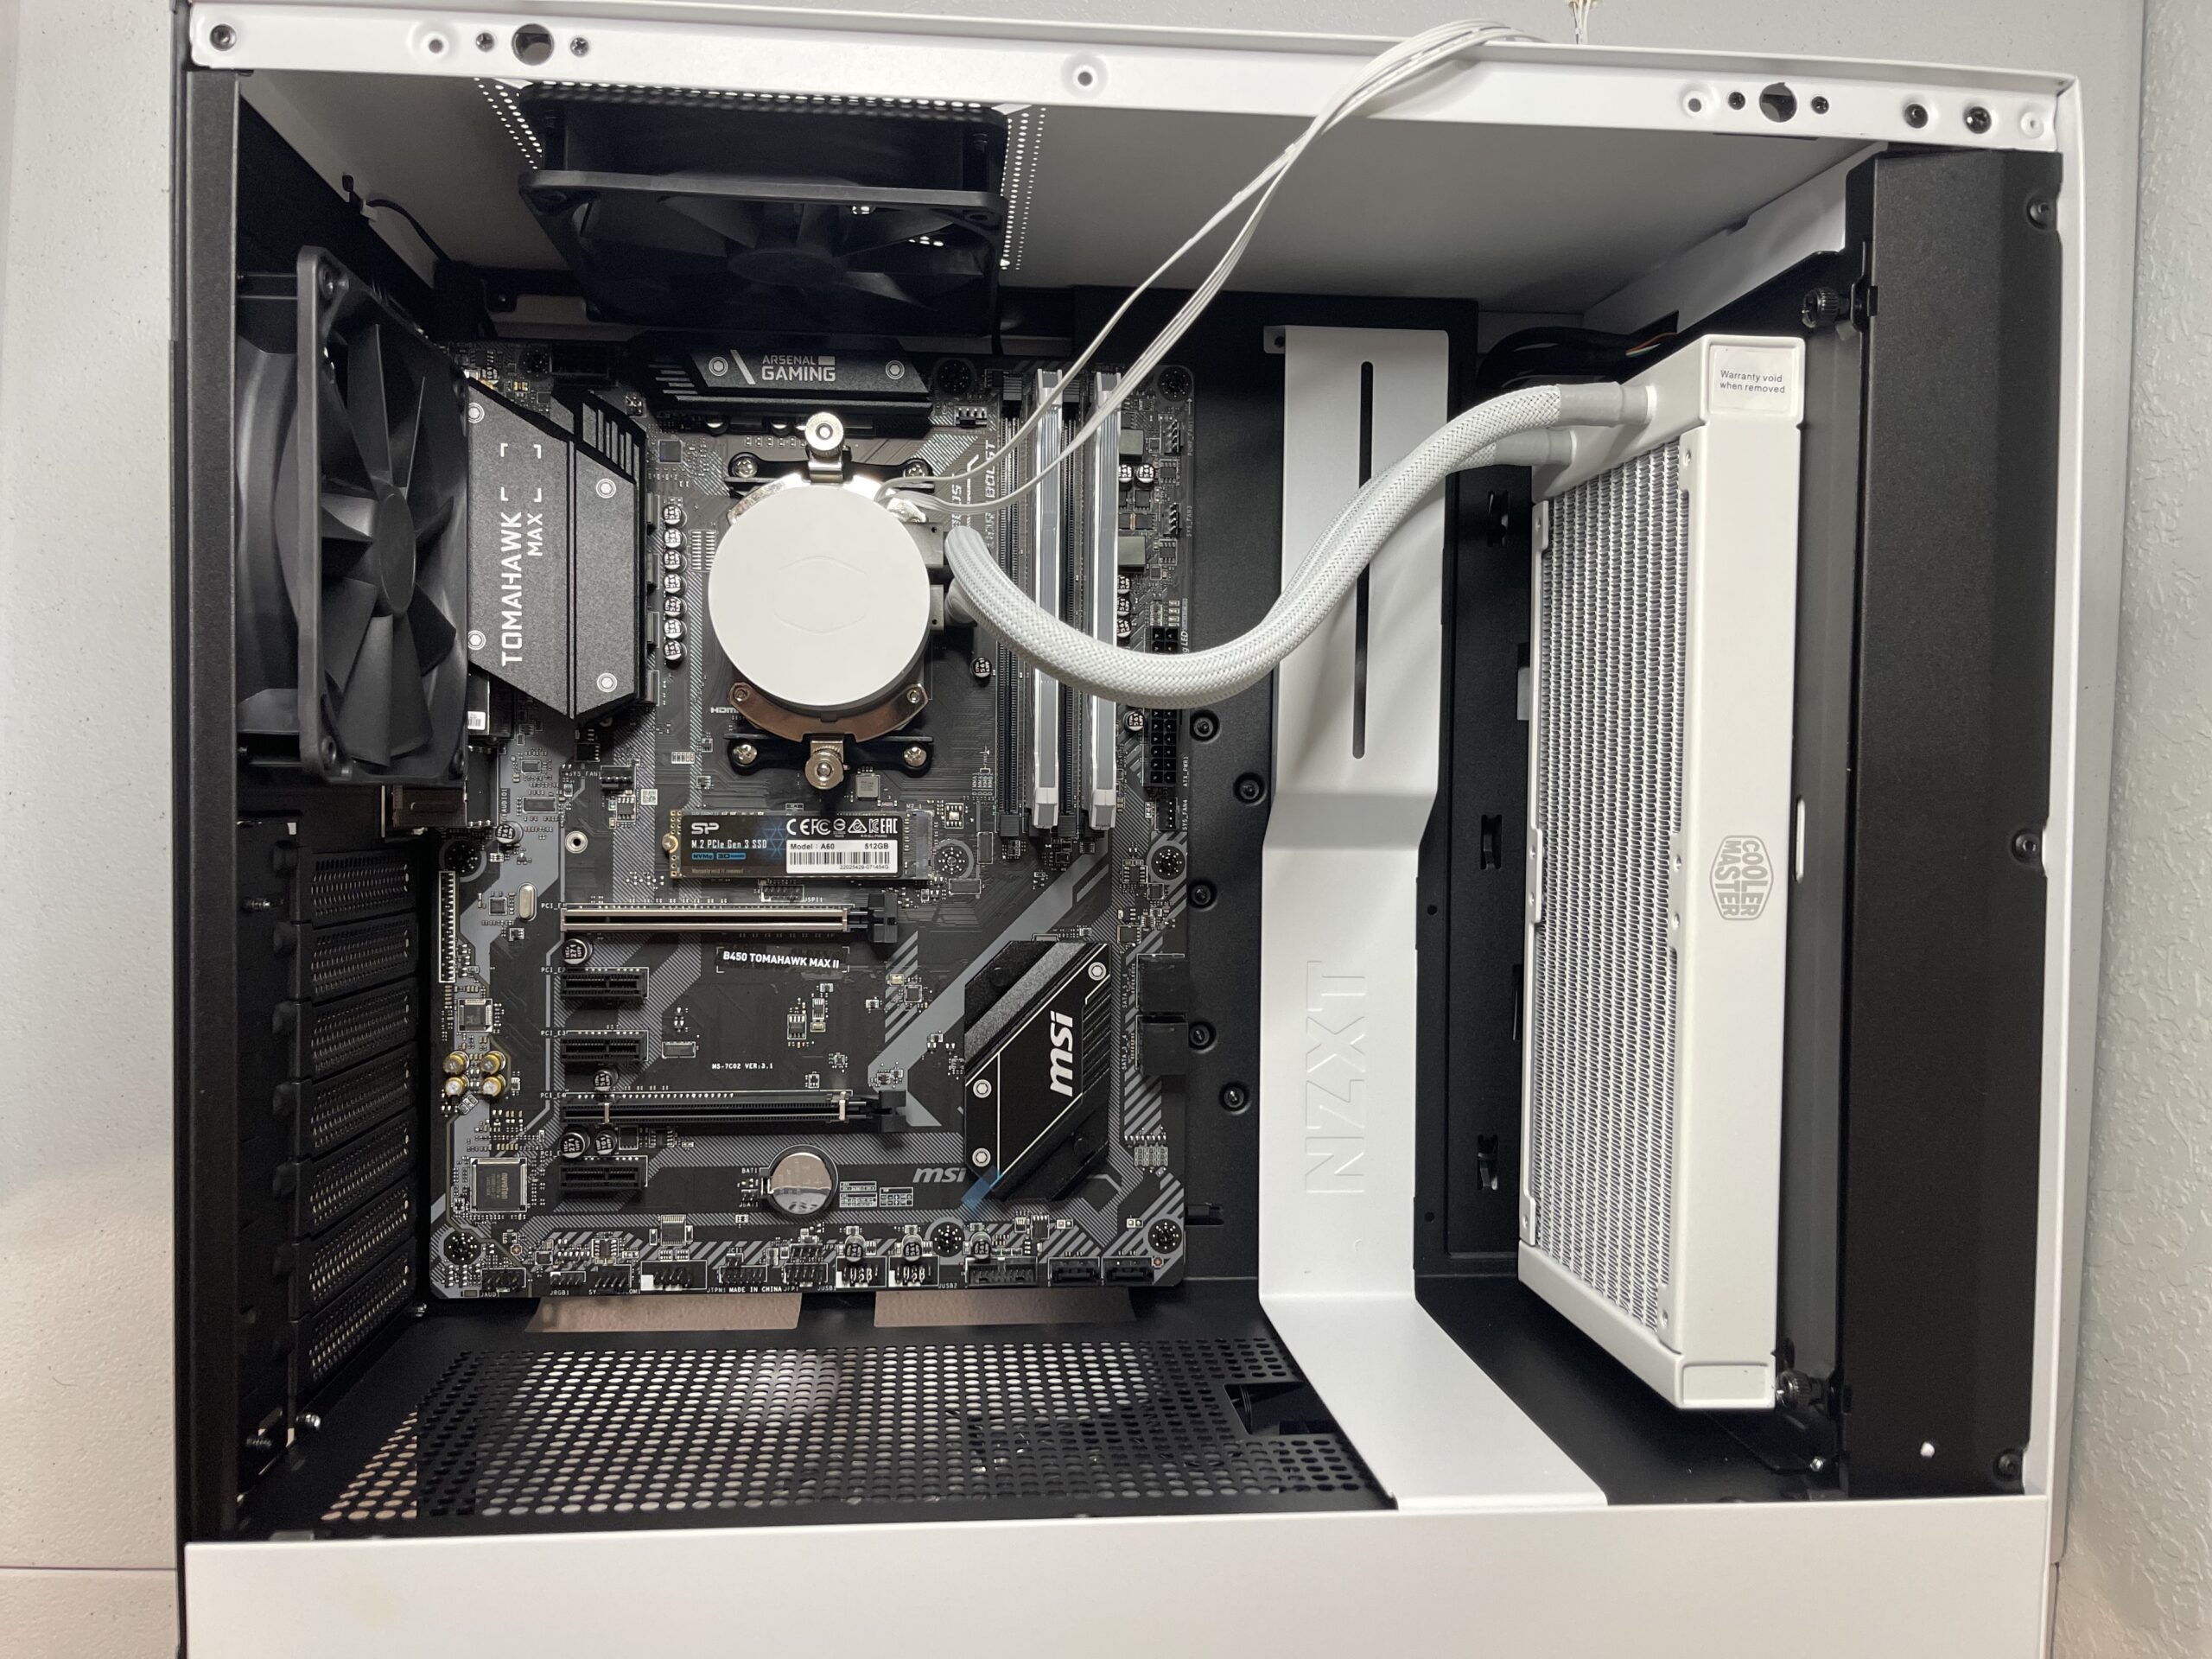
Sometimes, the RAM sticks may get in the way of installing the CPU cooler. This can happen if you have a large air cooler or AIO liquid cooler that has tubes running near the RAM area. When this happens, you may need to readjust or rotate the CPU cooler into another position.
Bonus Note
There are three types of cooling systems you can install on a gaming PC. The traditional air cooler that uses fans to push out hot air. An AIO (All-In-One) cooler that use a closed liquid loop to circulate water to the CPU. A closed loop means that the water cannot be removed or changed. The last is a custom water loop that must have the water replaced regularly.
Air Cooler
Air coolers are the most common type of cooler found in most daily computers. They are cheaper and easier to install than any other type of coolers. Most gaming PC’s however, are moving towards water cooling methods. On top of being flashy, water cooling removes heat more efficiently than air cooling.
If you are going to choose air cooling for your gaming PC, be sure to place your computer in a nicely cooled area where it can take in plenty of cold air. Leaving an air cooled PC in a carpet room with hot air is the quickest way to burn out your PC.
AIO Cooler
AIO coolers, as mentioned before, can obstruct the RAM slot area. However, AIO’s are popular due to their performance and cooling effectiveness. Water cooling has been the most effective method to cool down your PC since the concept was created. With an AIO cooler, your PC is more capable of handling overclocked settings than an air cooled PC. If you’re not interested in building a flashy PC but still want high performance, AIO coolers are for you!
Custom Water Loop
A custom water loop is the most flashy and expensive method cool down your PC. The reason being is because, nowadays, you are able to water cool your CPU, graphics card, and RAM. Each part that you decide to water cool will need a waterblock, hard or soft tubing, and connectors to attach the tubes to the waterblocks. Although it may seem like a short list, waterblocks can be very expensive depending on how new your hardware is. You will also need tools to bend tubes if you choose the hard tube method. Although costly and time consuming, a custom water block will have the best temperatures for your PC. You will definitely get your money’s worth and lag will be almost non-existent.
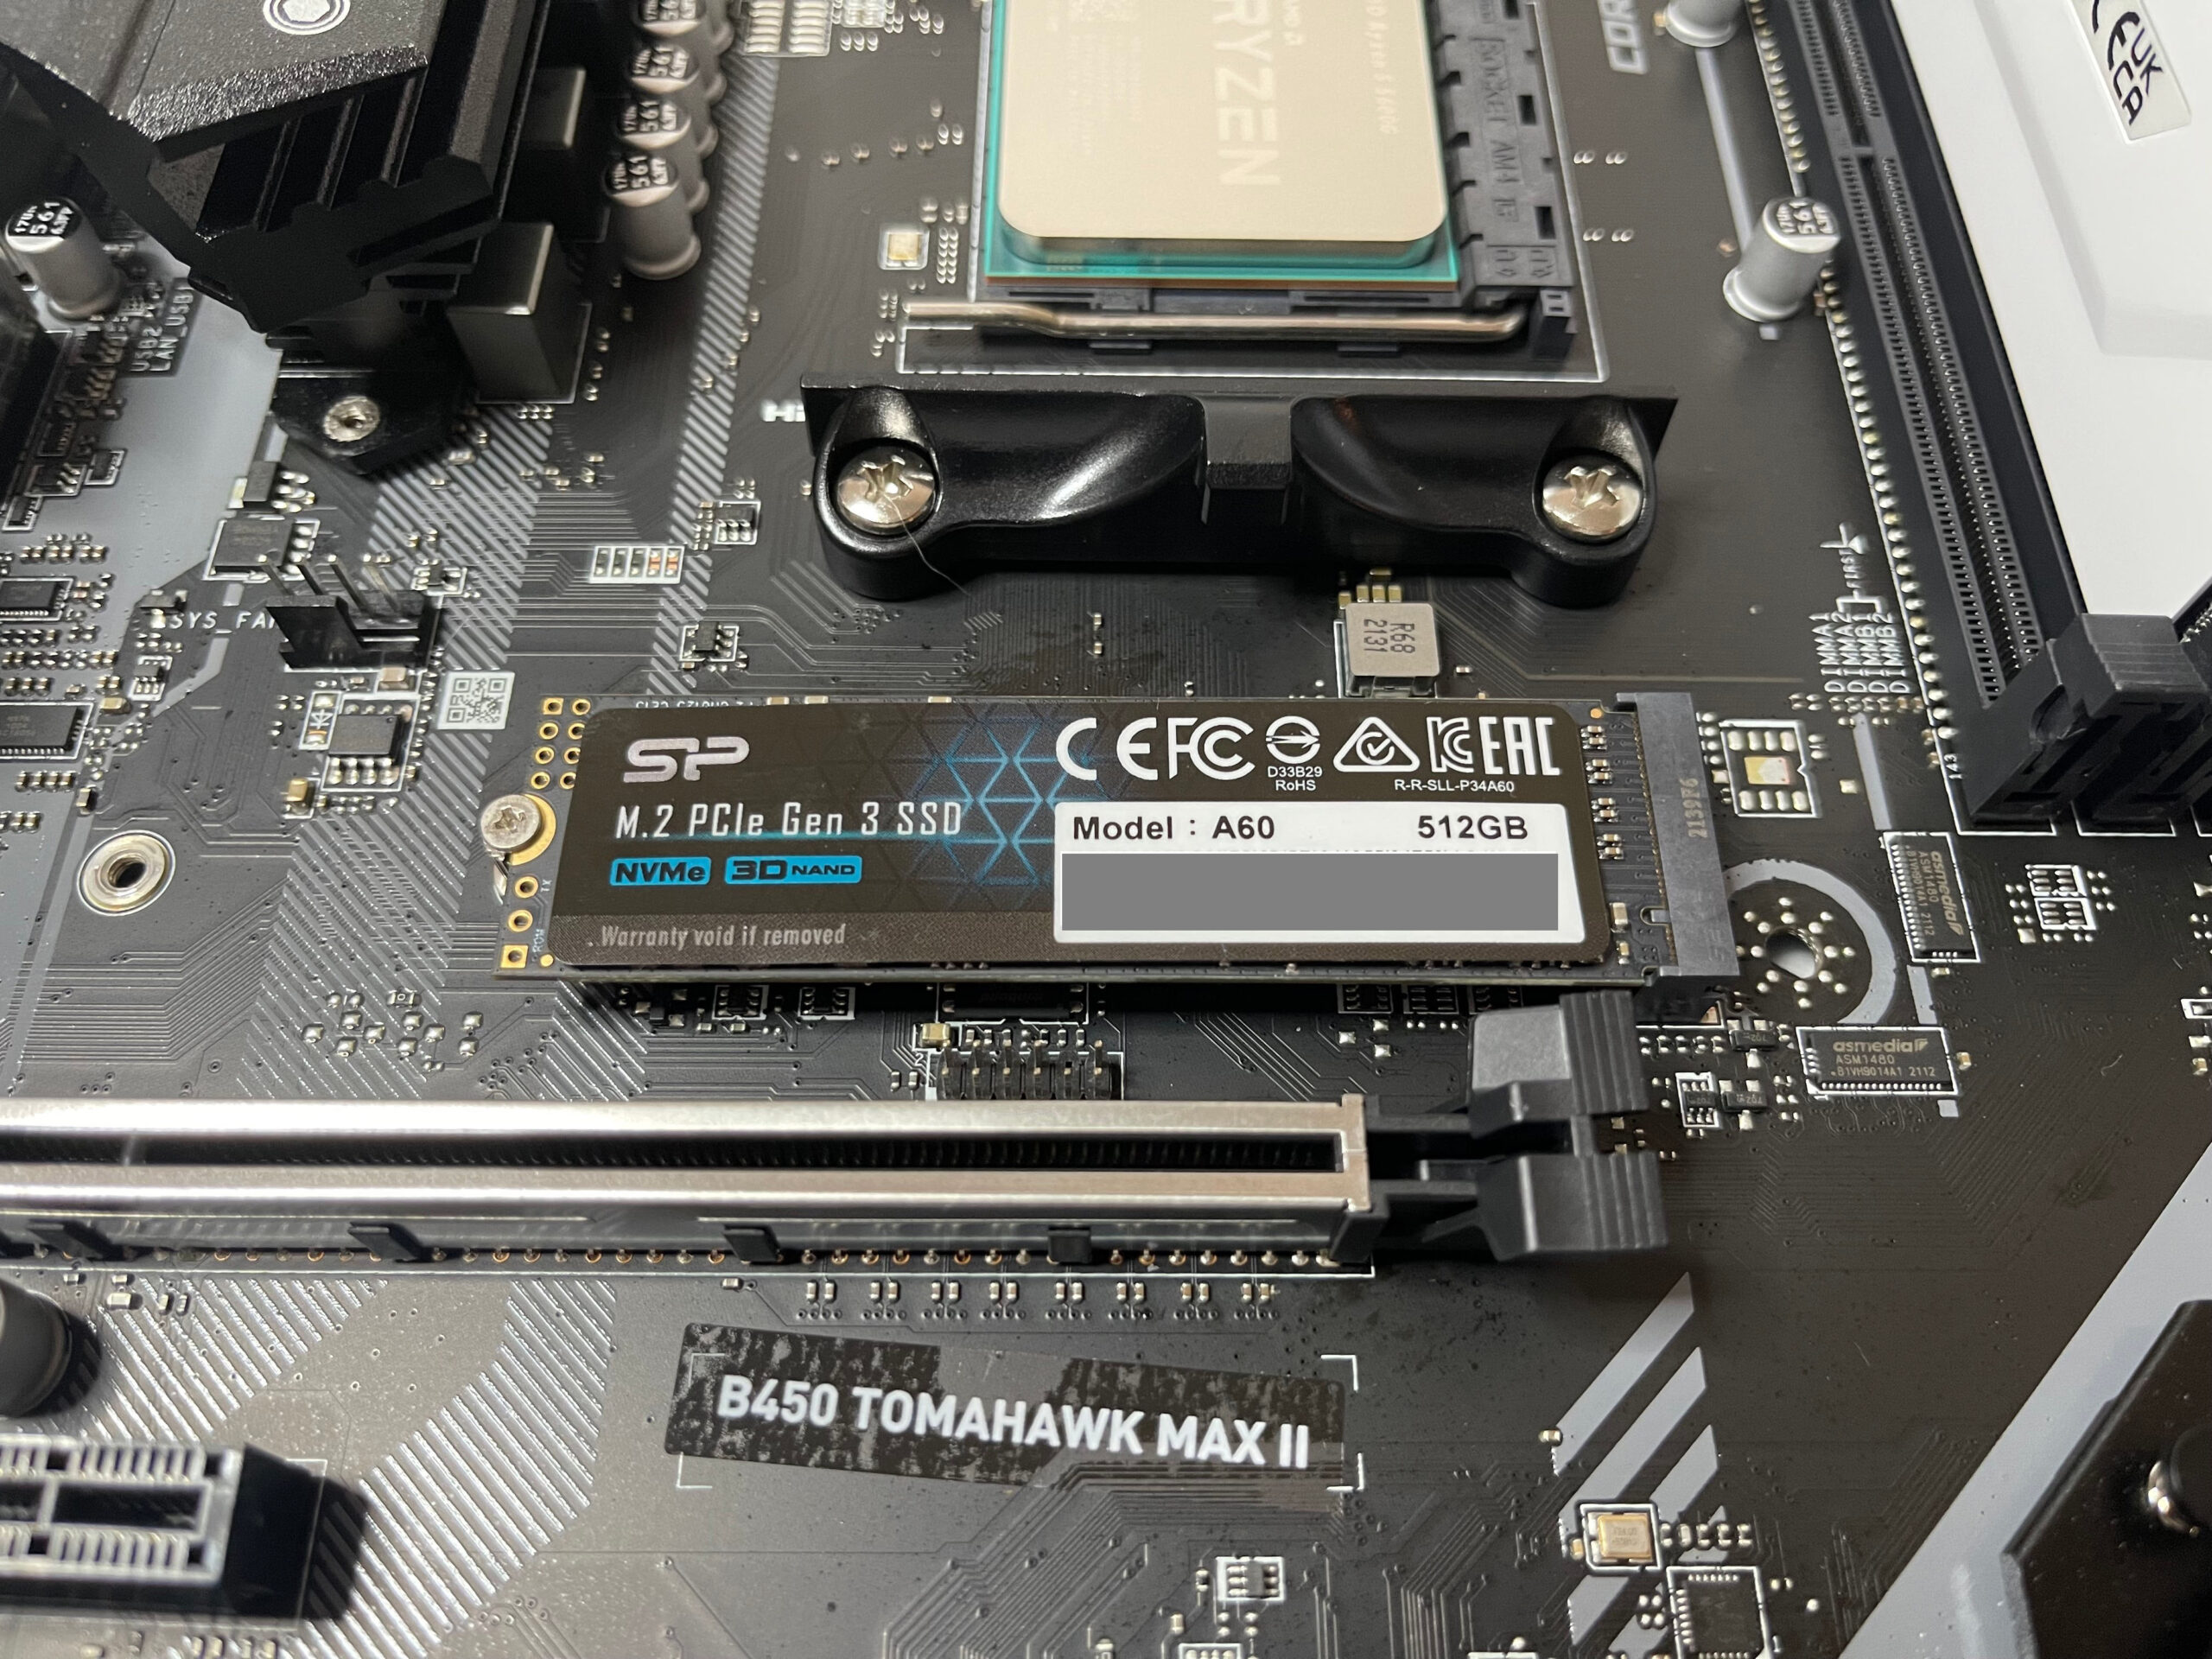
Installing the m.2 Storage
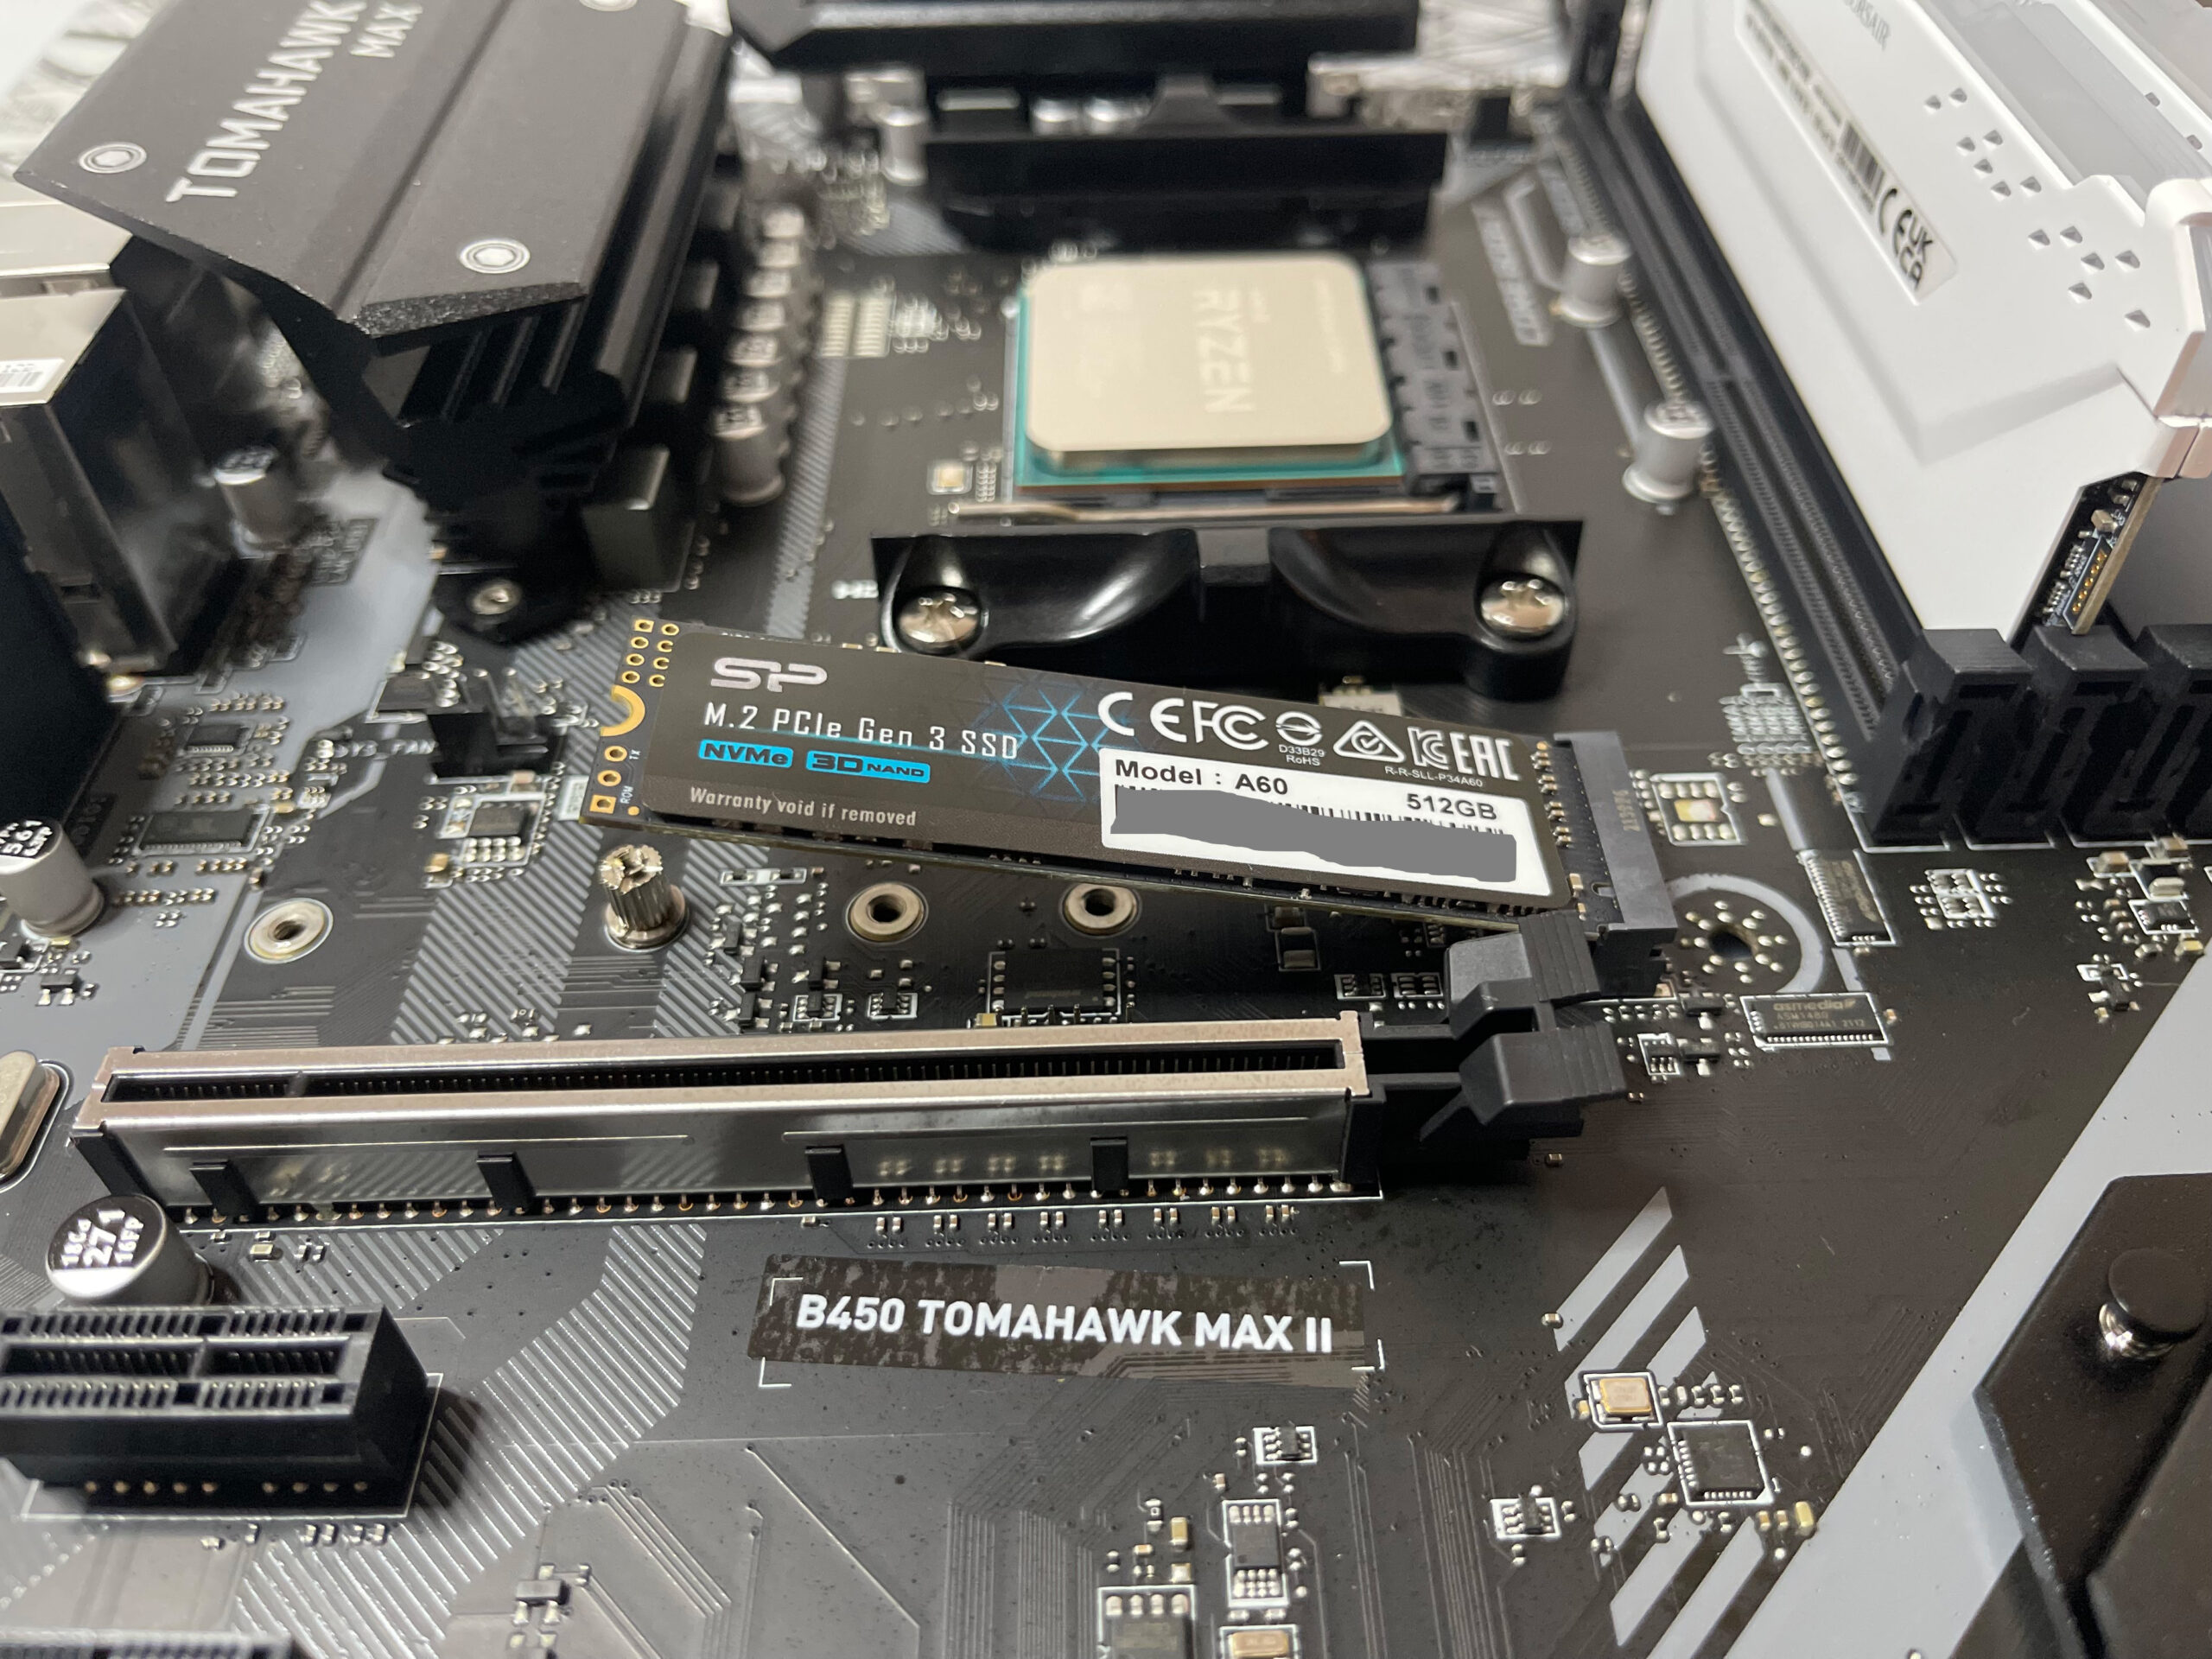
Attaching an m.2 requires as much skill as installing RAM. Simply match the shape of your storage to the shape of the slot and secure it.
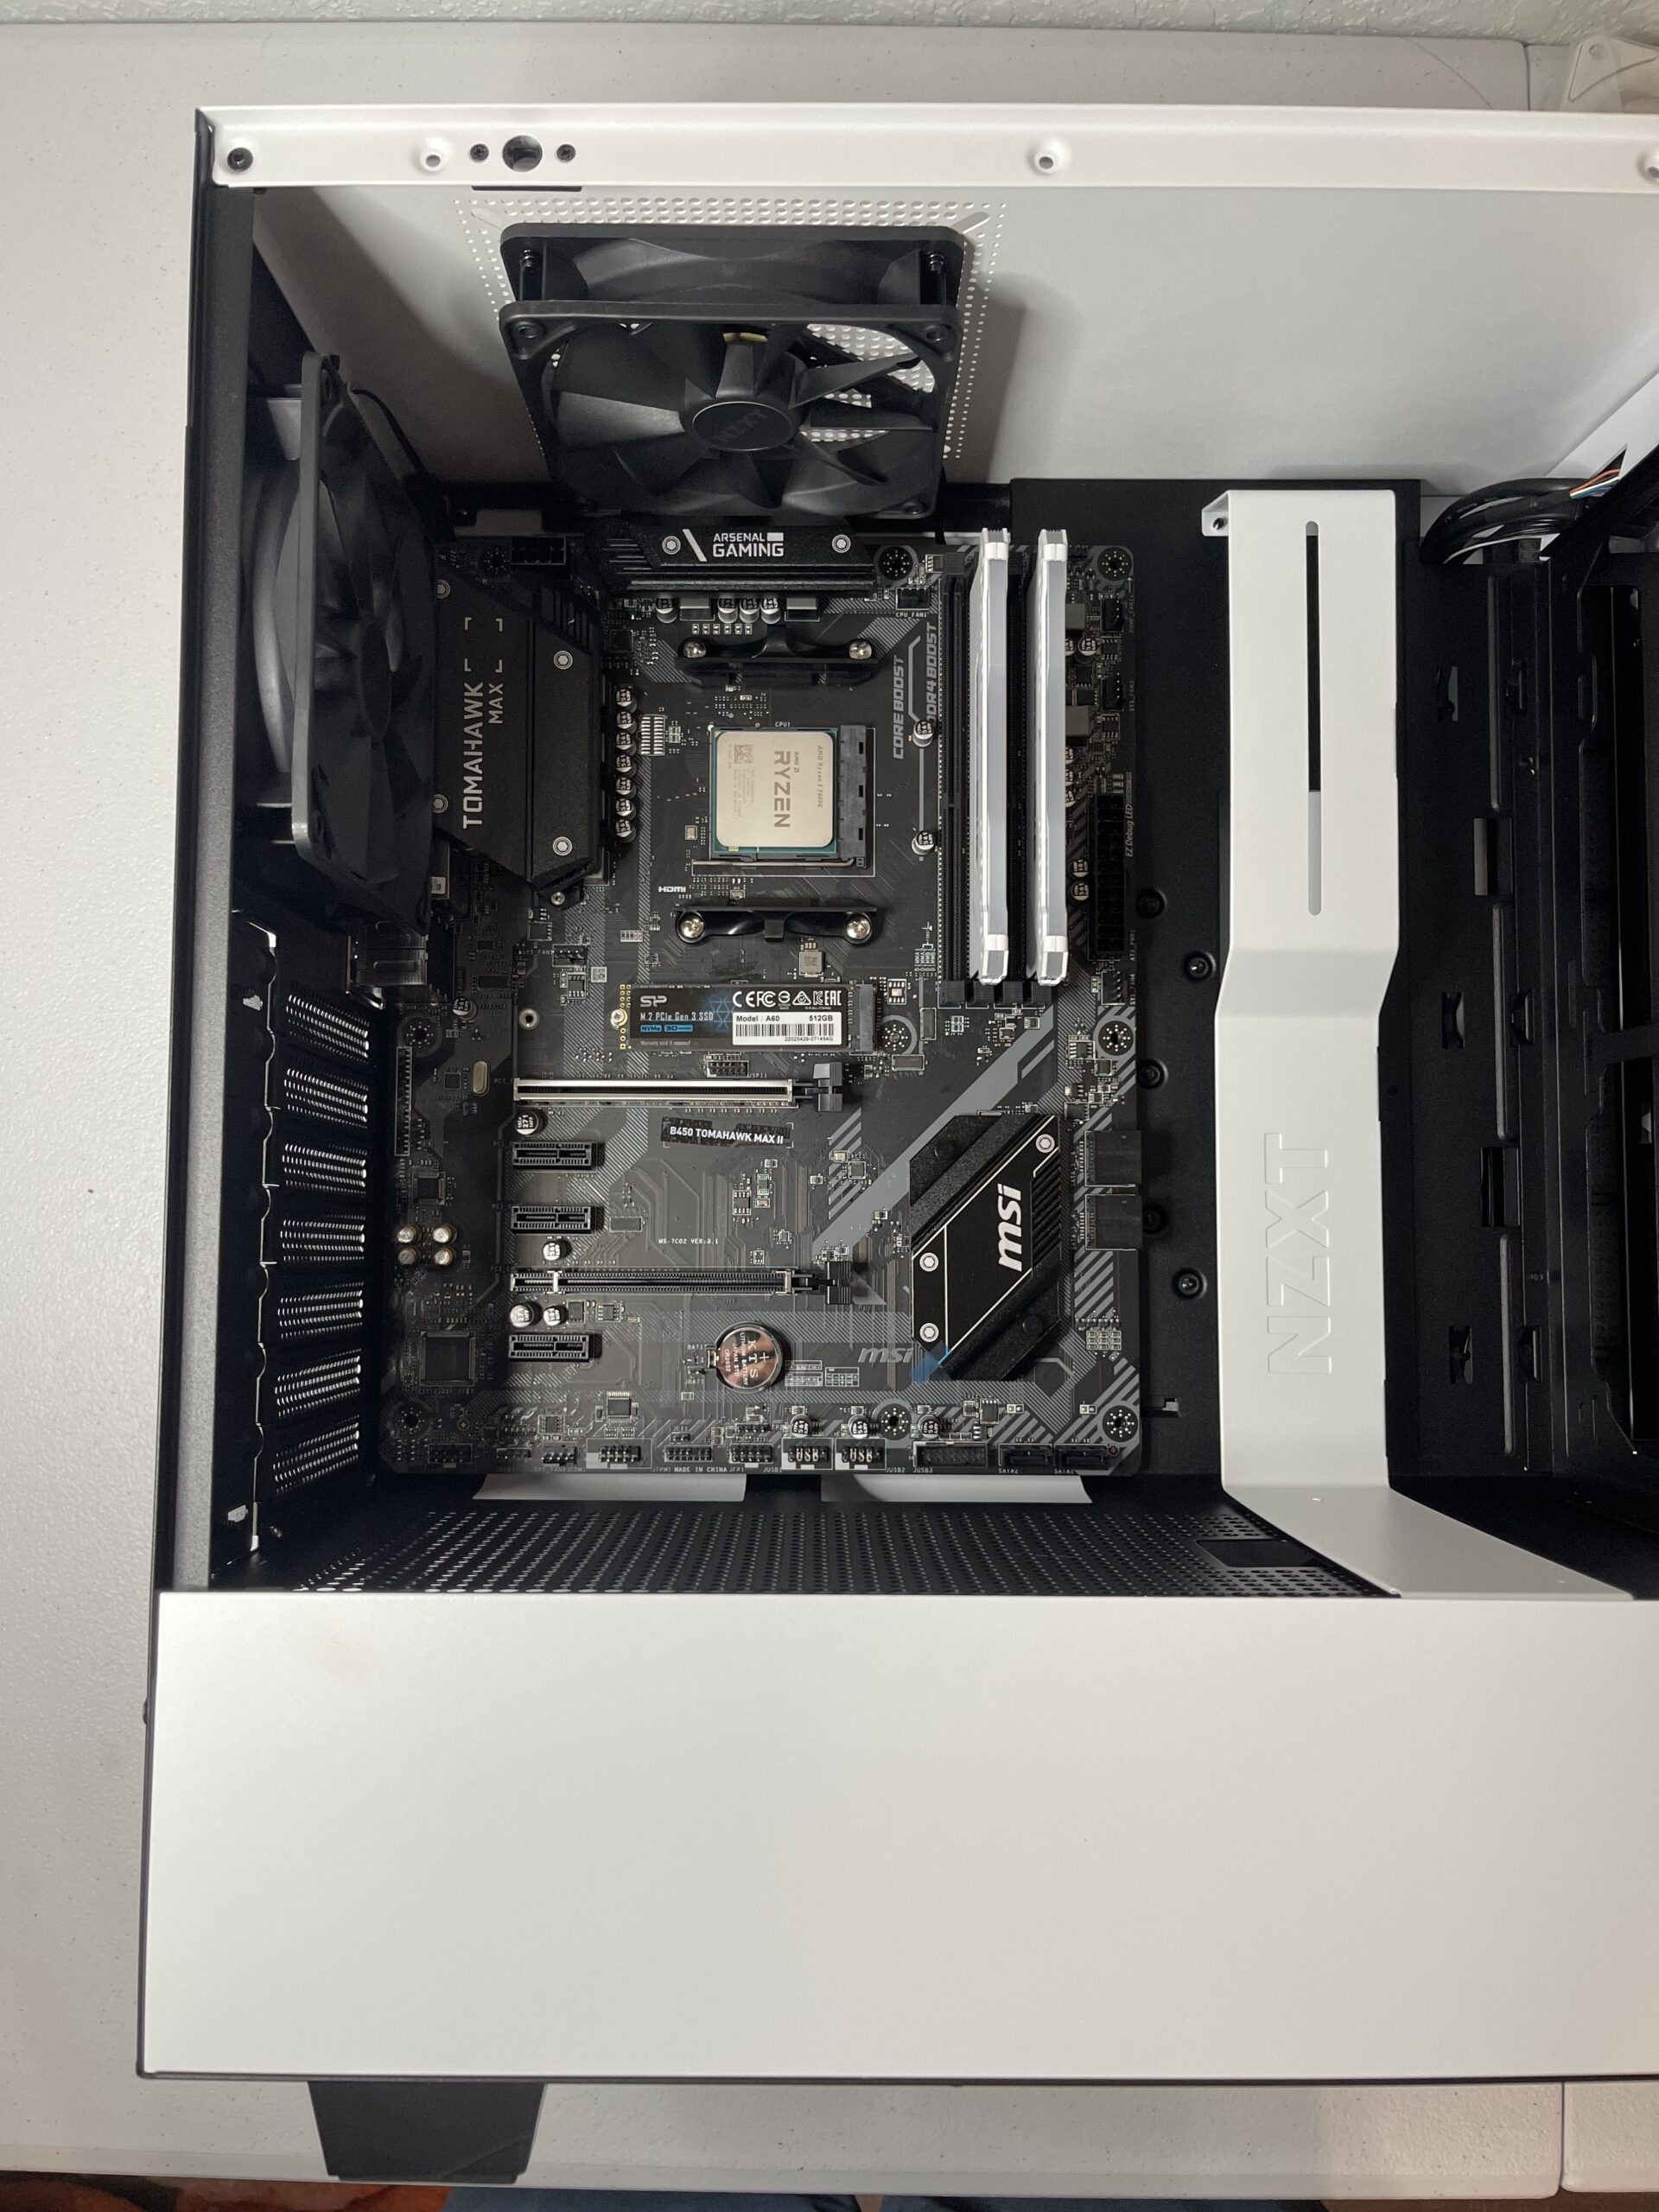
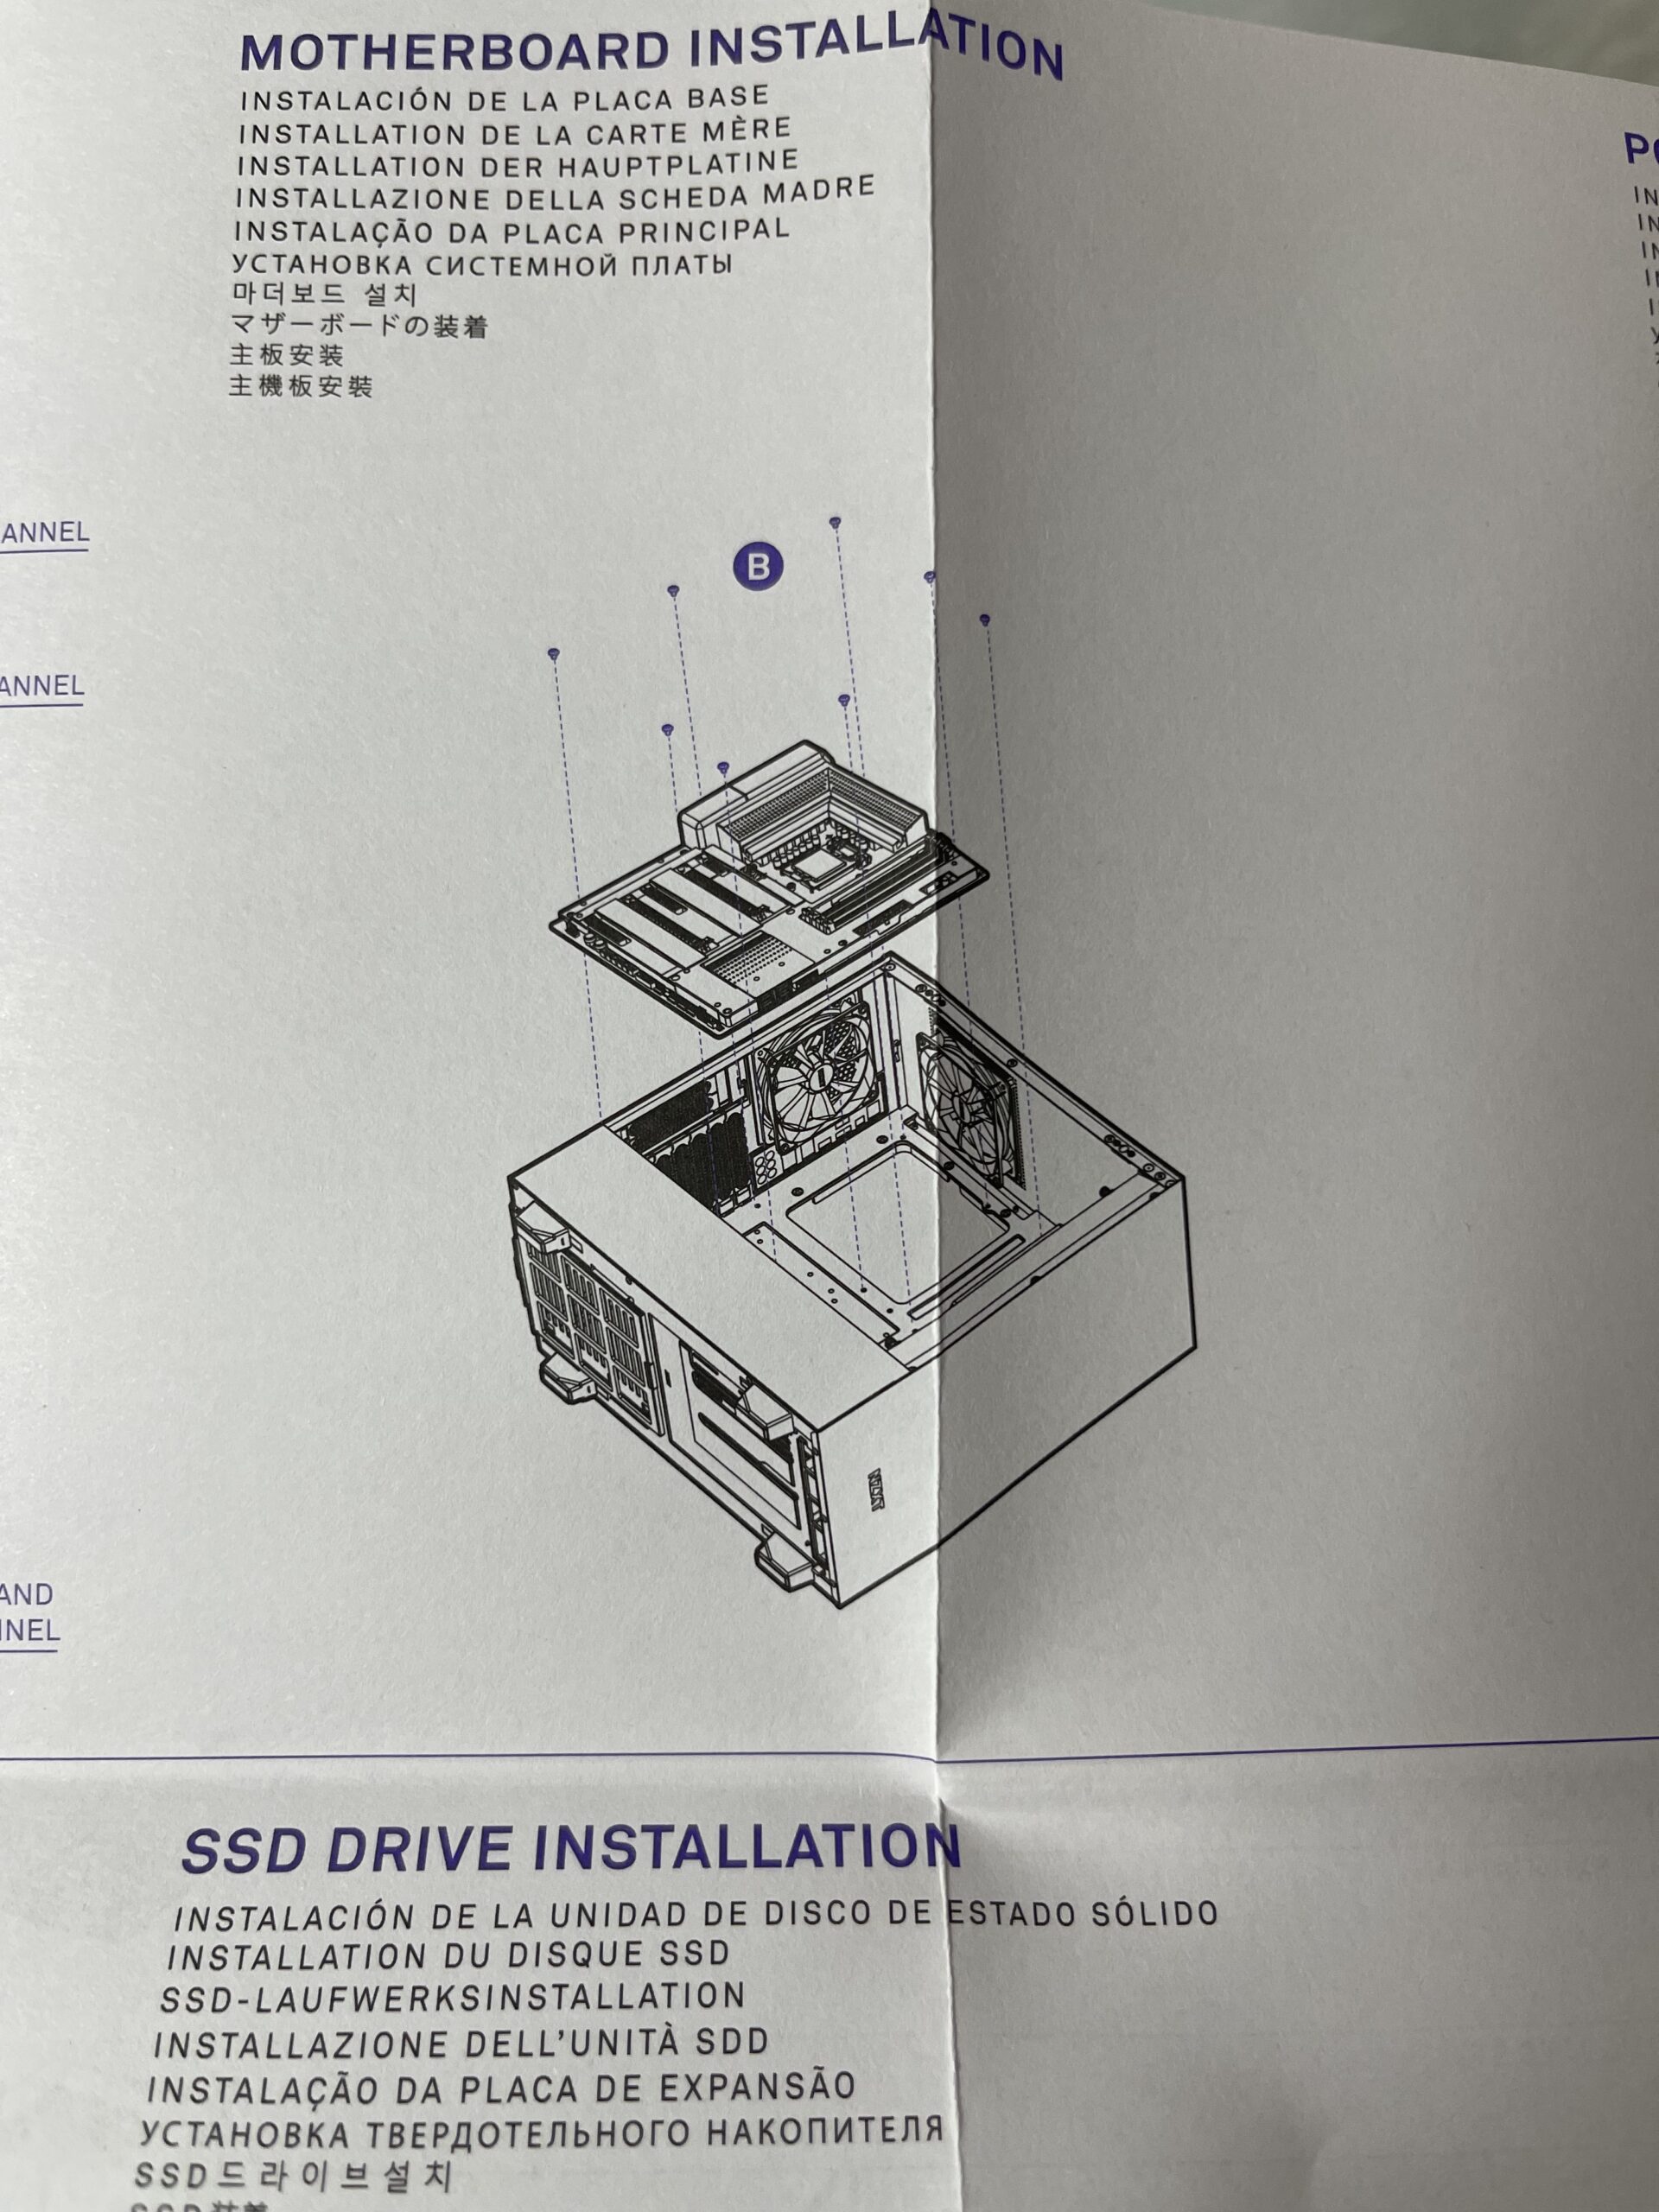
Attaching the Motherboard to Case
A fun fact about the I/O Back Shield is that everyone forgets about it. I would guesstimate that roughly 90% of PC builders, beginners and veterans alike, will forget to insert the Back Shield in place.
If you do manage to remember it, installing it requires minimal force and you will know it’s installed correctly when you hear the plate snap in place. Personally, I only apply pressure to the four corners and that’s enough to snap the whole thing in place.
Adding the rest of the components to the case
Hard Drives
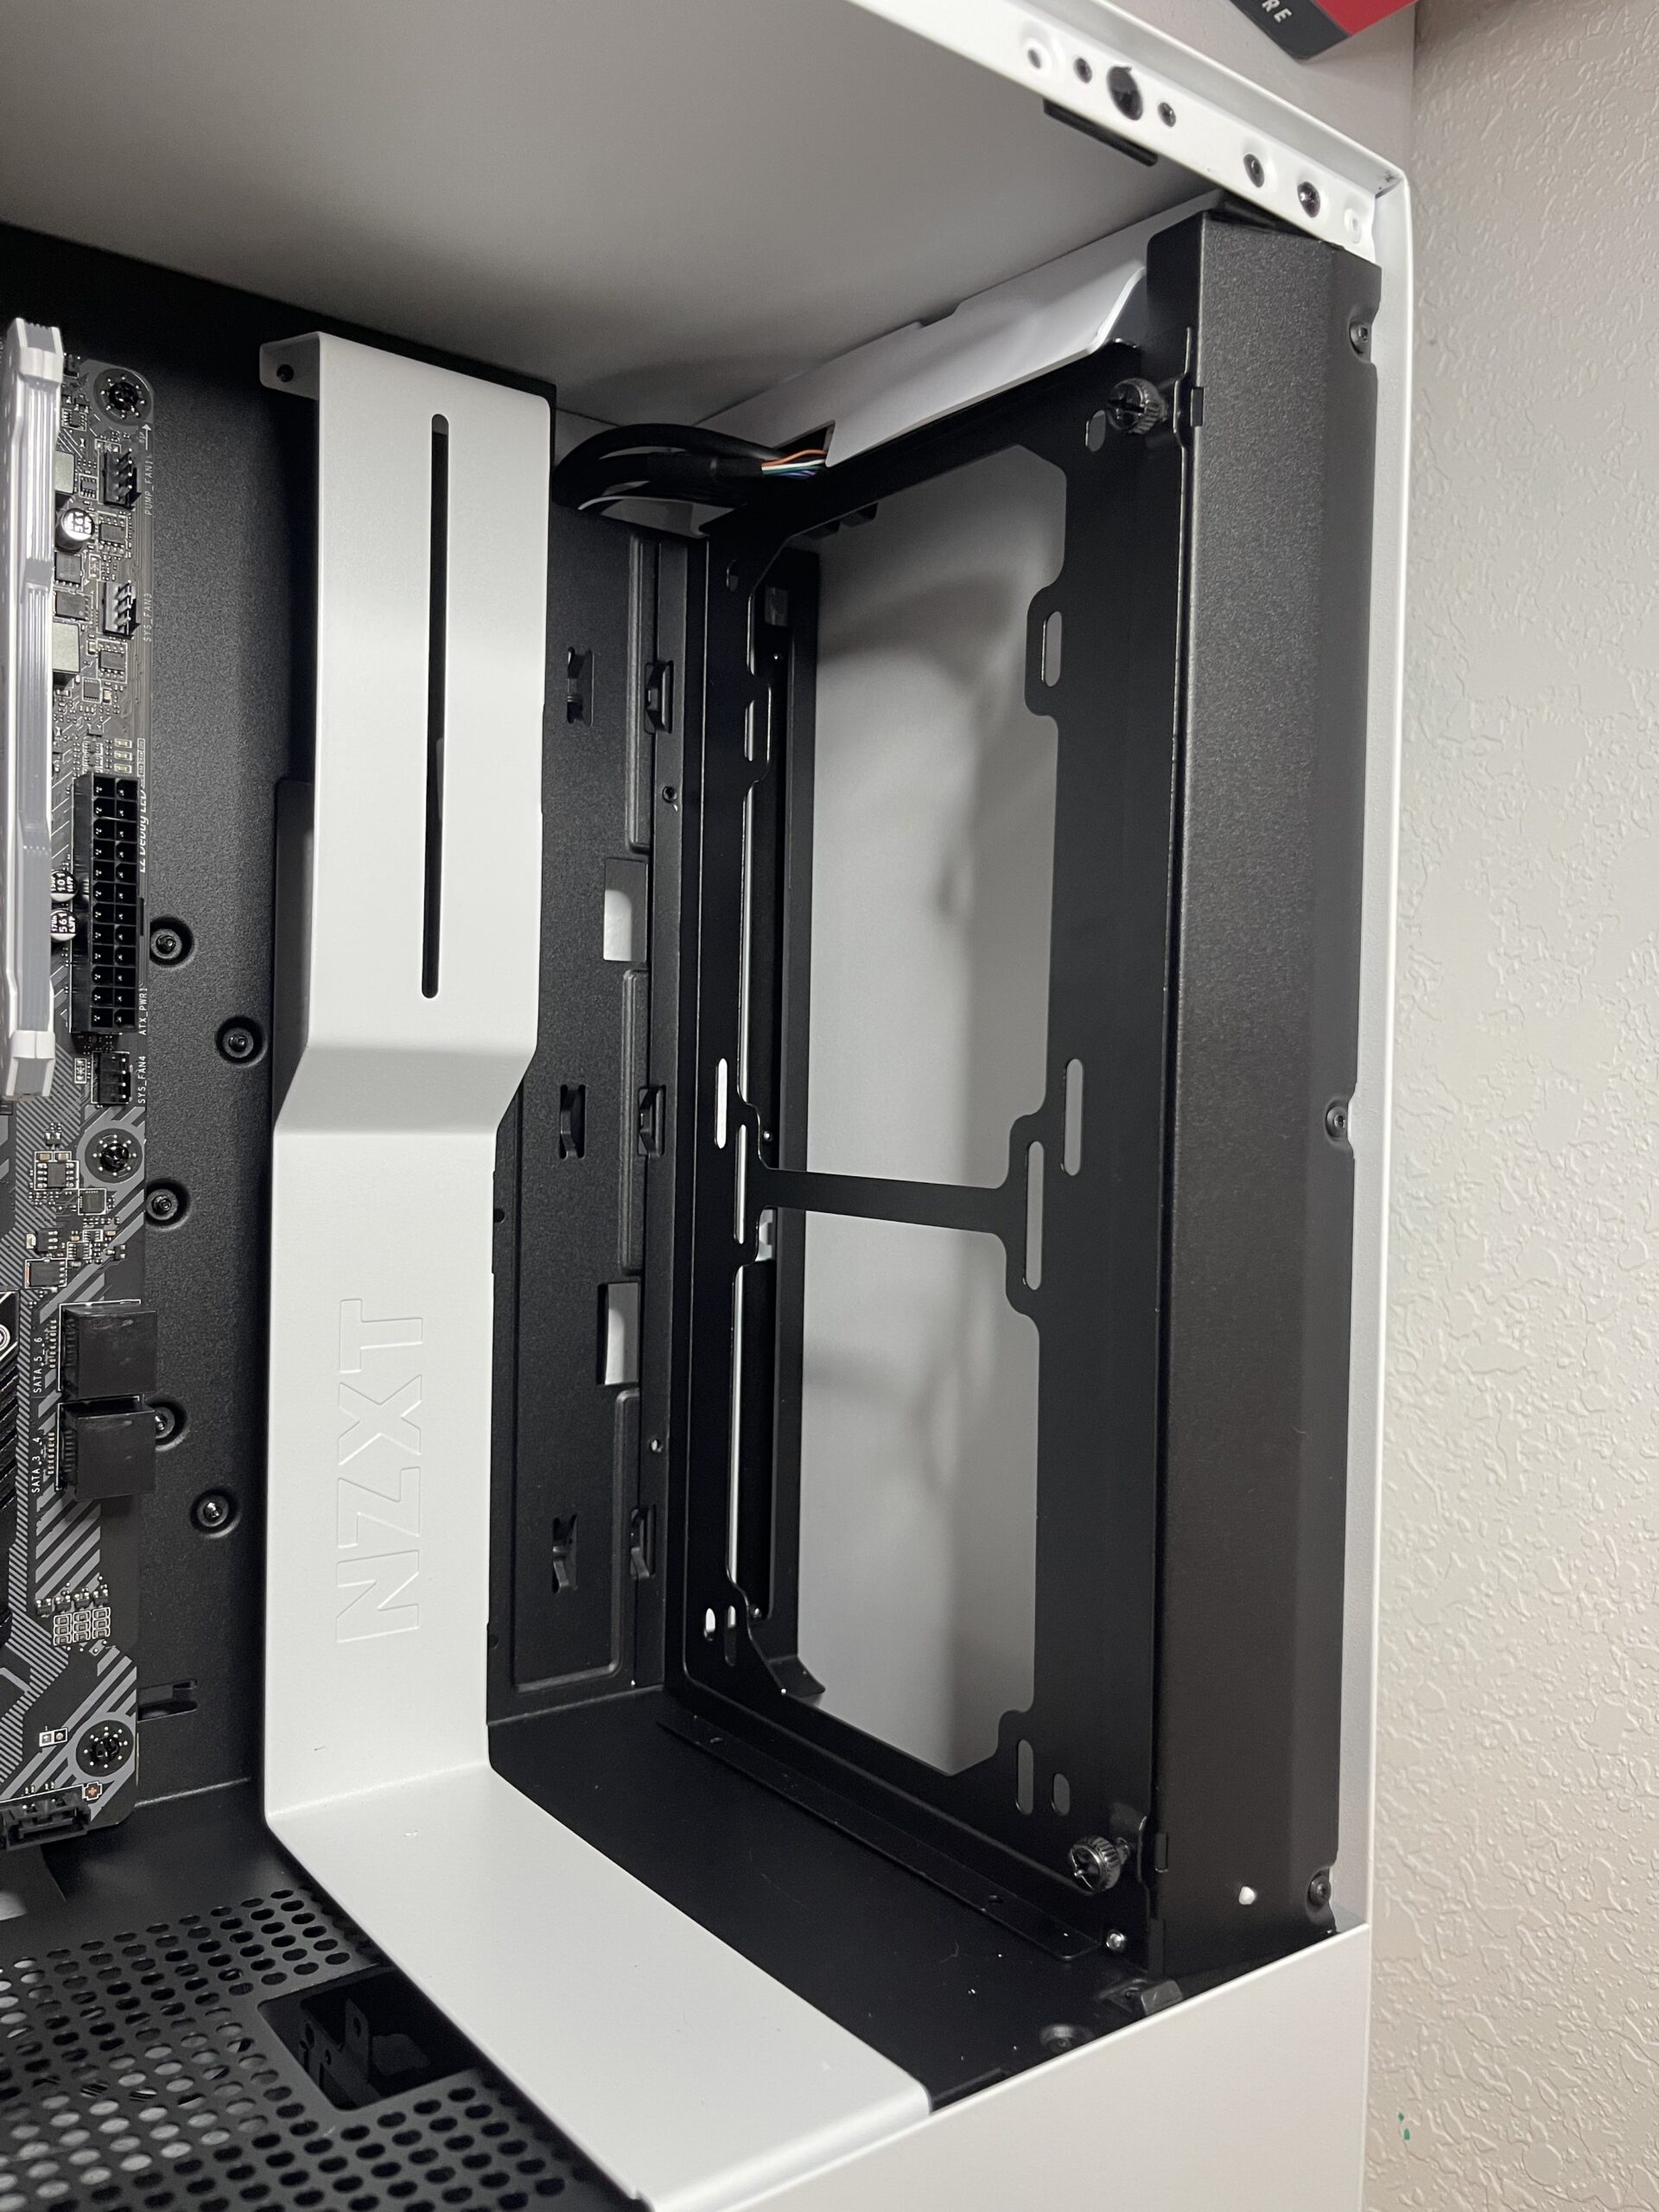
If you ordered additional hard drives or are using a 3.5″ hard drive as your main drive, you can now insert or attach your drive to the case. Depending on your case, you may have several spots designated for hard drives. The most common of course will the be the hard drive enclosure.
Some examples of hard drives having other designated areas are the front, behind the motherboard, or multiple hard drive enclosures.
Lighting
Some lighting addons can fit into your hard drive enclosure. Typically they use the same connectors and dimensions.
Power Supply
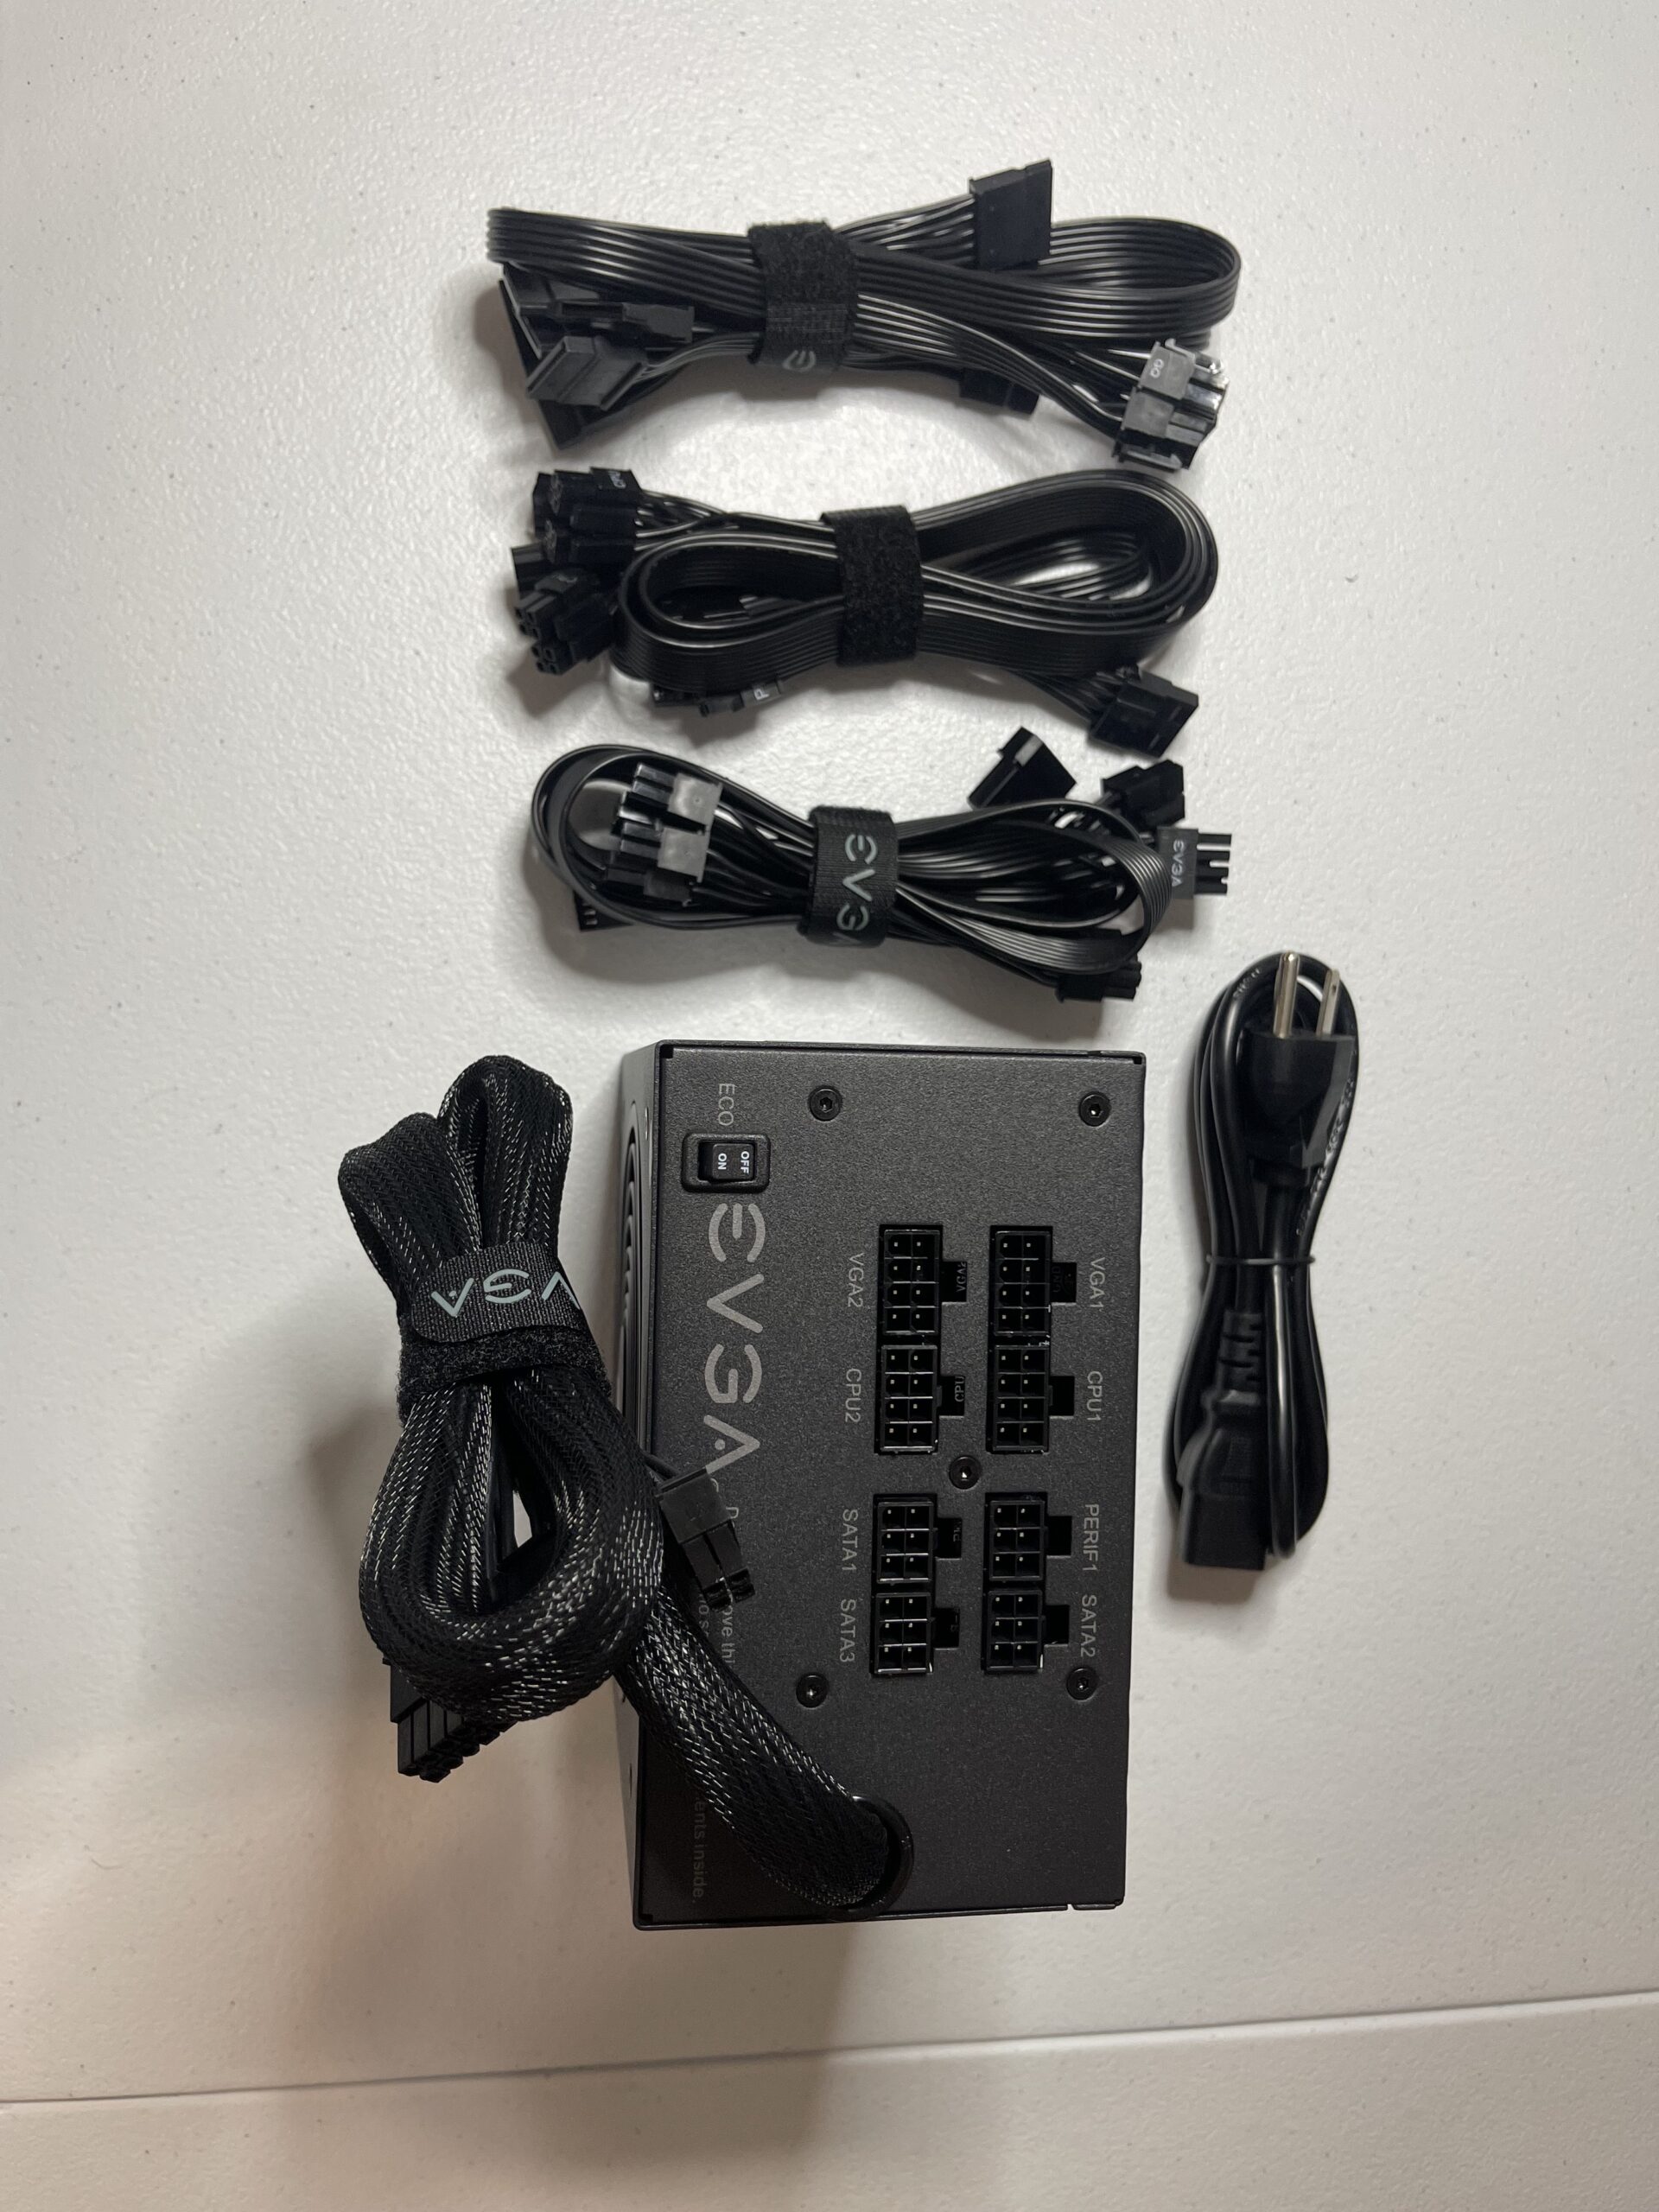
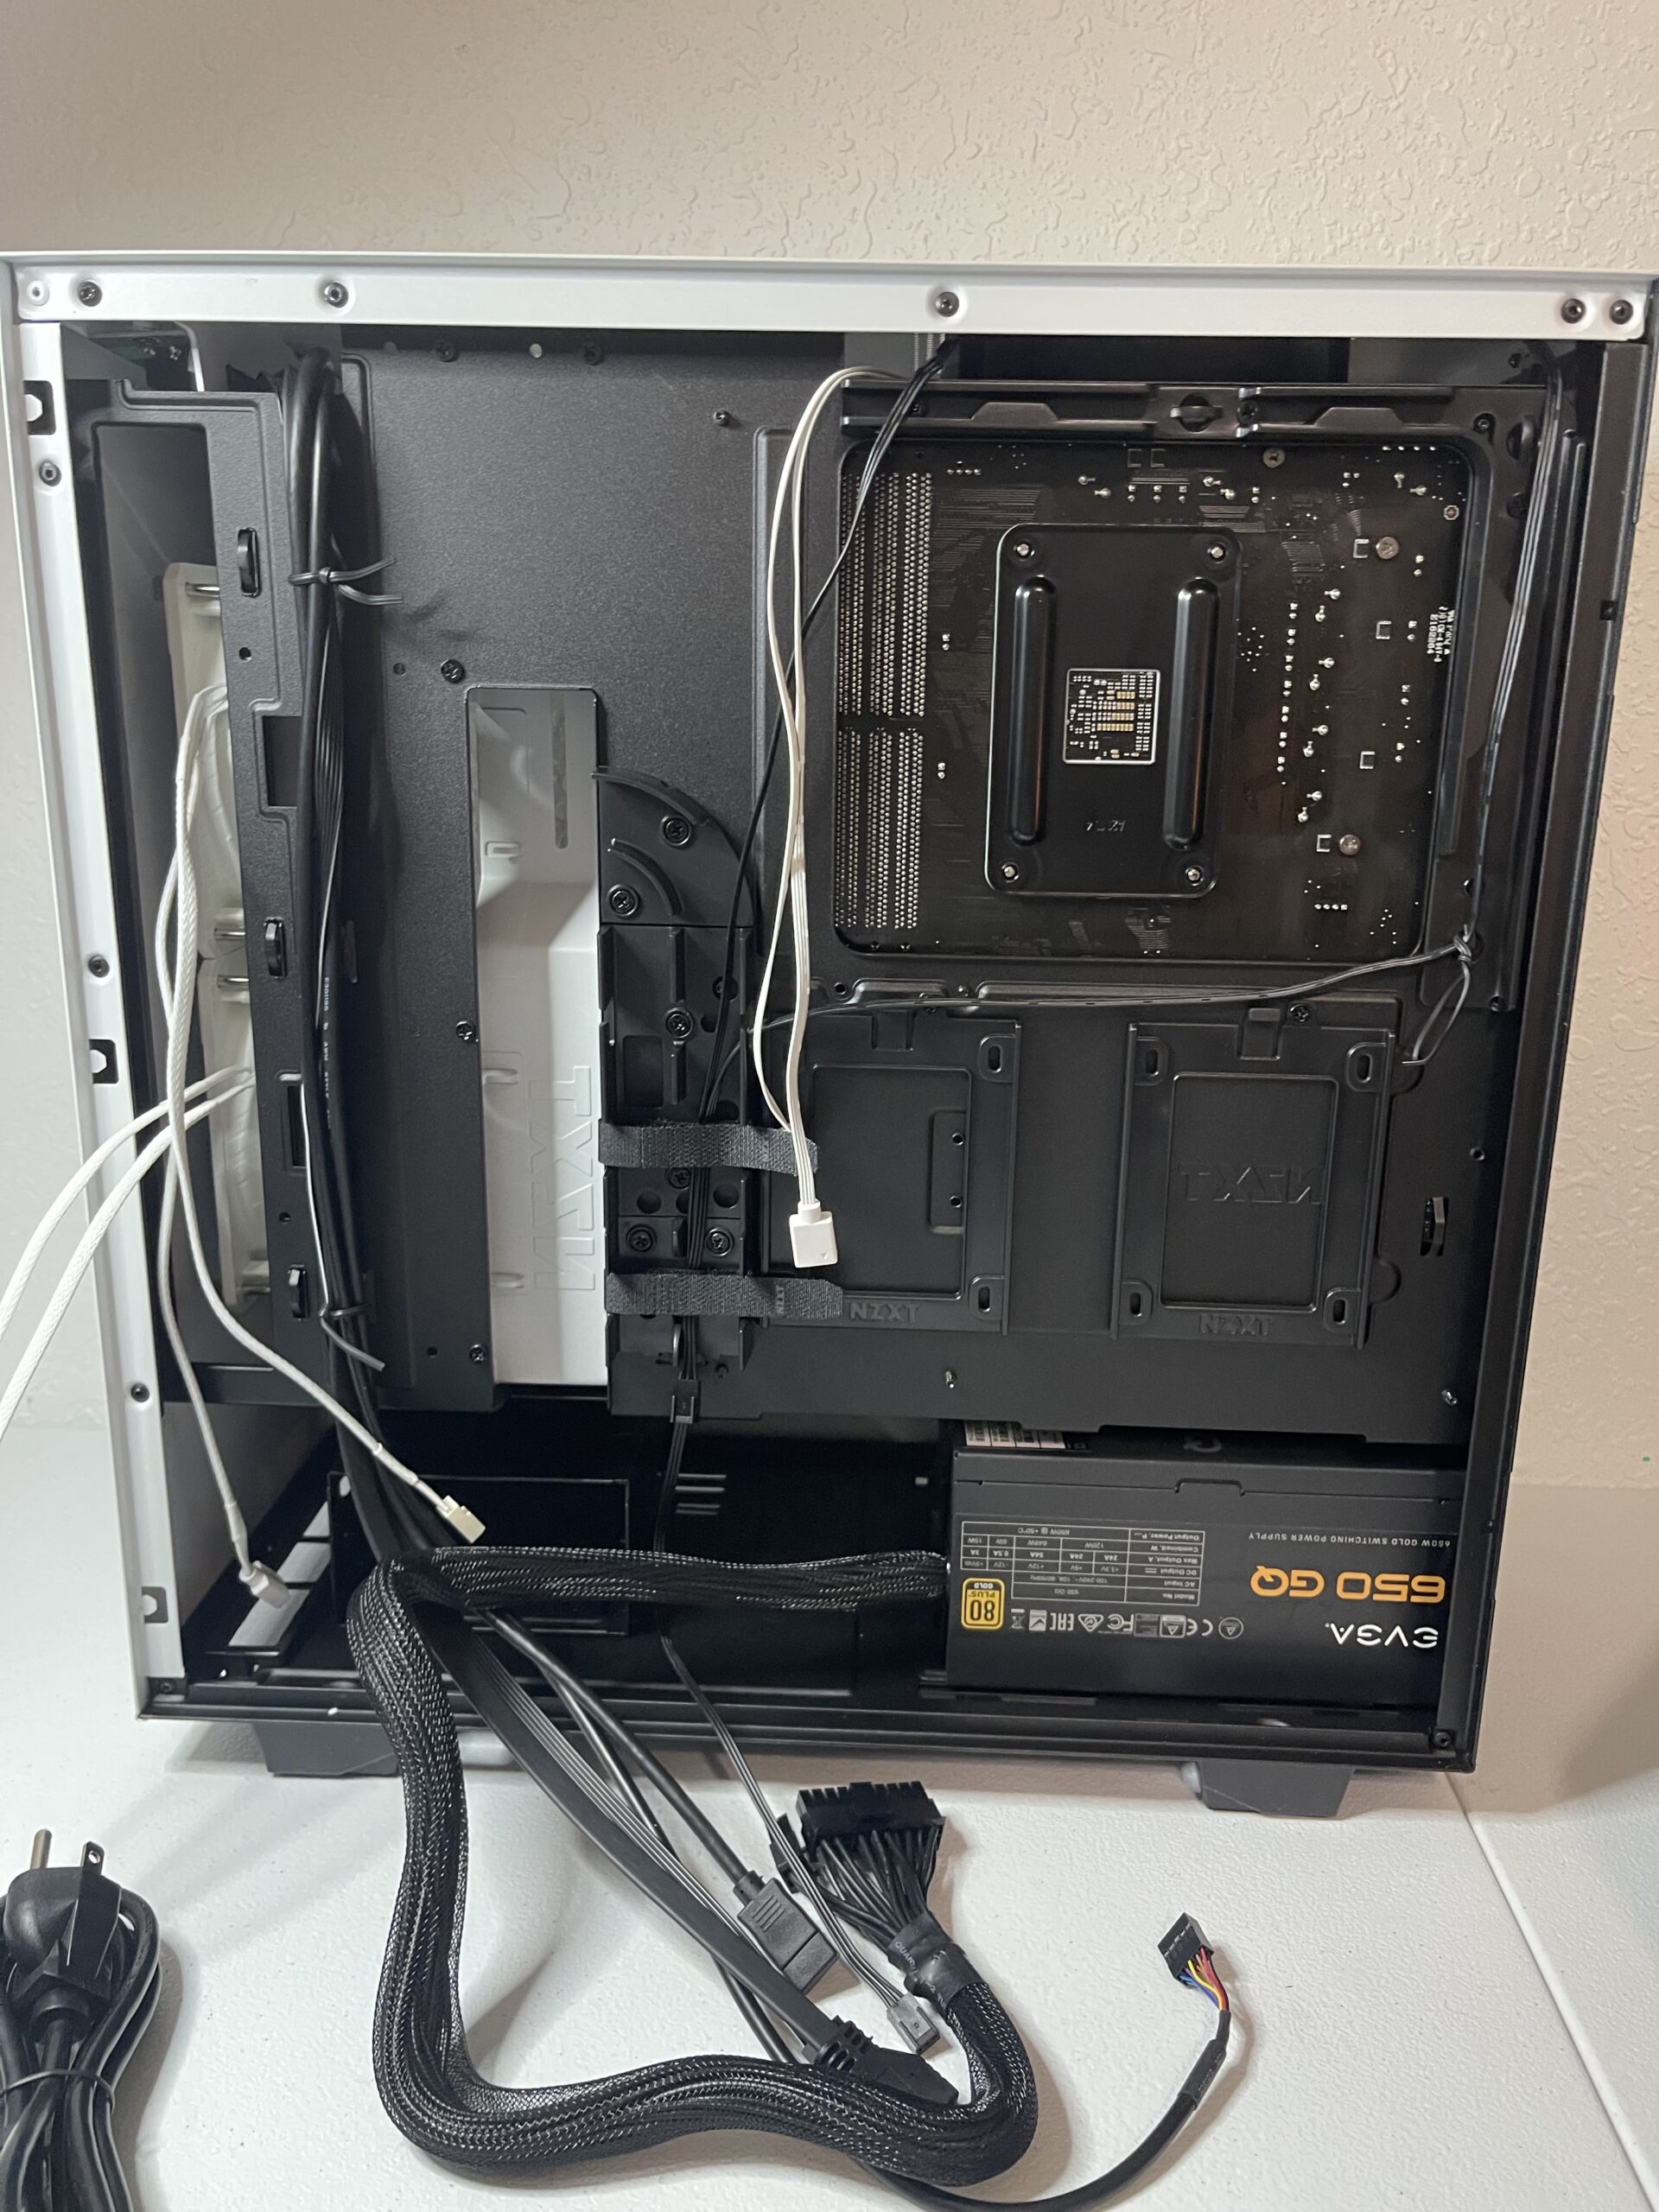
The final component left to install is the power supply. Depending if you went with modular, semi modular, or fully modular, this may be a more time consuming step. For a more in-depth reading on which power supply to choose, check out our Power Supply guide where we go over all the necessary factors for a PSU.
For our build, we went with a semi-modular power supply. Semi-modular PSU’s have a non-removal CPU and Motherboard cable and the rest of the cables are detachable making it easier for avoiding clutter. Clutter is another way of blocking air flow and retaining heat.
Connect All Cables
Now that all of the components are in place, we can move on to cable management. I personally like to stretch out each cable and see the distance I have for each one. By doing so, I can start with the shorter cables that are unable to loop around areas of the PC.
Cable Management
- Zip Ties
One of a PC builder’s most important tools is zip ties. Zip ties are incredibly useful when organizing cables, stacking cables together, and overall minimizing clutter and heat.
Computer cases have slots in the back of the PC that are intended for zip ties and cable management.
- Velcro
If you are planning to upgrade your PC more frequently than the average gamer, you may want to consider velcro strips. Unlike zip ties, velcro strips are reusable.
Final Checkup
We are done with assembly and cable management!
Now that we are pretty much ready to boot the new PC, it is always a good idea to double check your main components. The main components needed to boot a PC are:
- Both the CPU 8-Pin Connector and Motherboard 24-pin connector installed
- RAM sticks pushed in all the way
- USB header from case connected to Motherboard (or power switch won’t work)
So long as these components are connected, you will have a successful boot. A hard drive and operating system is not necessary to power on your computer.
Powering On Our Custom Gaming PC
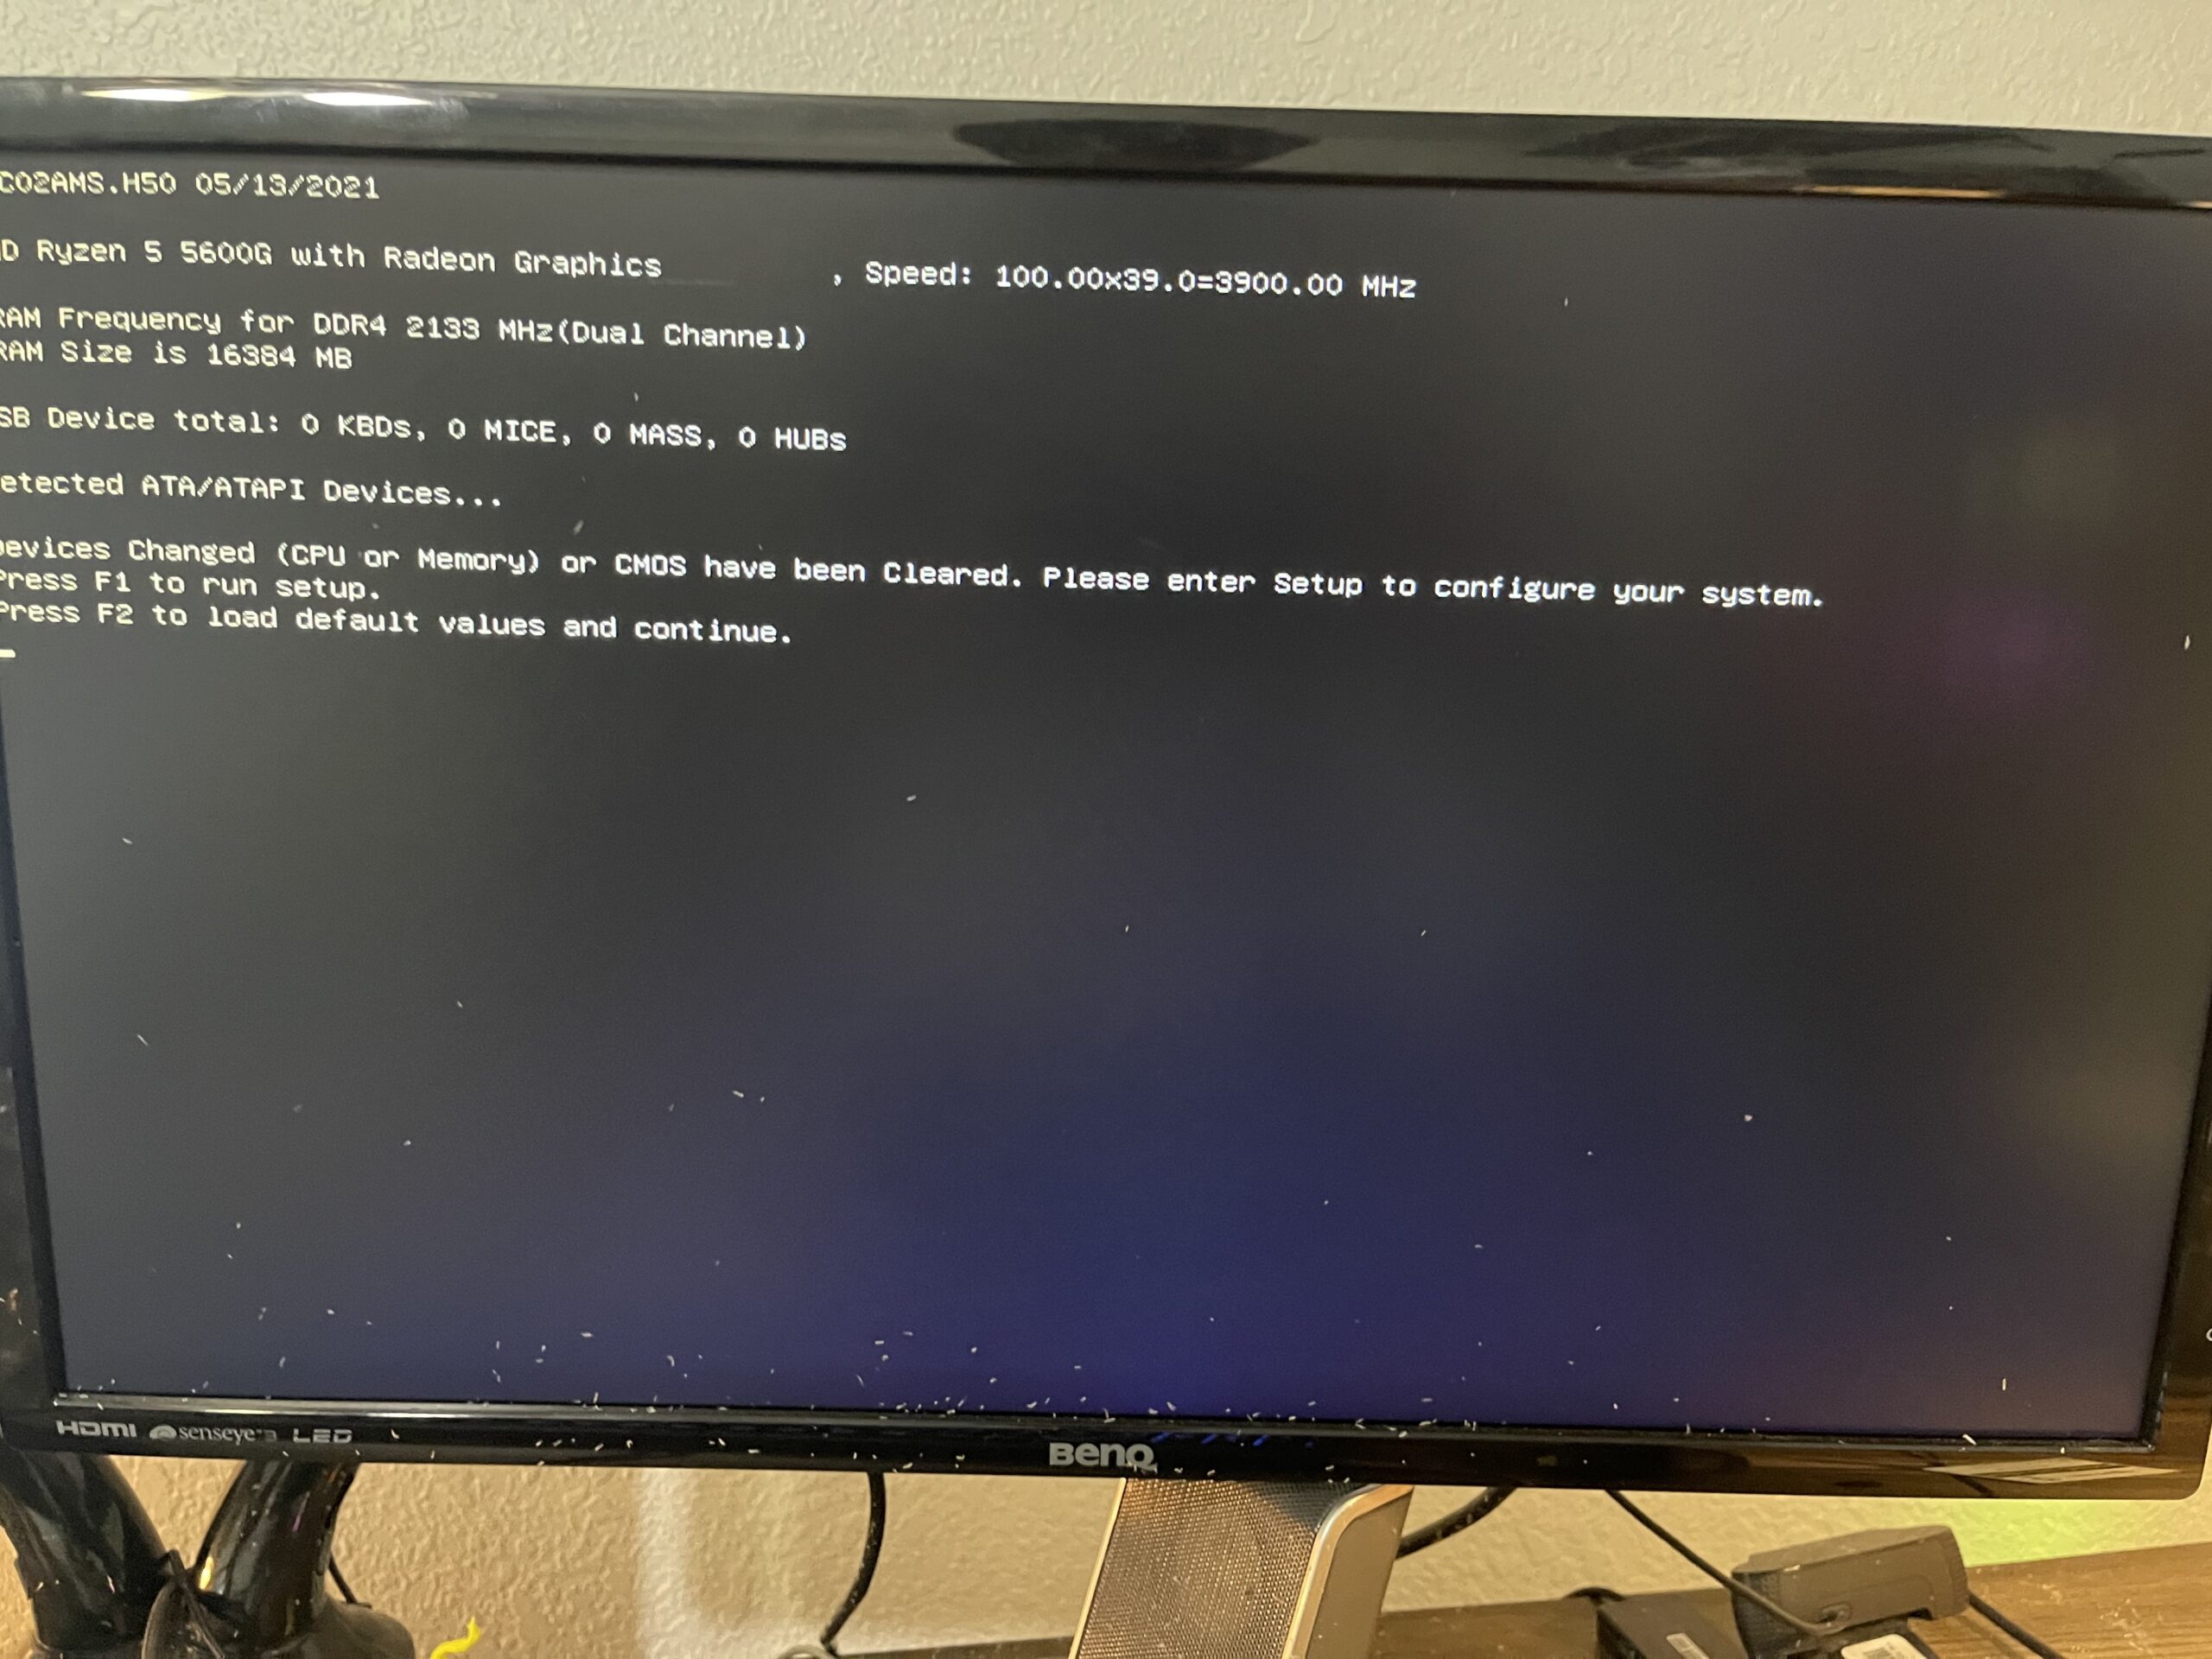
After pressing the power button, the system will cycle electricity throughout the computer. This process is known as booting. A successful boot will first show a computer’s motherboard logo. Afterwards, it will go through the boot sequence. Because there is no operating system installed, since this is the first boot, we will want to see the following message to know we had a successful assembly.
This message proves that all of the PC parts are functioning together now. Our machine is ready for the operating system installed!
Installing the Operating System
There are a few methods of installing the operating system. For our PC build, we will be using the most common method which is through a USB installation.
The first step in creating a bootable Windows 10 Installer USB is to visit Microsoft’s website and download their Media Creation Tool. This program will download any Windows operating system and architecture you need for your new gaming PC.
PC builders can also turn their USB’s into bootable drives using the CMD prompt. Here’s a link to that method:
https://www.itechfever.com/make-flash-drive-bootable-cmd/
After your USB is turned into a bootable drive and it carries the Windows operating system of your choice, I can now insert the USB into the PC.
After I power on the PC, it should boot into the Windows Install screen. This is because after the hard drive, the USB should be next in line in the boot sequence. From here we apply the general settings such as PC name, language, etc.
Finally we have arrived at our home screen! We have a successful PC build ready for any game installation.
Troubleshooting A Custom PC’s First Boot
What if my gaming PC has a RAM Issue?
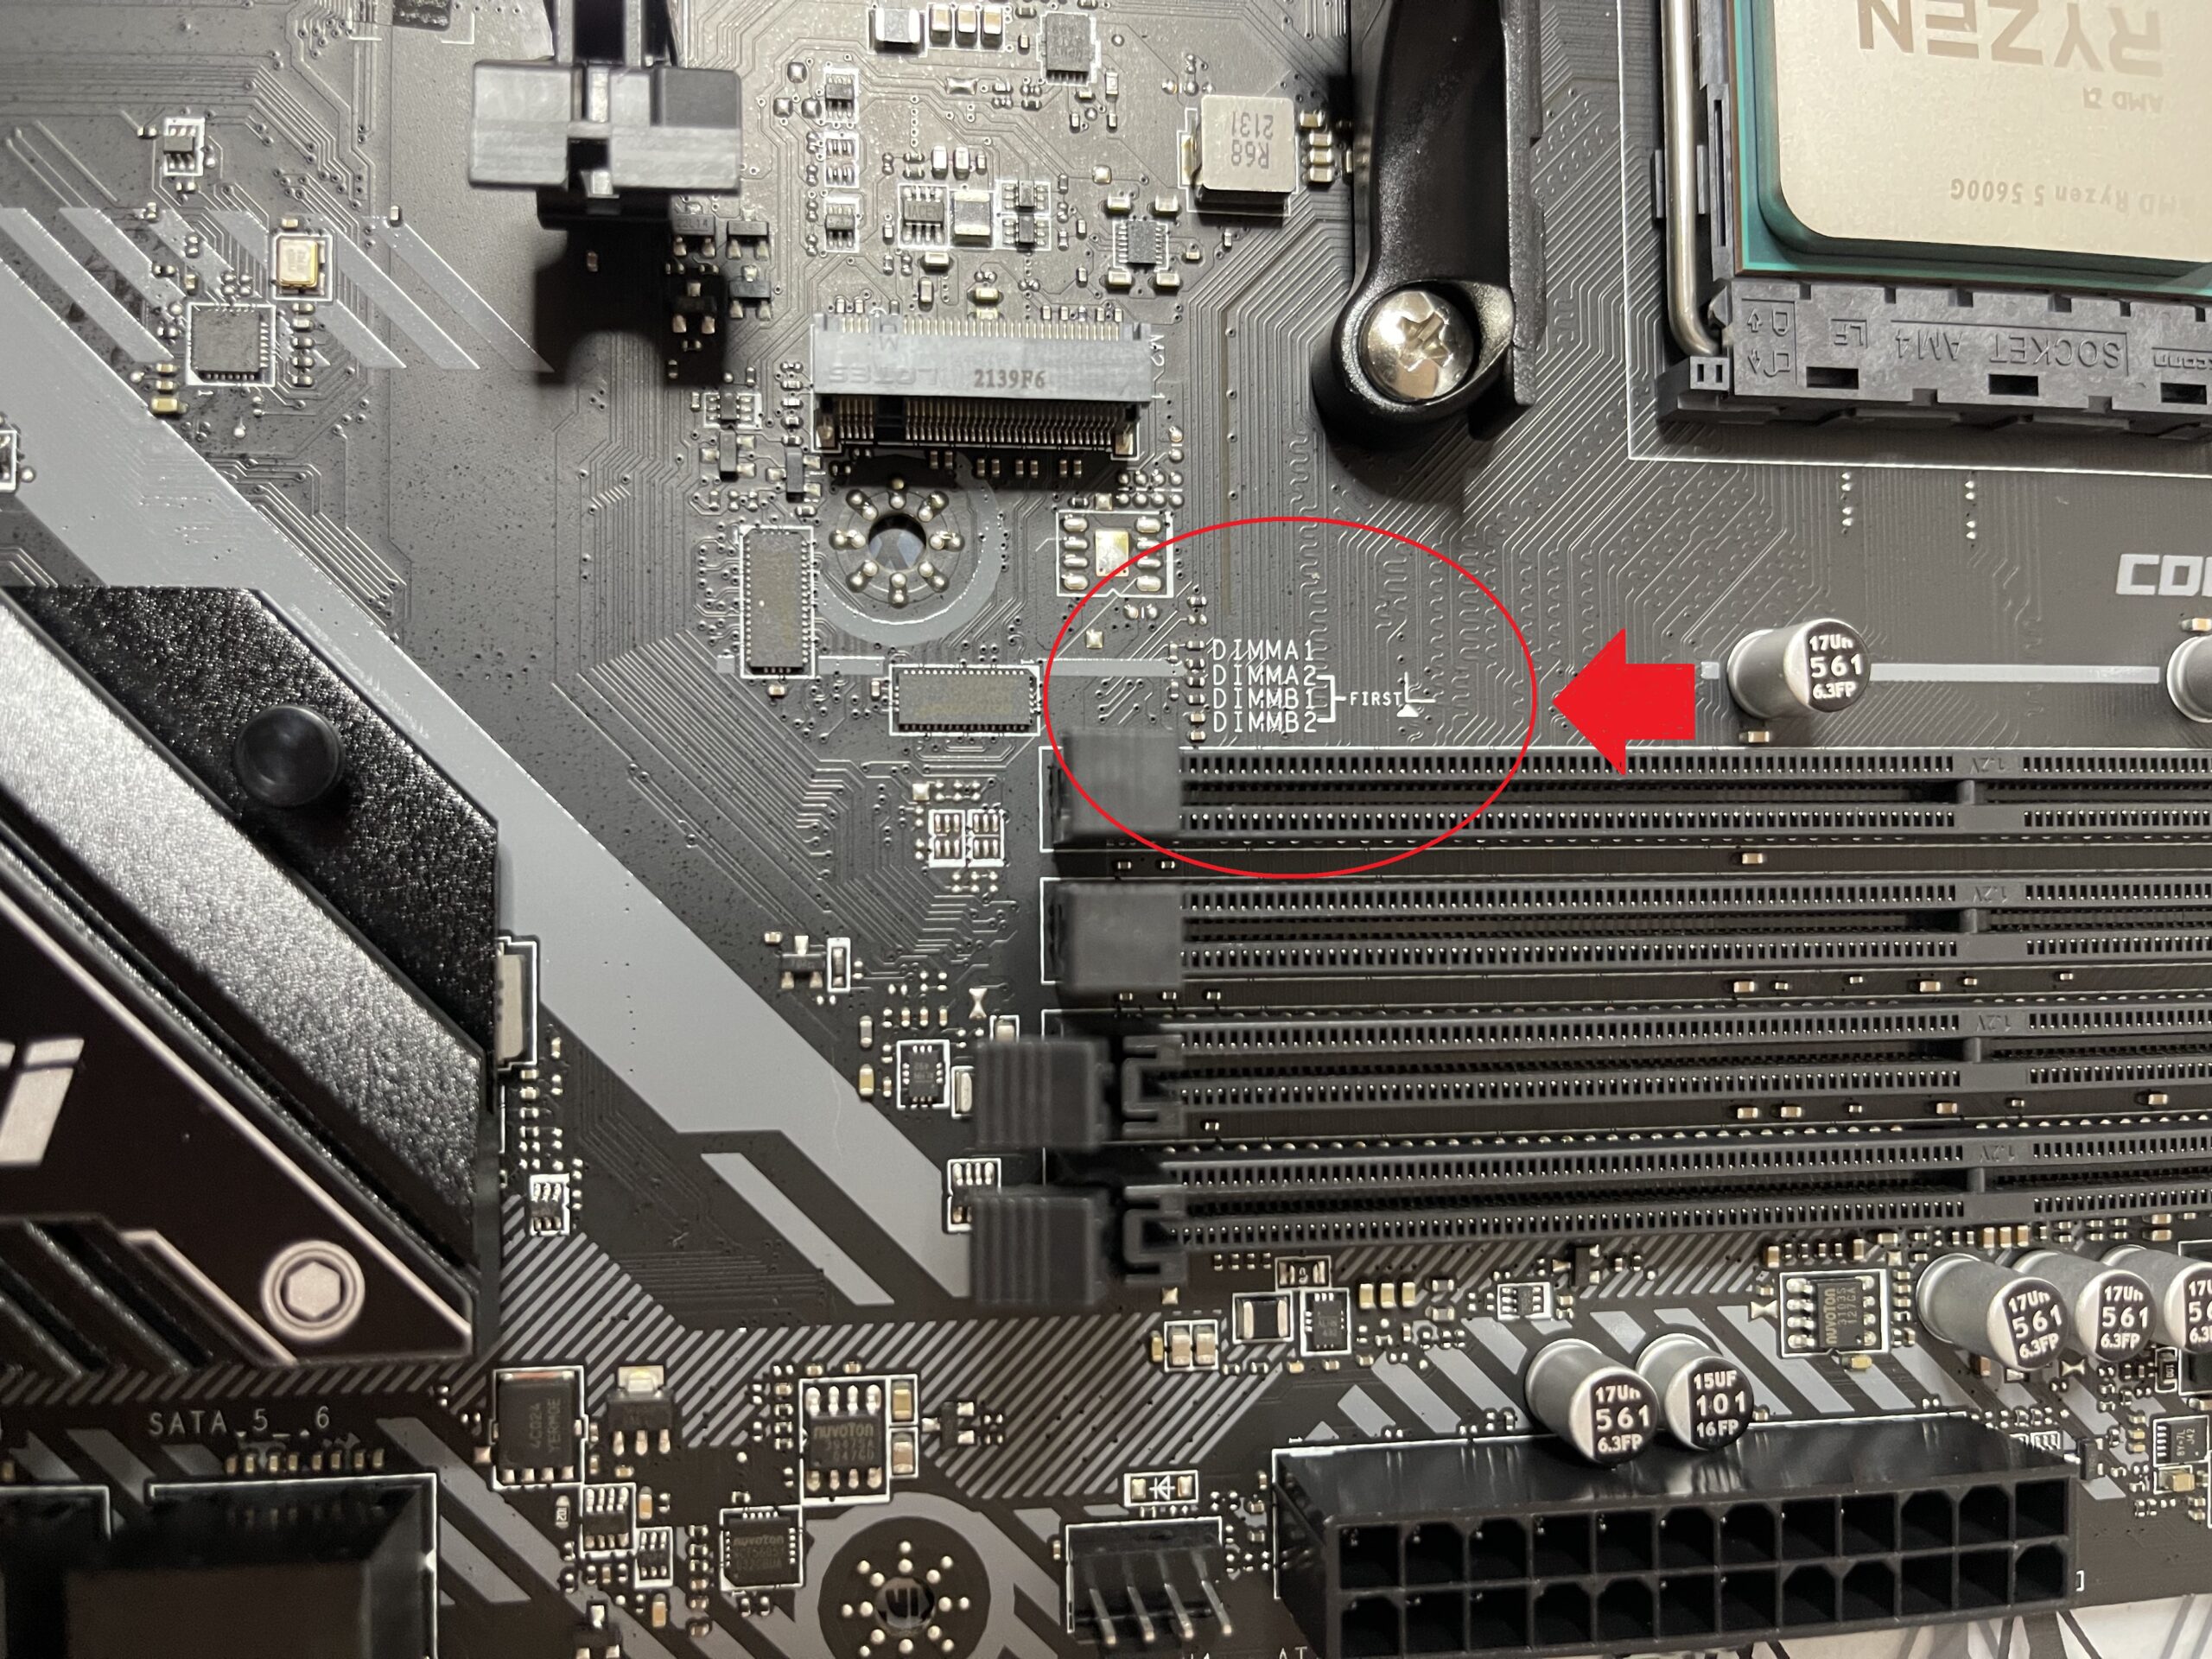
If your computer does not boot immediately at startup, a misplaced RAM stick could be the issue. Try reseating your RAM sticks or only one at a time. Your computer only needs one stick to operate.
Be sure that you placed your RAM sticks in the appropriate channels. Refer to your motherboards manual to see which are the A and B channels.
If you’re experiencing any of the following symptoms, it may be indicative of a RAM issue:
- Your computer is crashing or freezing often
- Your computer is restarting unexpectedly
- You’re seeing an error message related to memory or RAM
If you’re experiencing any of these symptoms, it’s important to take your computer to a professional for diagnosis and repair. RAM issues can cause data loss and other serious problems, so it’s best to address them as soon as possible.
I think my gaming PC has a Hard Drive Issue?
Hard drive issues are by far the easiest issue to resolve. If you suspect you have a hard drive issue, you can disconnect your hard drive to see if you arrive at the “no operating system found” screen. Some computers are unable to boot all the way when the hard drive prevents the complete power cycle.
Did the computer not show signs of booting correctly?
When a computer doesn’t boot, this means one of the components is not receiving power. You will hear the computer turn on, but never see a BIOS logo. For this issue, it is best to disconnect any unnecessary components such as Hard Drives or lighting addons. If the issue still persists, you may need to reseat your main cables and components such as RAM or motherboard power cables.
Another possible solution to this issue can be a BIOS update. Check forums to be sure or the manufacturer website for your motherboard. If you see an update available, you will need a USB to download and run the update.
Does your computer not have power or show any signs of power running?
If your PC flat out does not show any signs of power or boot cycles, you may need to check your power connections, including the wall outlet. Always begin with reaffirming the motherboard connections. Although it is rare, it is possible to receive a faulty part that may have been damaged during delivery due. Heat or impacts can affect your power supply’s performance or any component. In order to test your power supply, you will need a power supply tester. Here is a link to one:

Joel Duarte
Howdy ya'll. I'm a PC gaming enthusiast from Texas that loves discussing gaming and technology. I've been building computers for over 10 years and have learned much about custom PC gaming throughout that time. I hope that my experience and wisdom will guide young gamers to higher scores.

